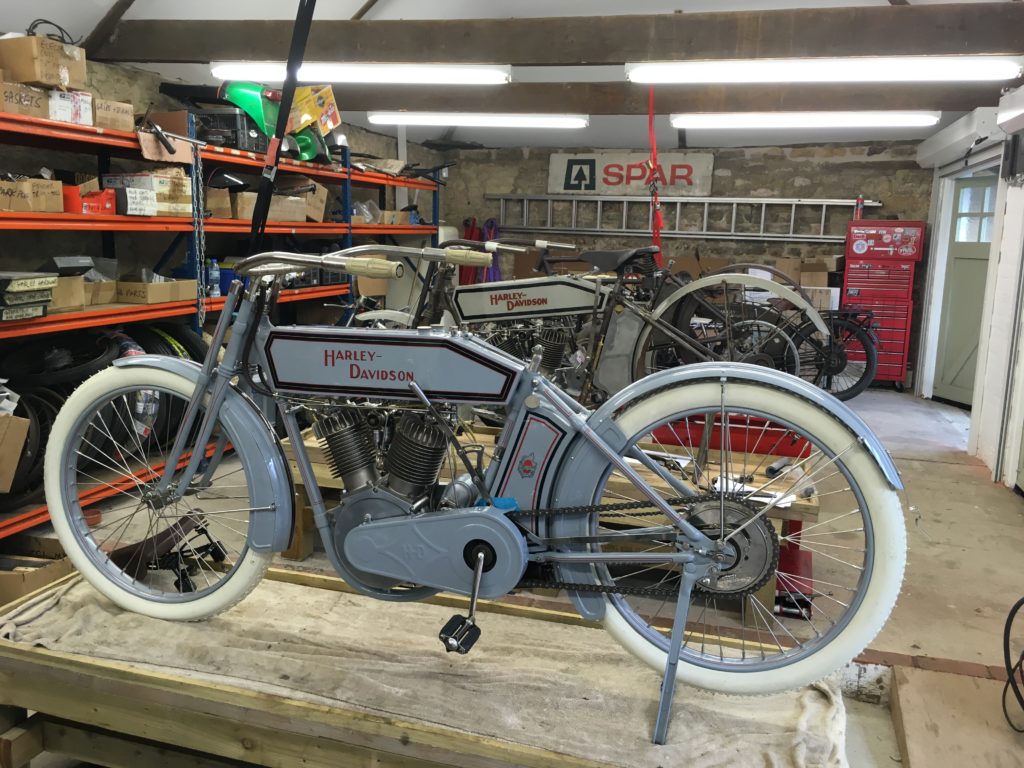
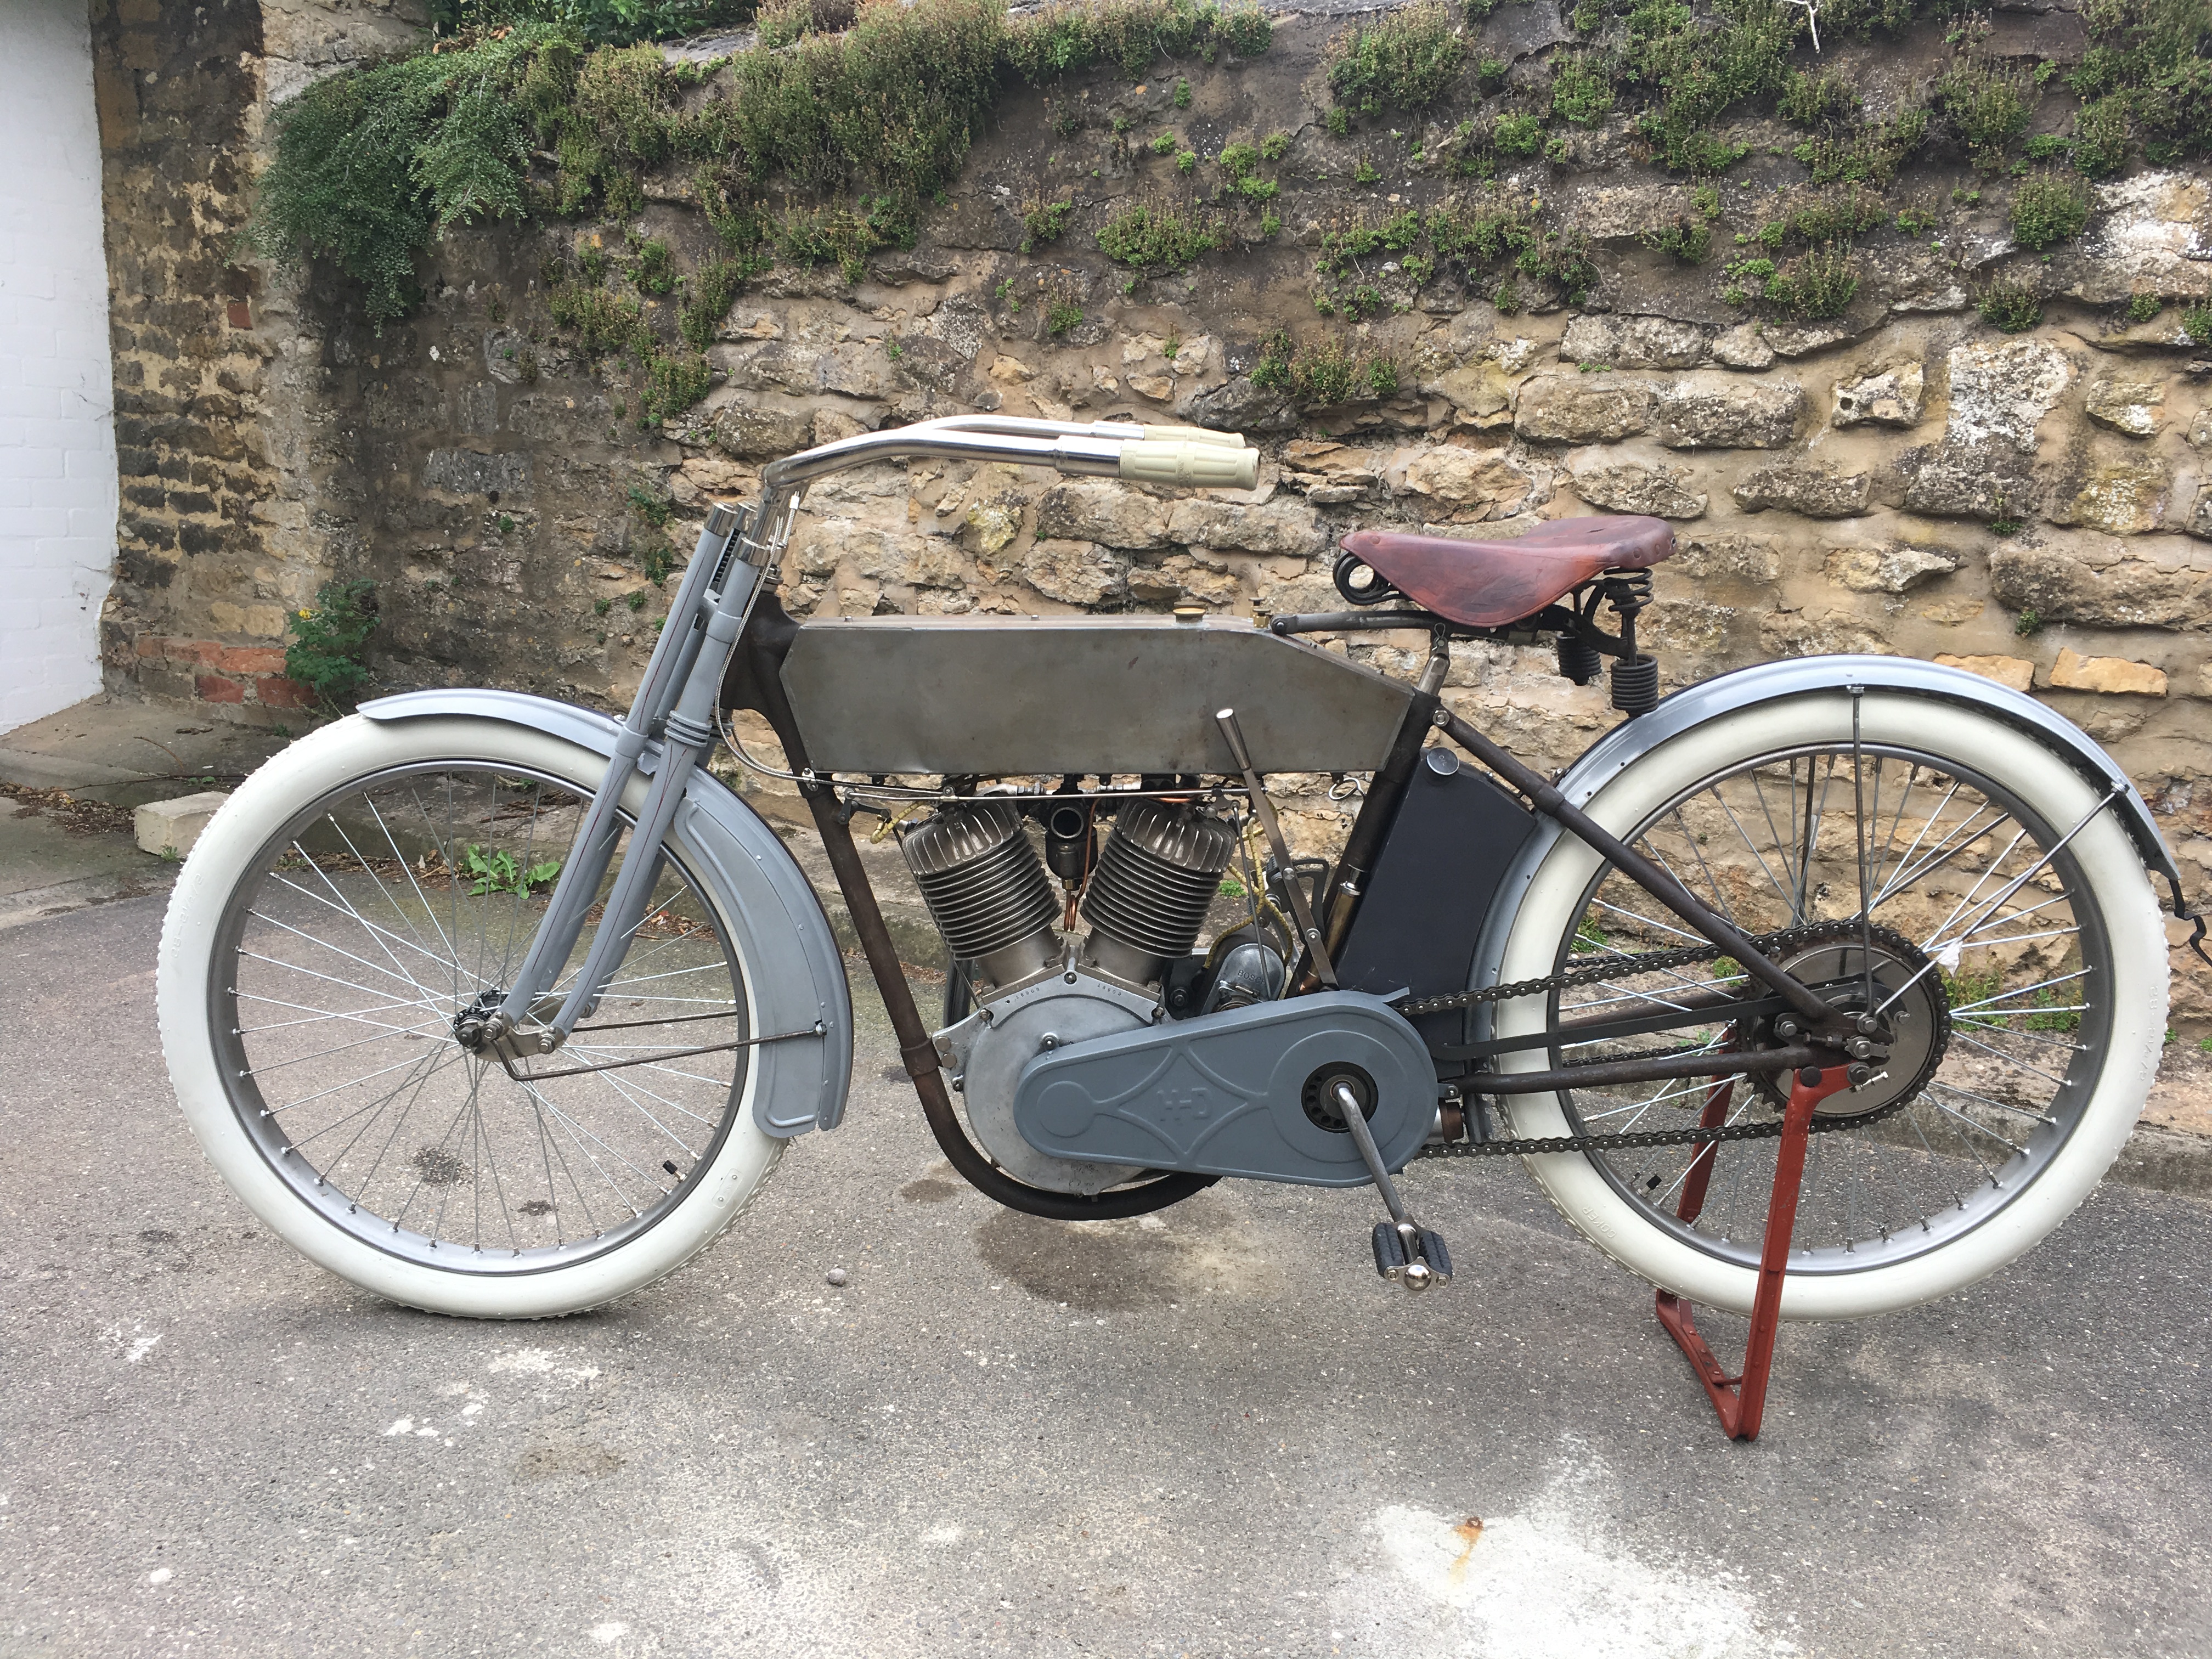
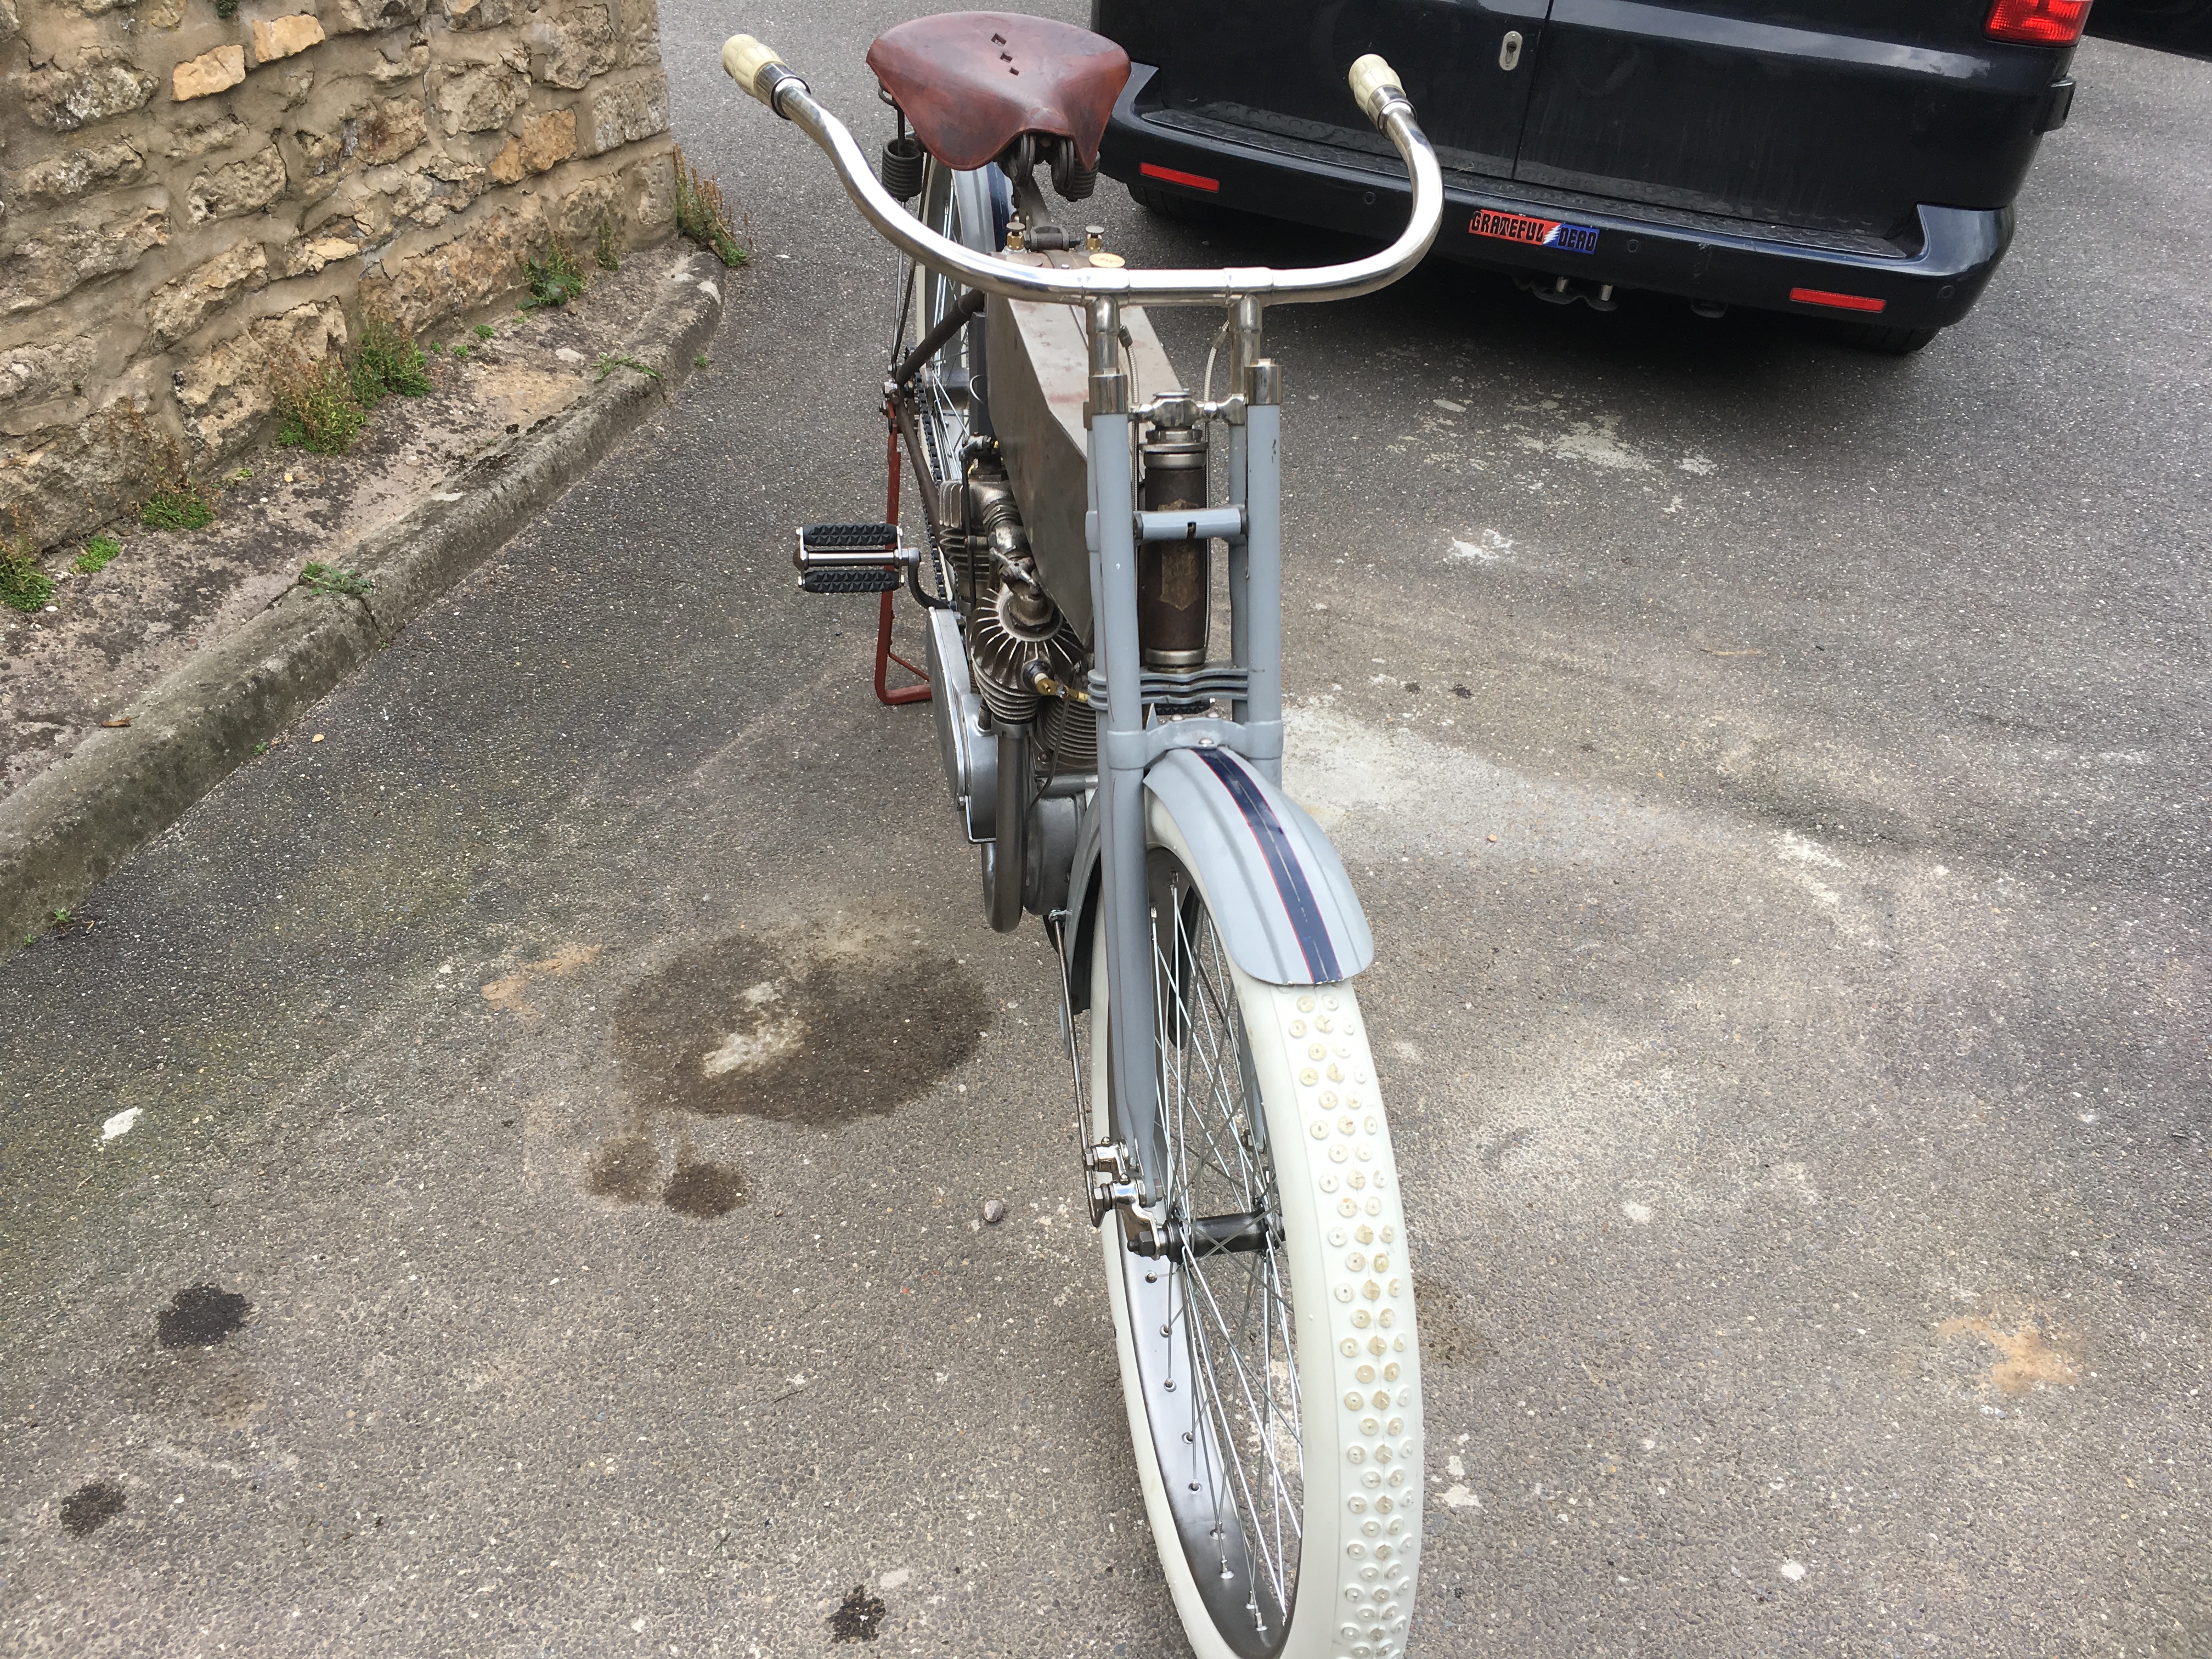
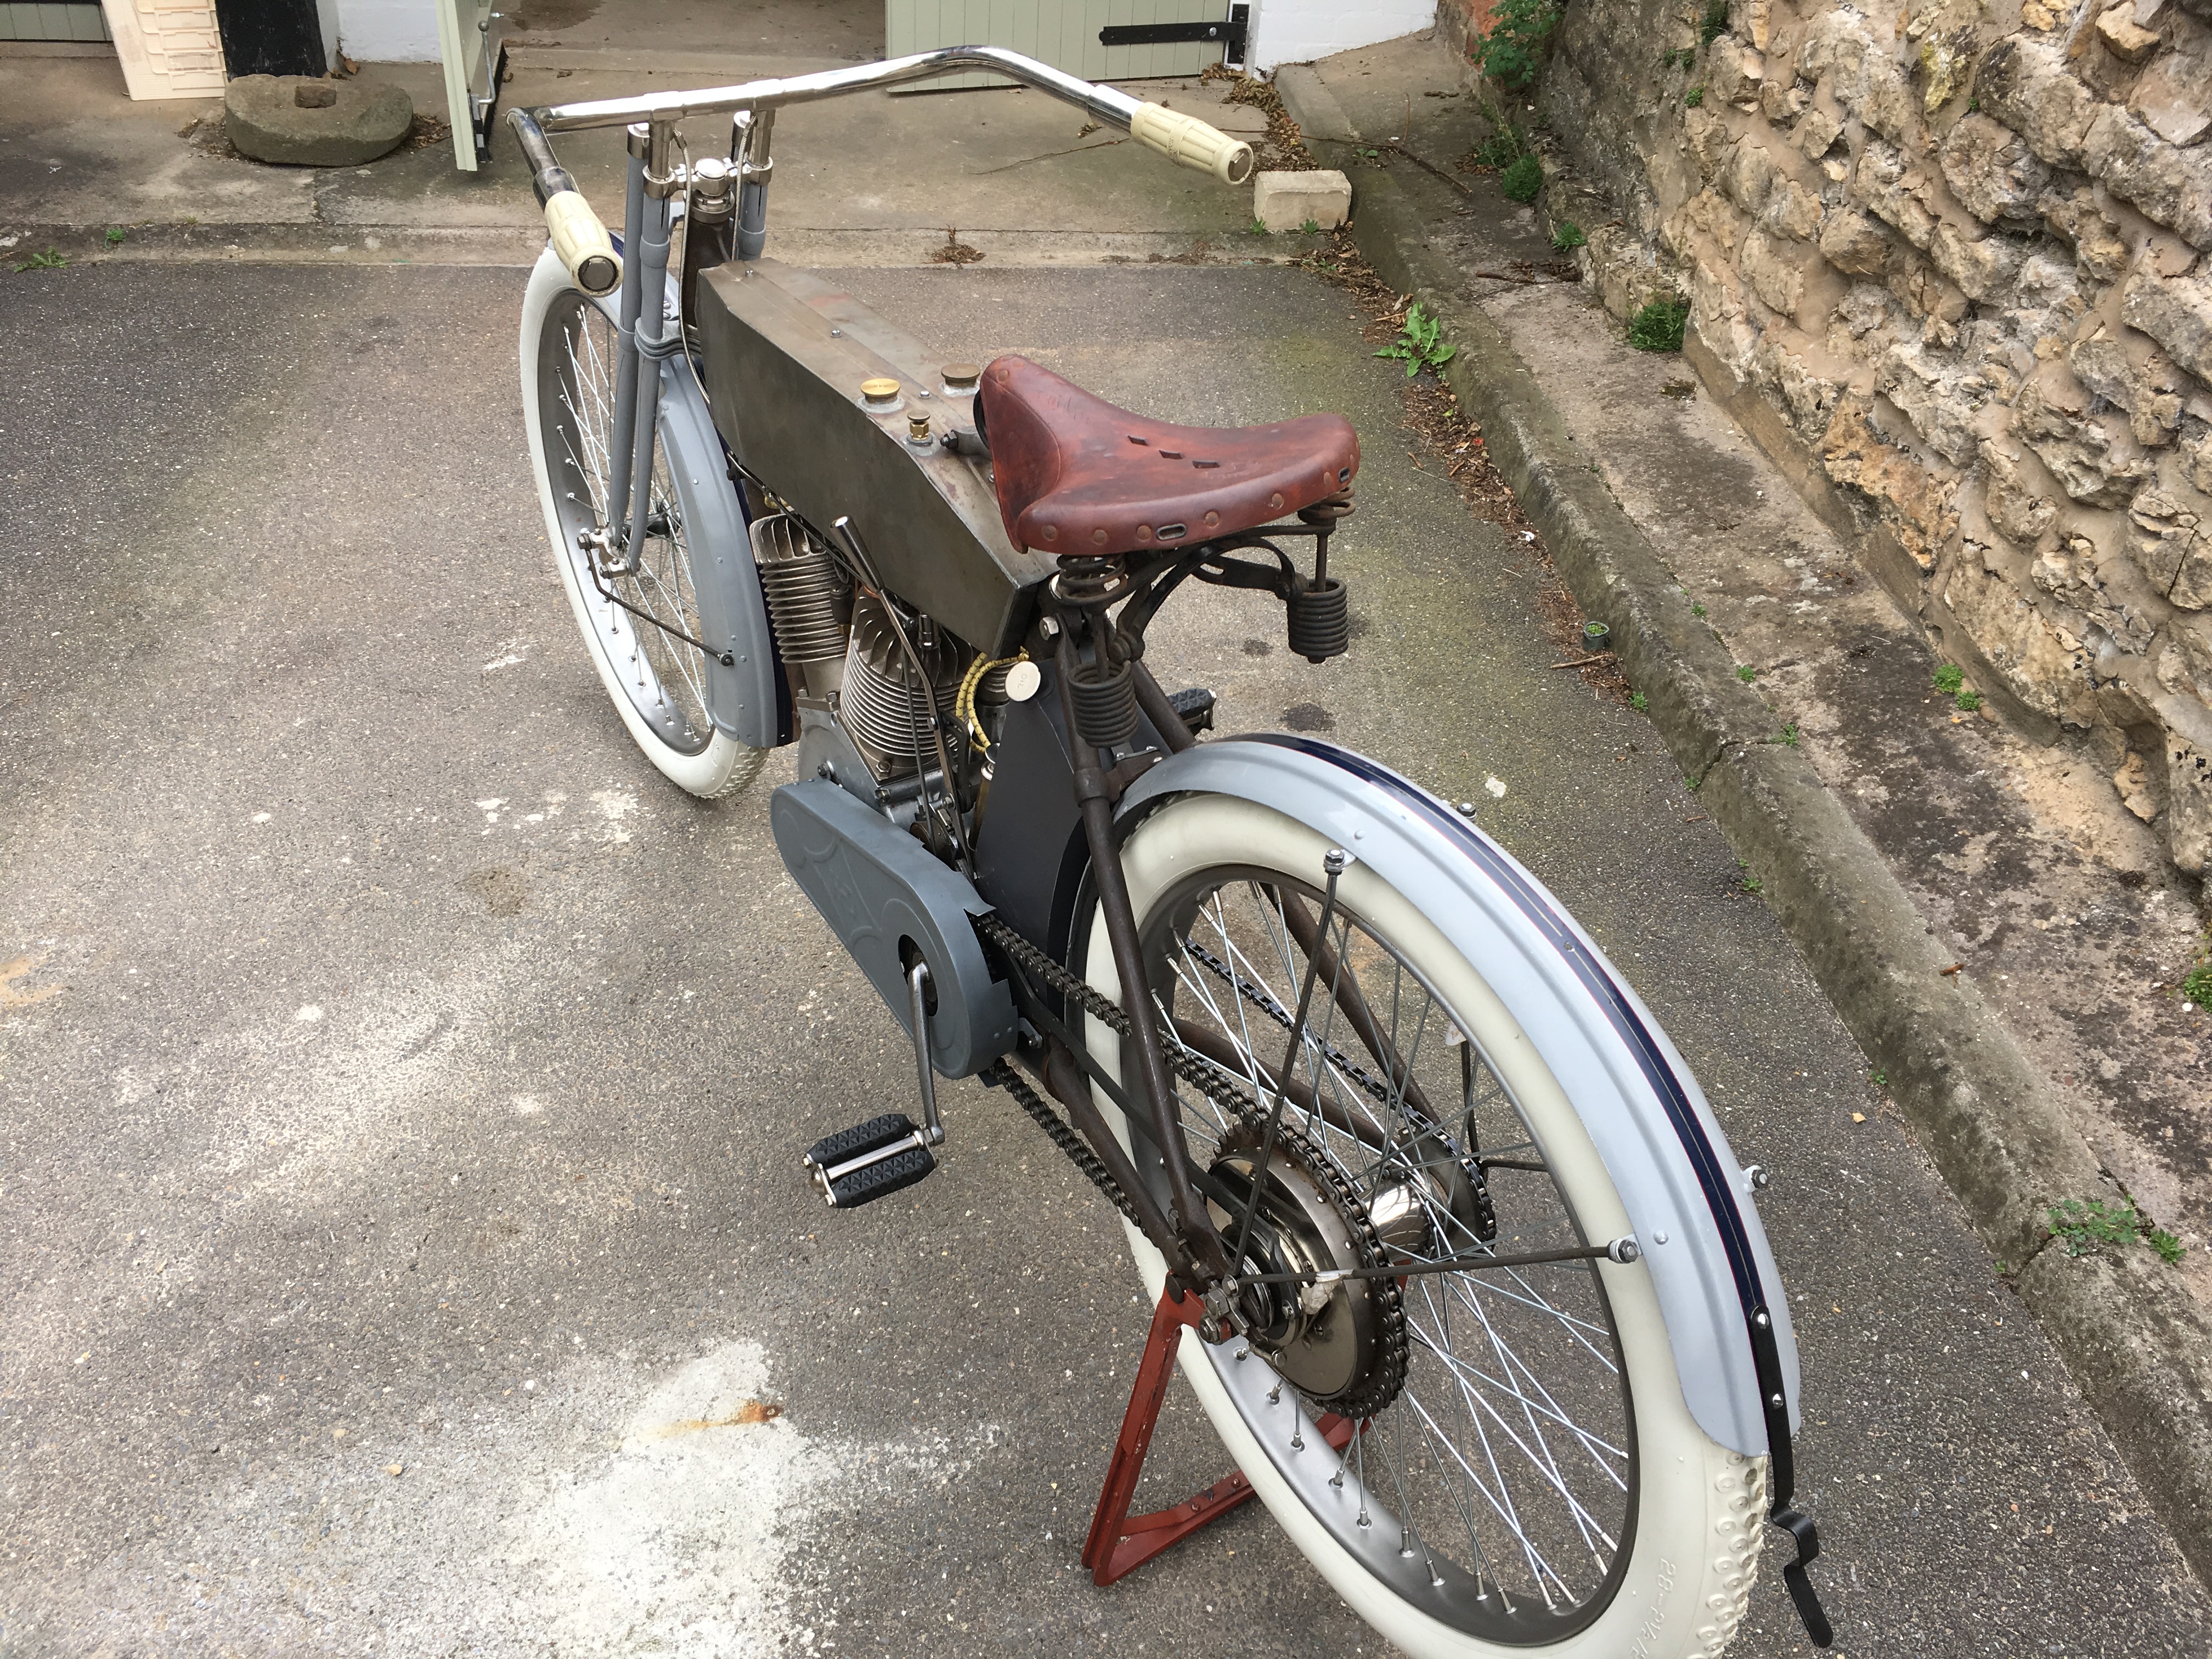
1912 8XE twin build
We’ve done complete builds and restorations previously and are still doing work on several other teens machines currently but thought it might be interesting to go through some of the detail of the 8XE build which is just starting. It’s a fairly rare machine, with 1912 being the first year of the ‘big’ twin as opposed to just ‘twin’. It’s also the first year of the chain drive models and also of the sloping frame with the ful-floteing seat.
The project came with a complete matching numbers motor, matching frame but with the wider 1913 rear fork legs and handlebars. I found some front legs at a swap meet so they can be traded and I have a set of original 1912 forks and bars that came off another bike along with two sets of original but re-painted fenders. The wheel that came with the project is not HD but the rim is good. It is a good basis for a build and I have been searching out parts for the last year or so. I will do as much as I can with original parts but will of course need some repop parts. What finish the bike will end up with will be decided later.
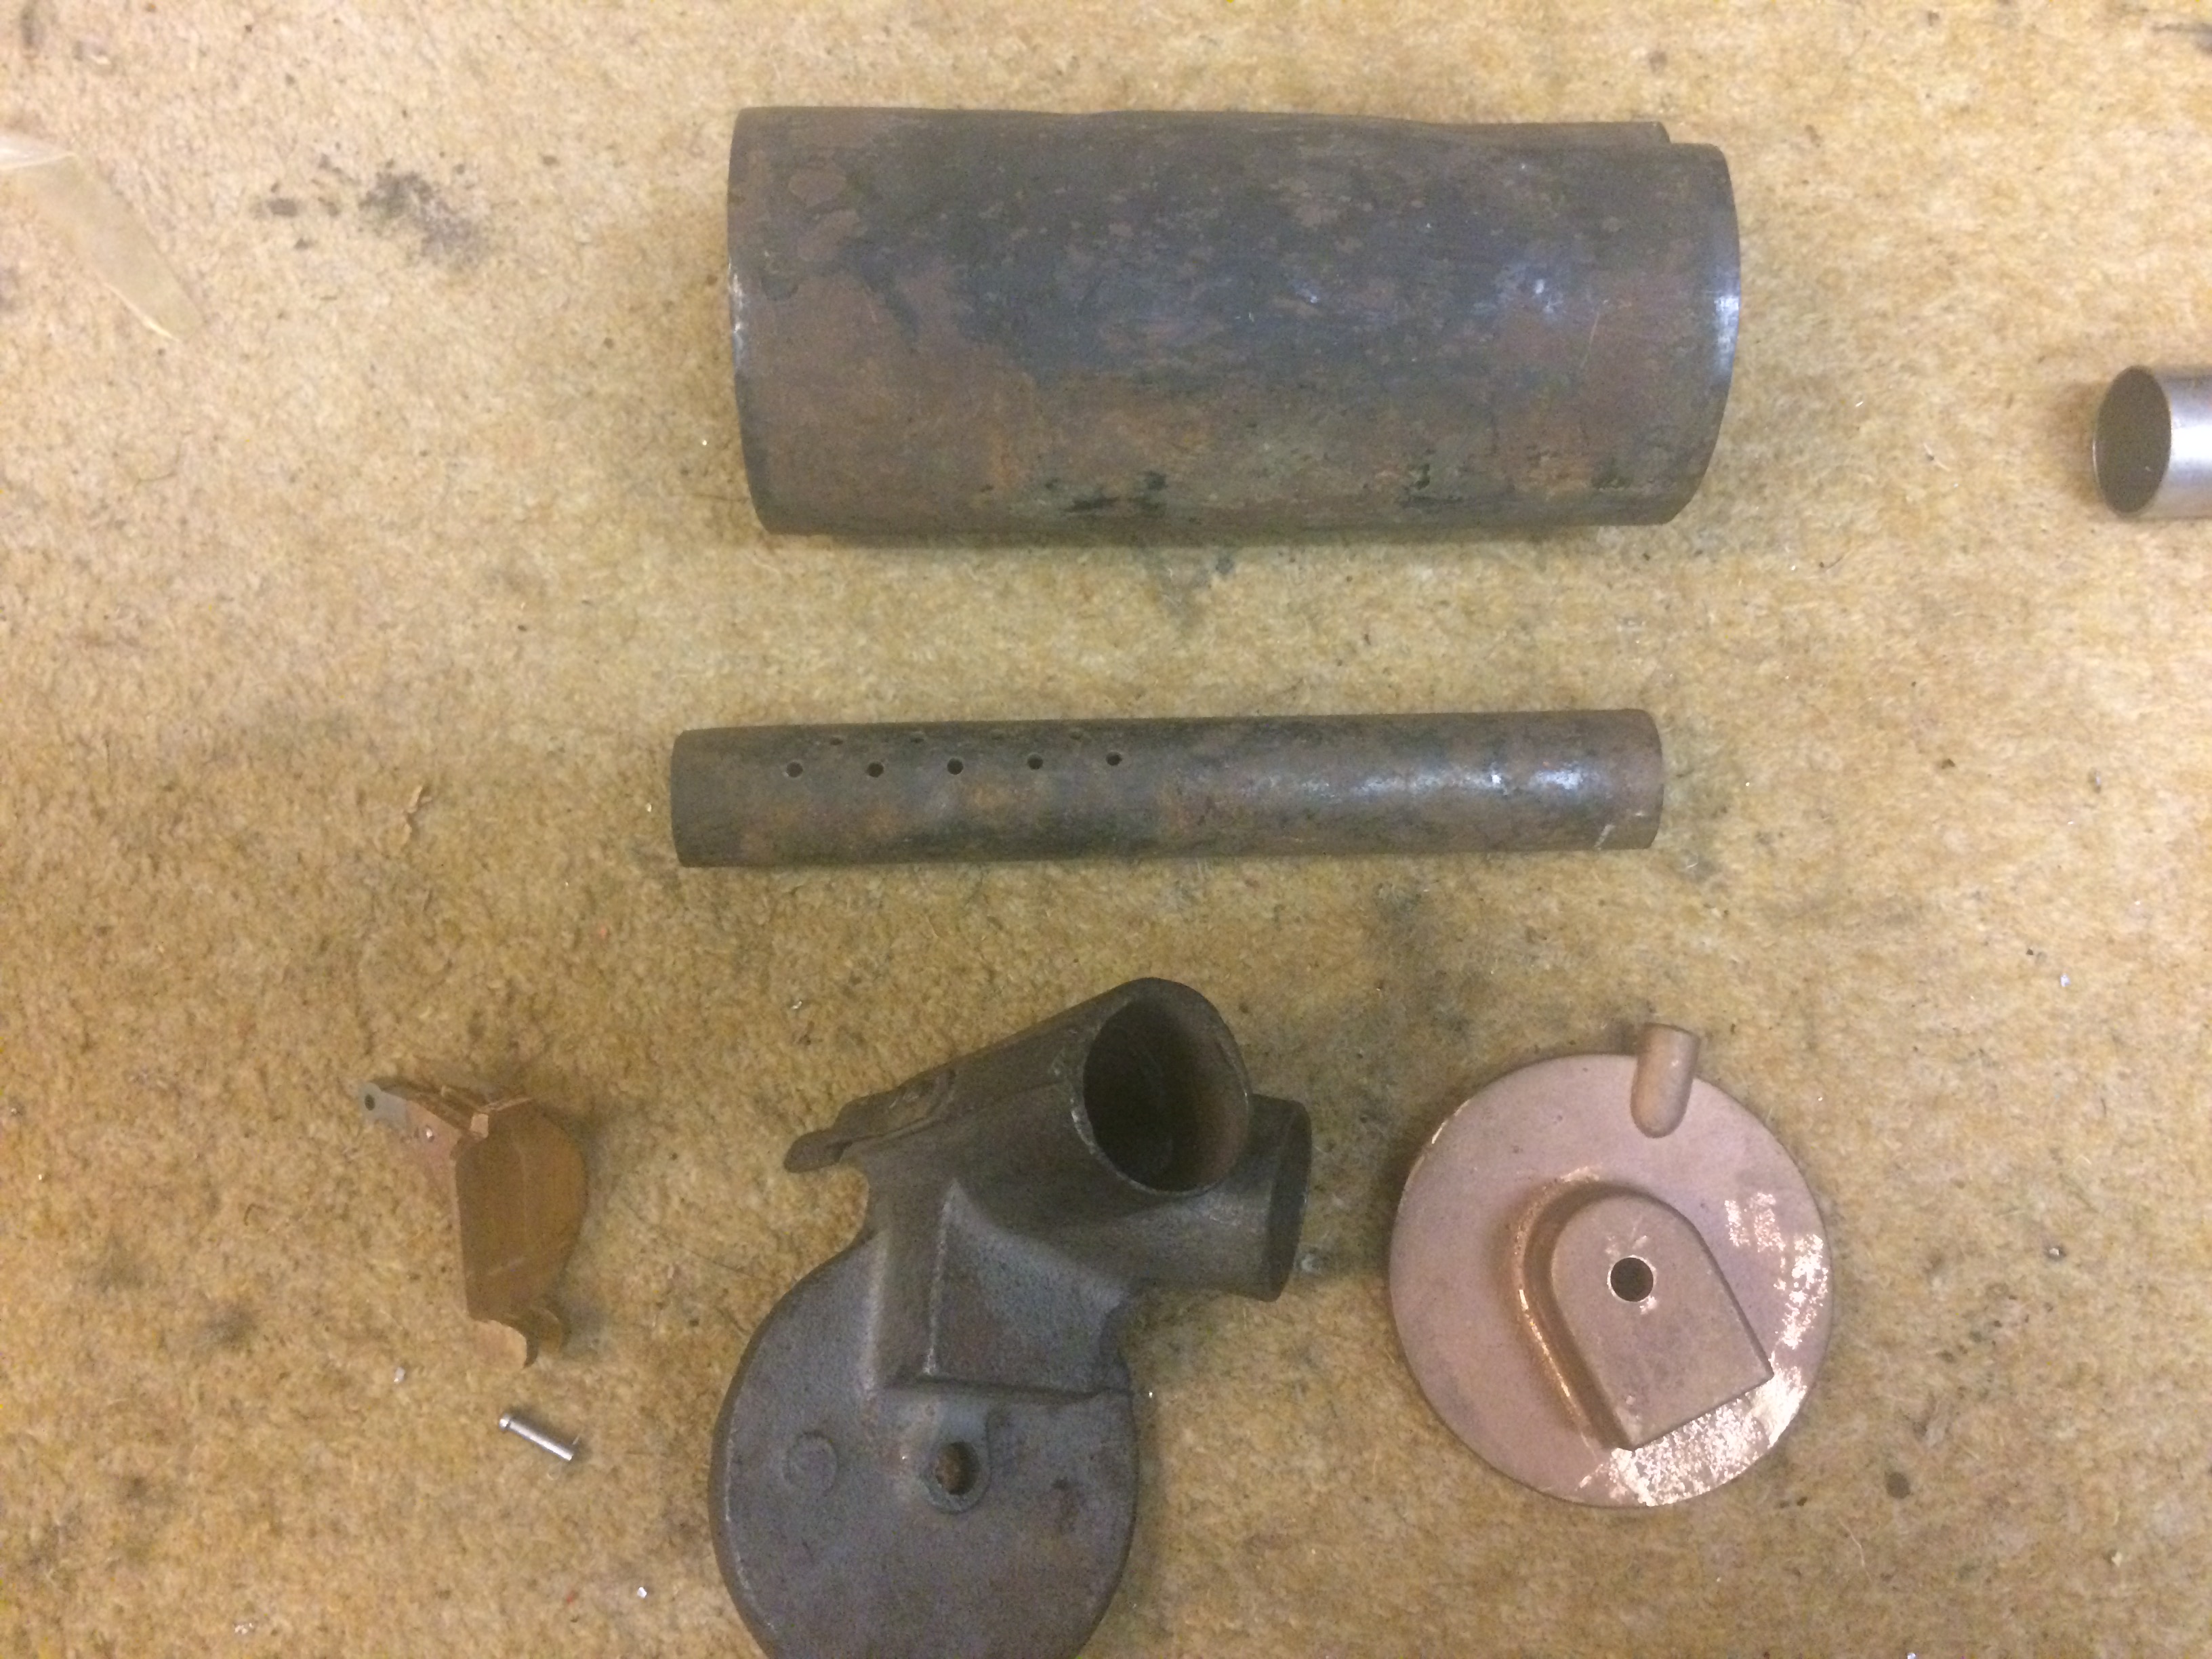
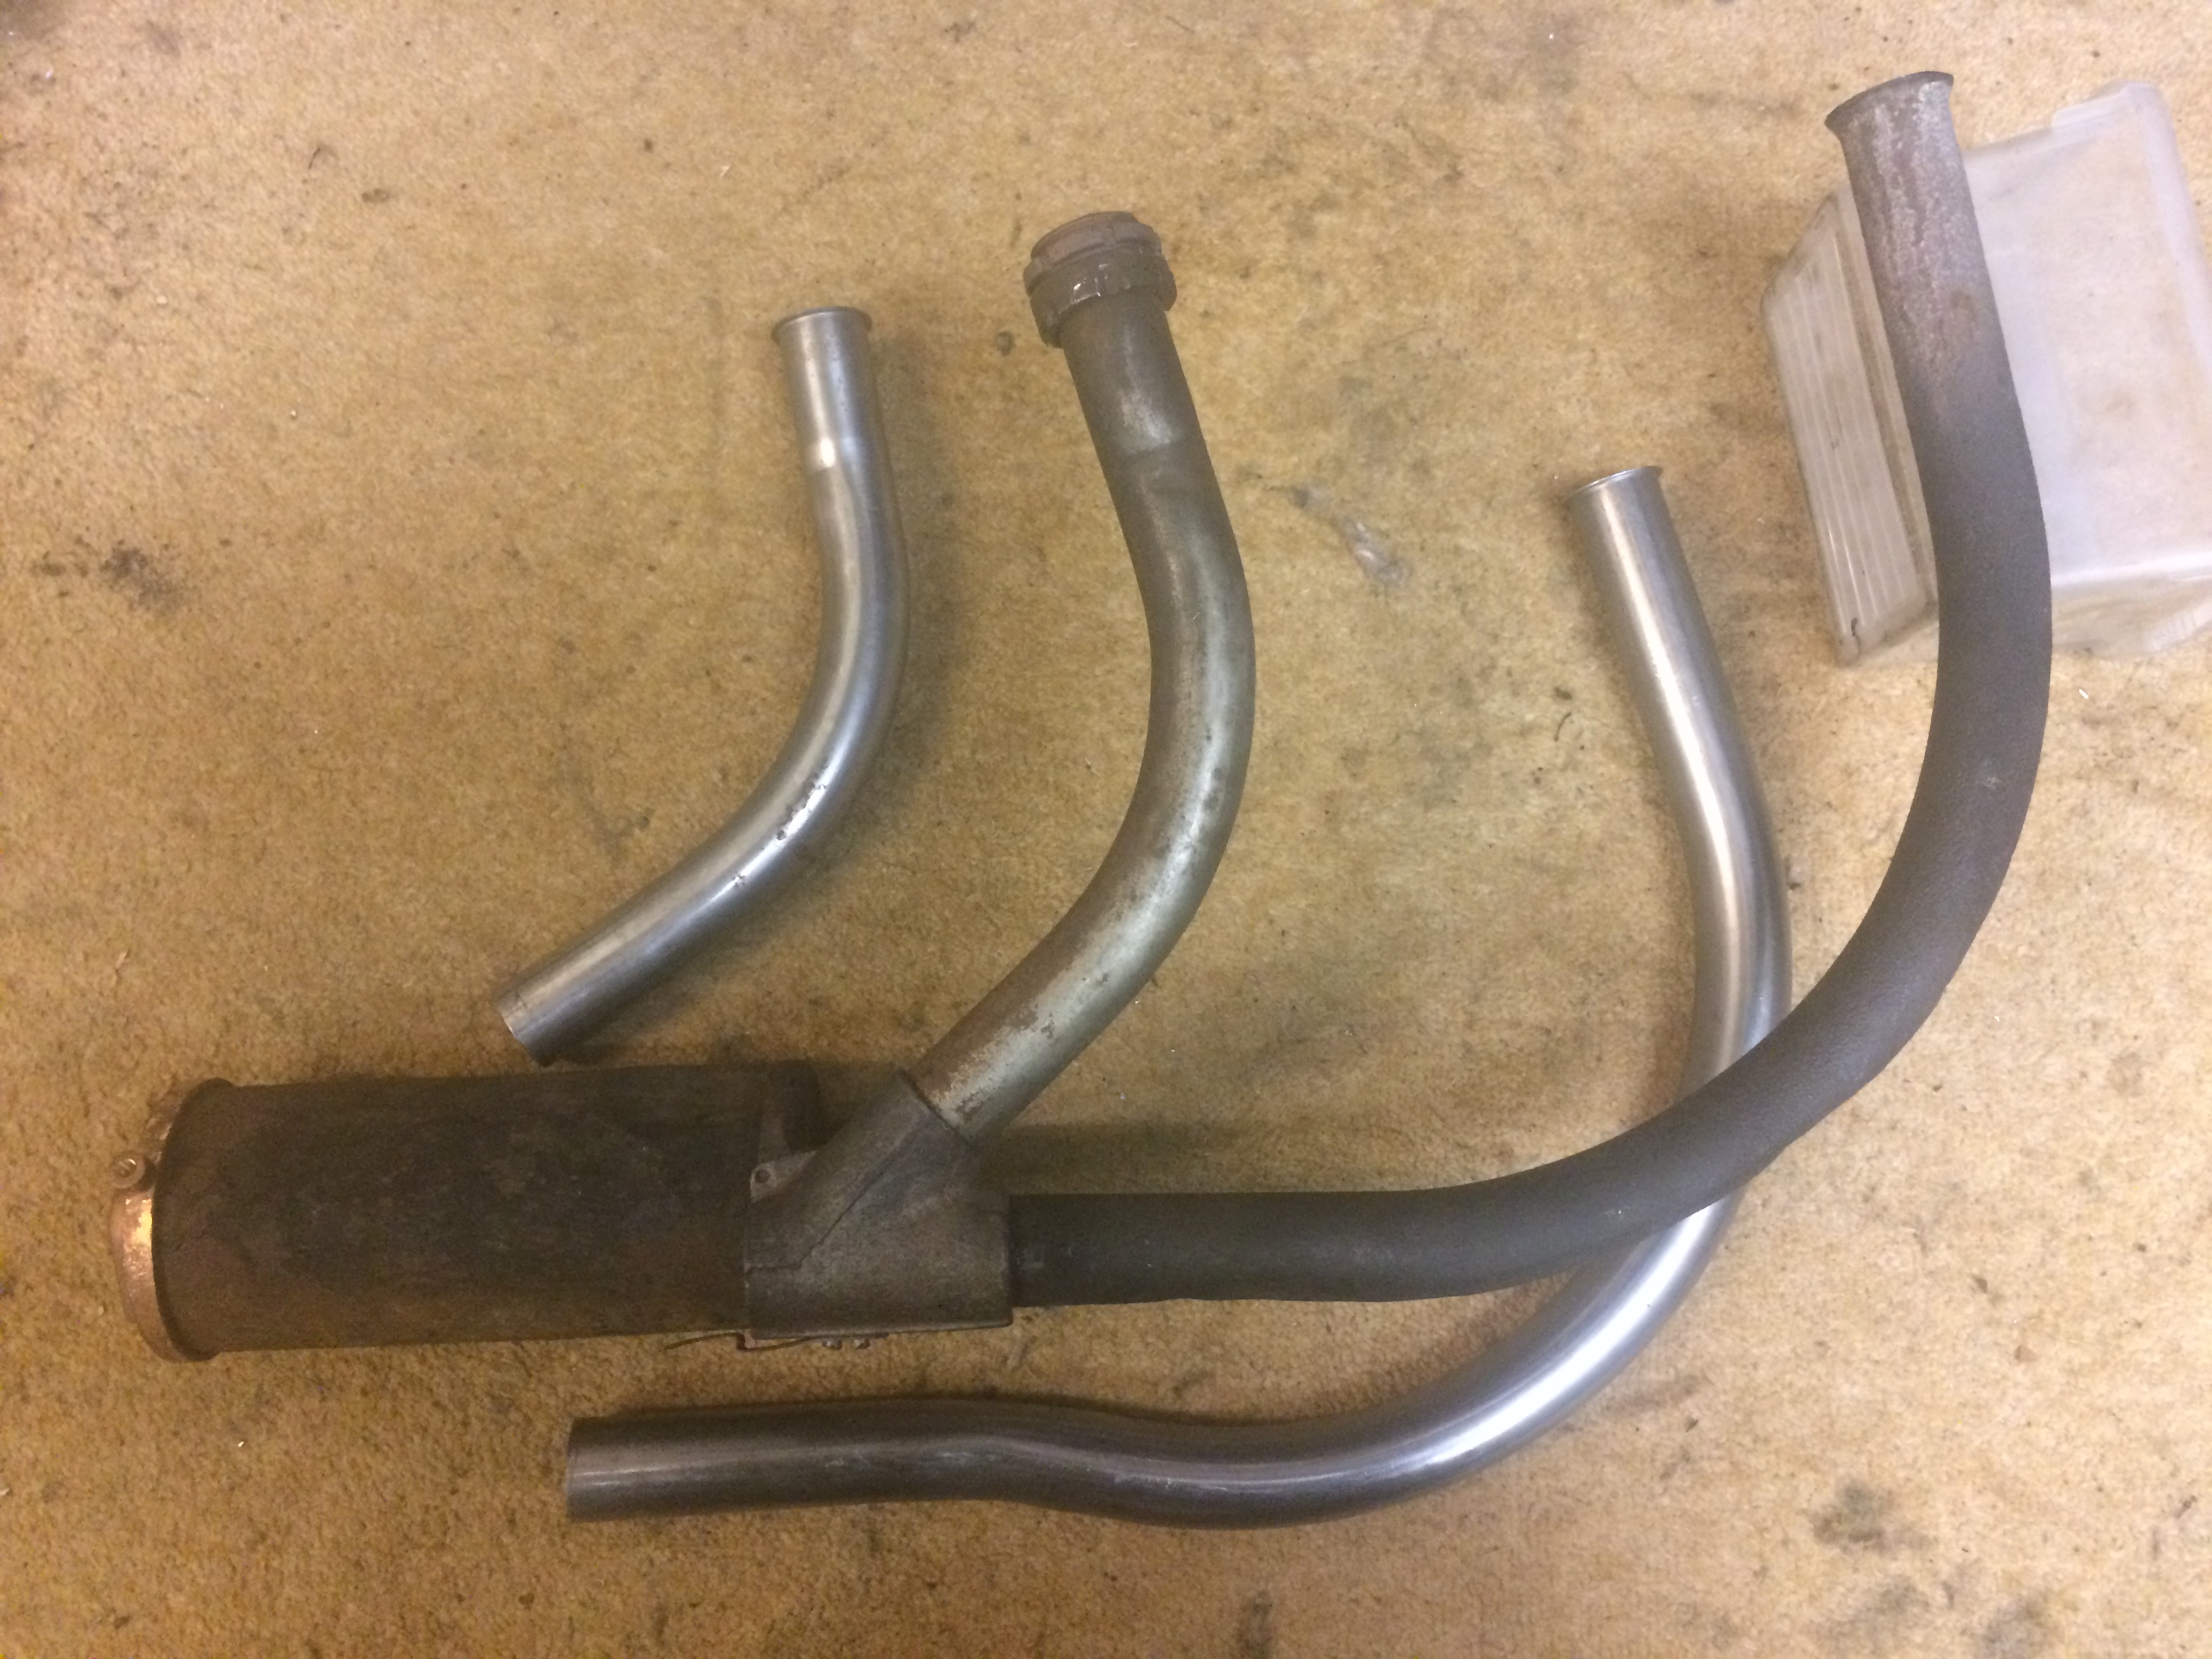
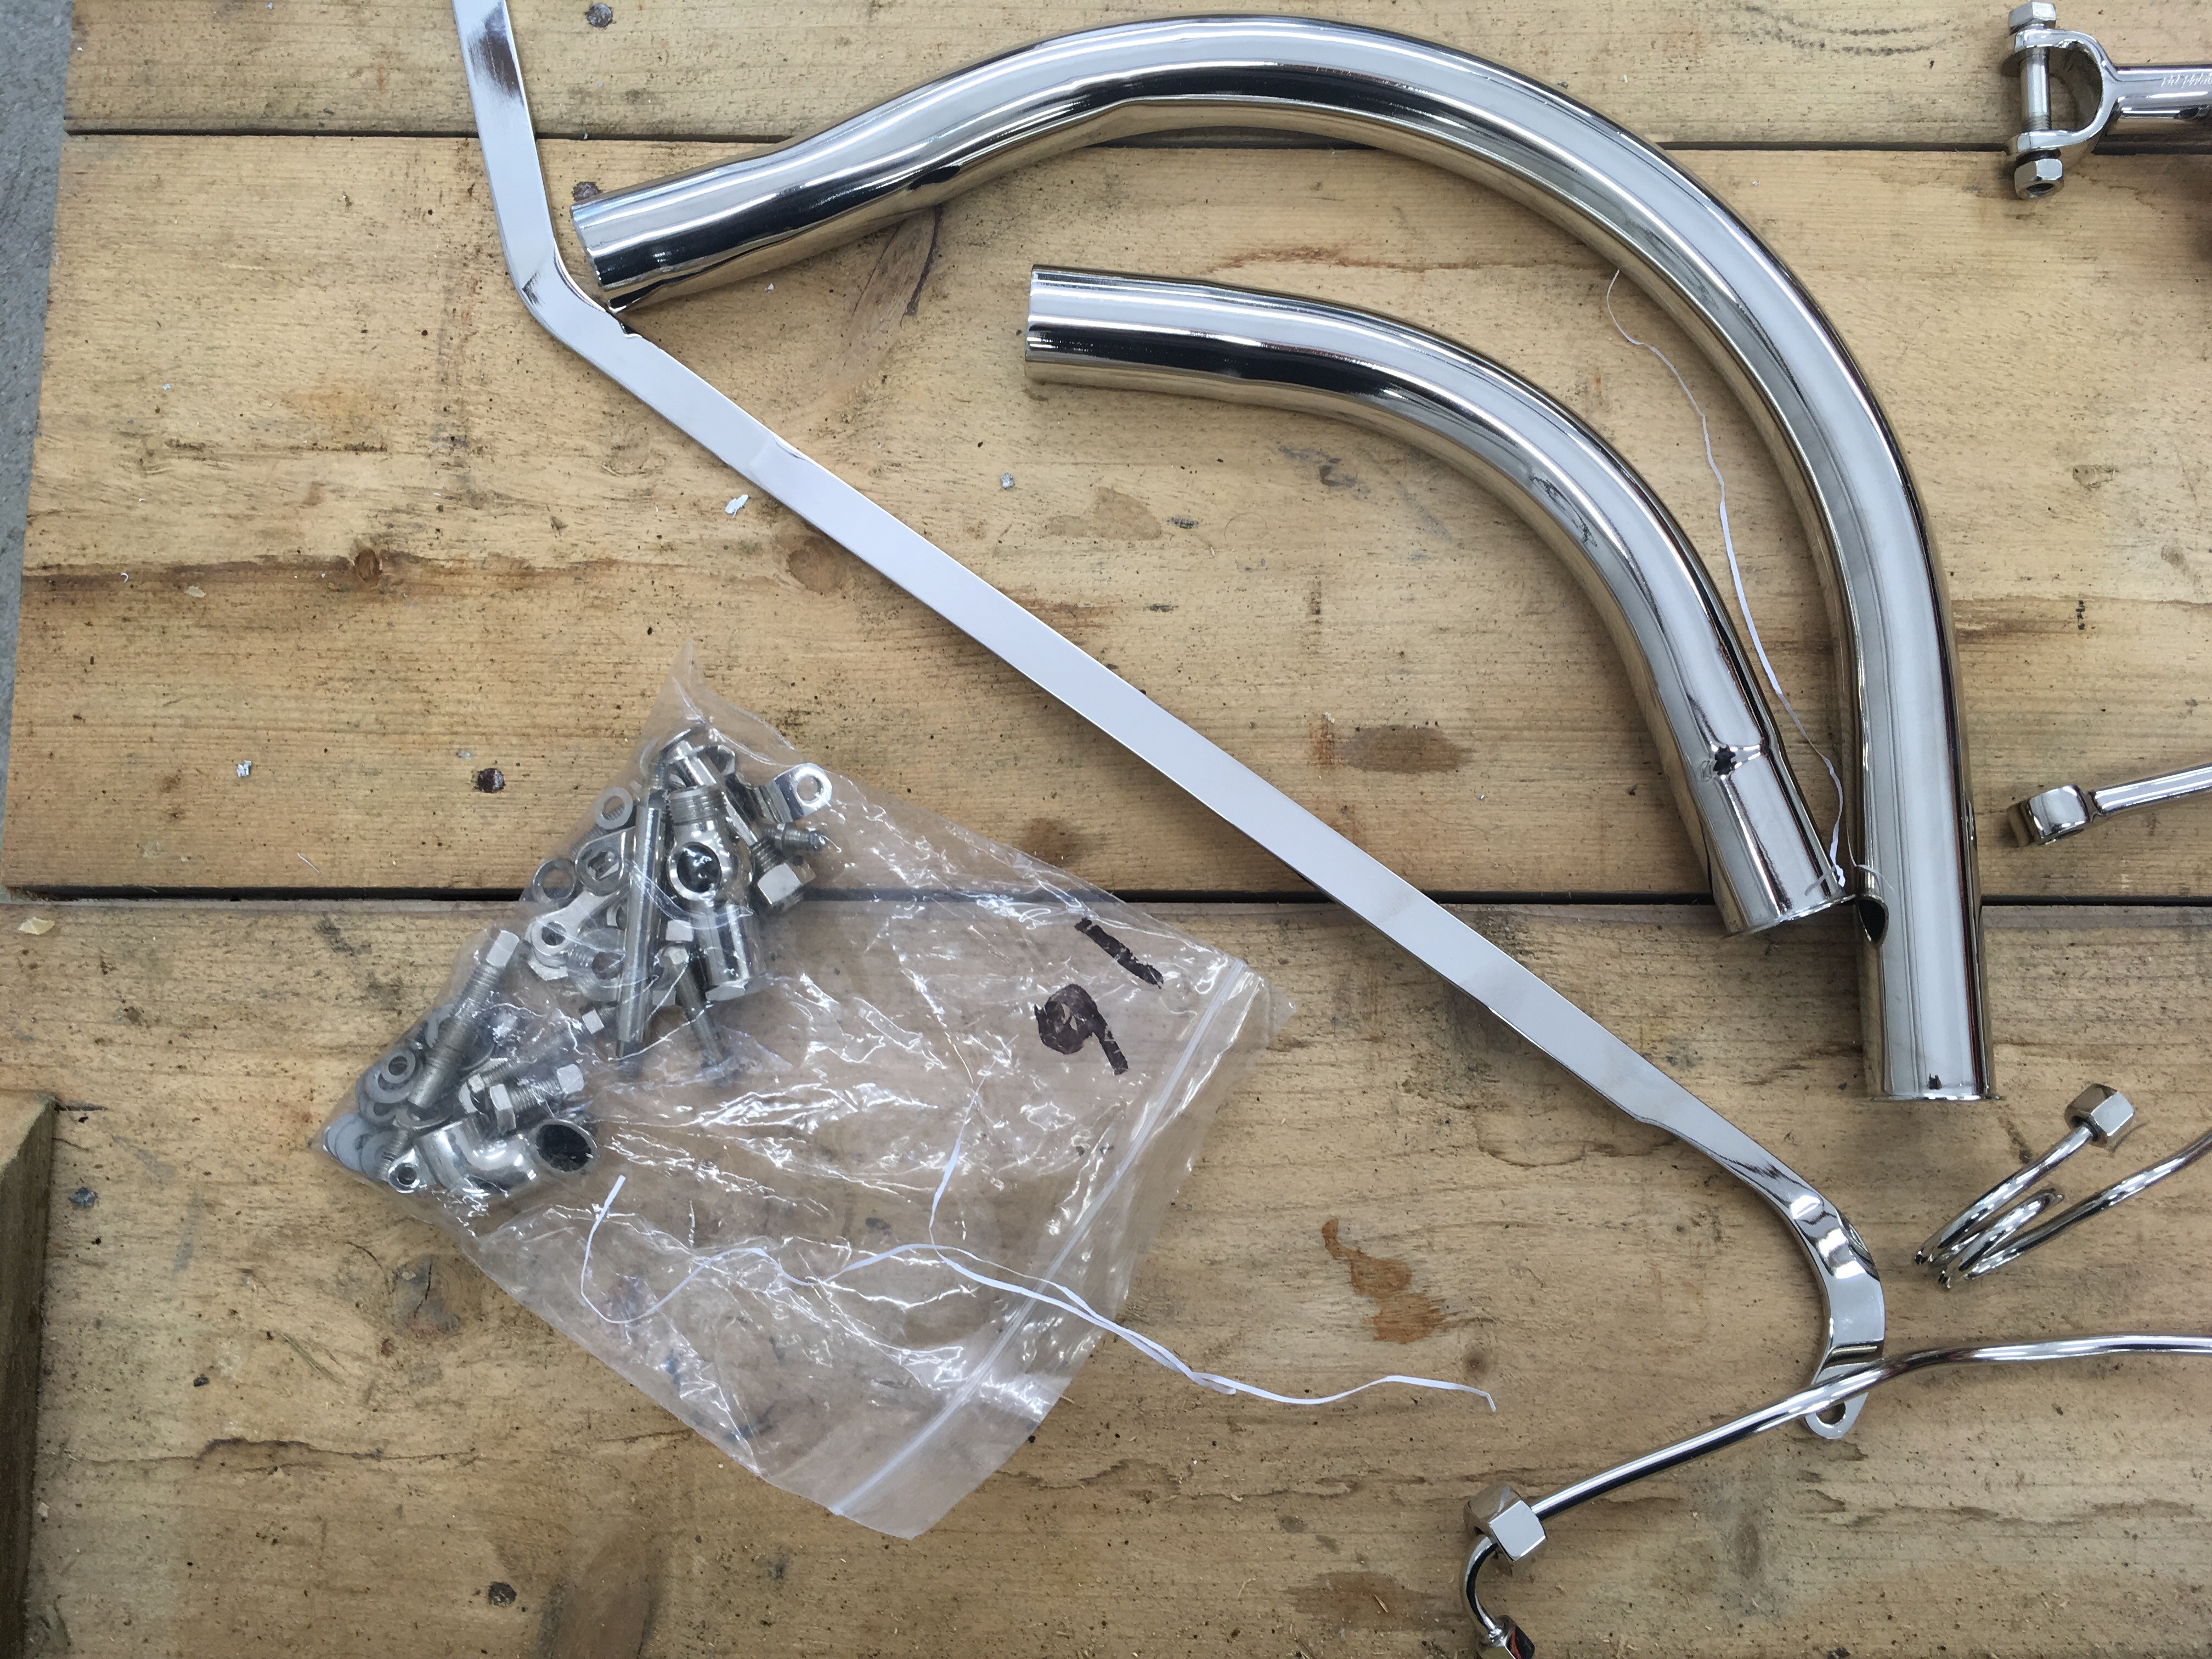
Exhaust system.
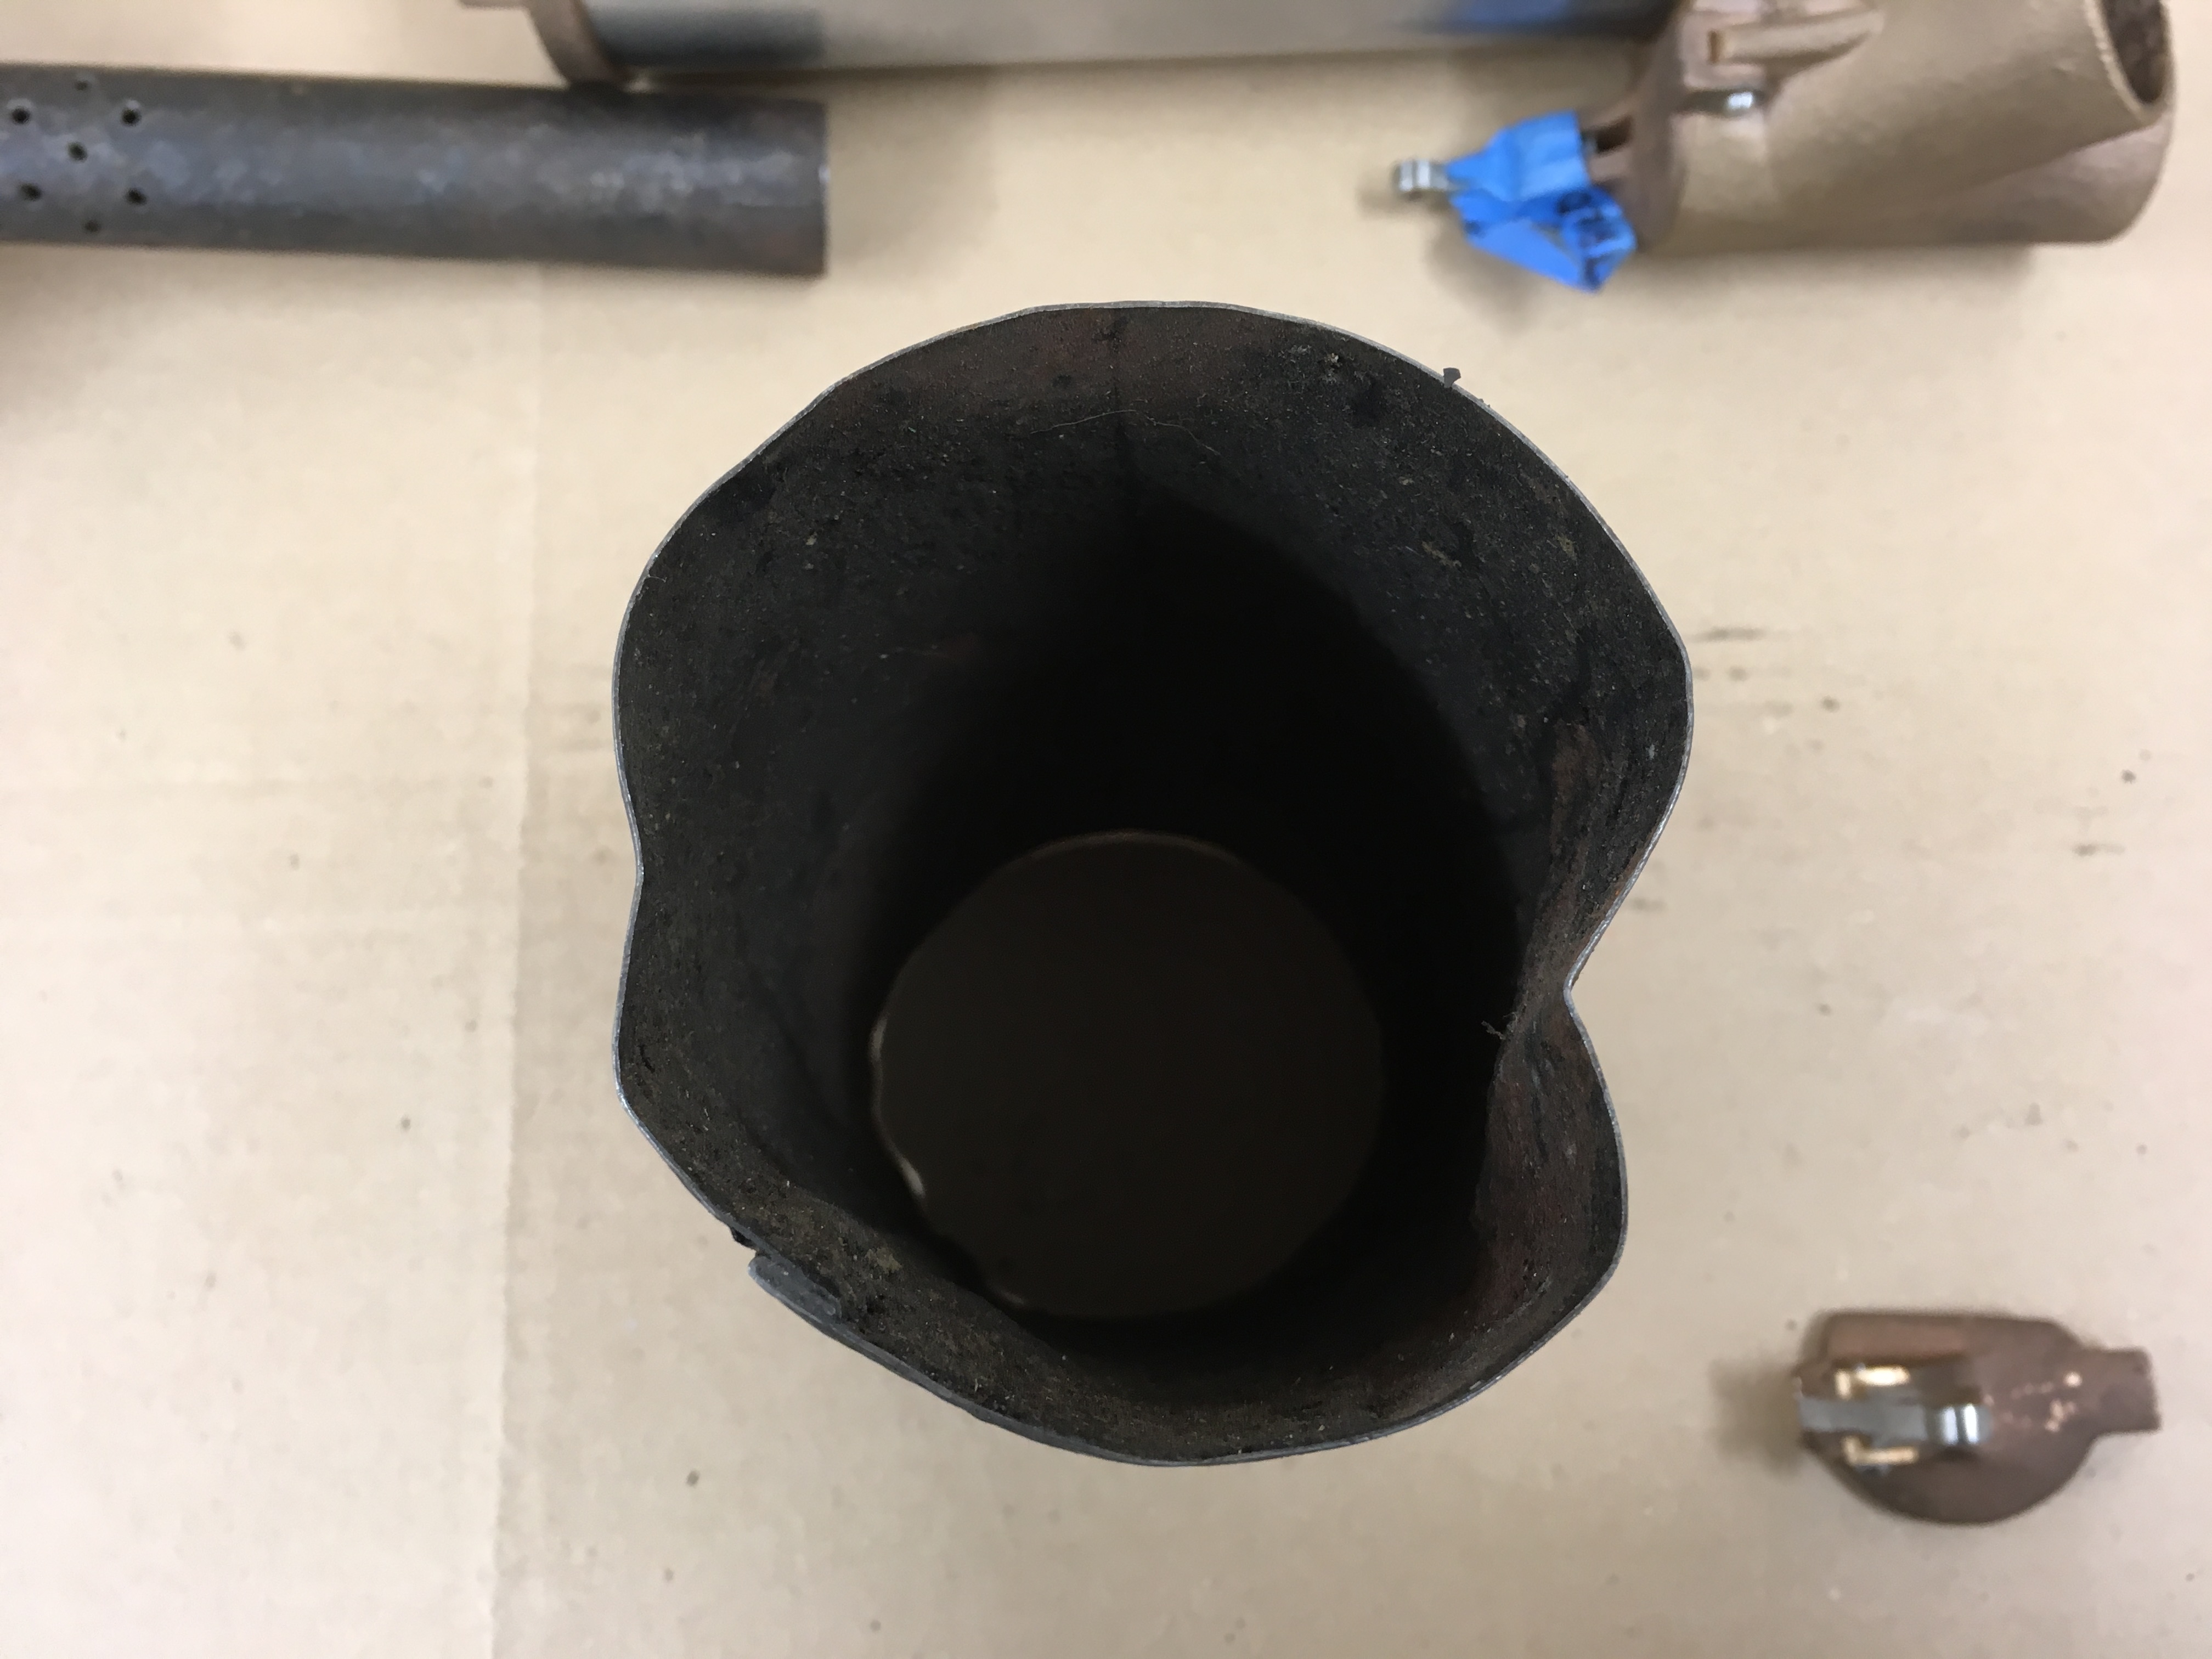
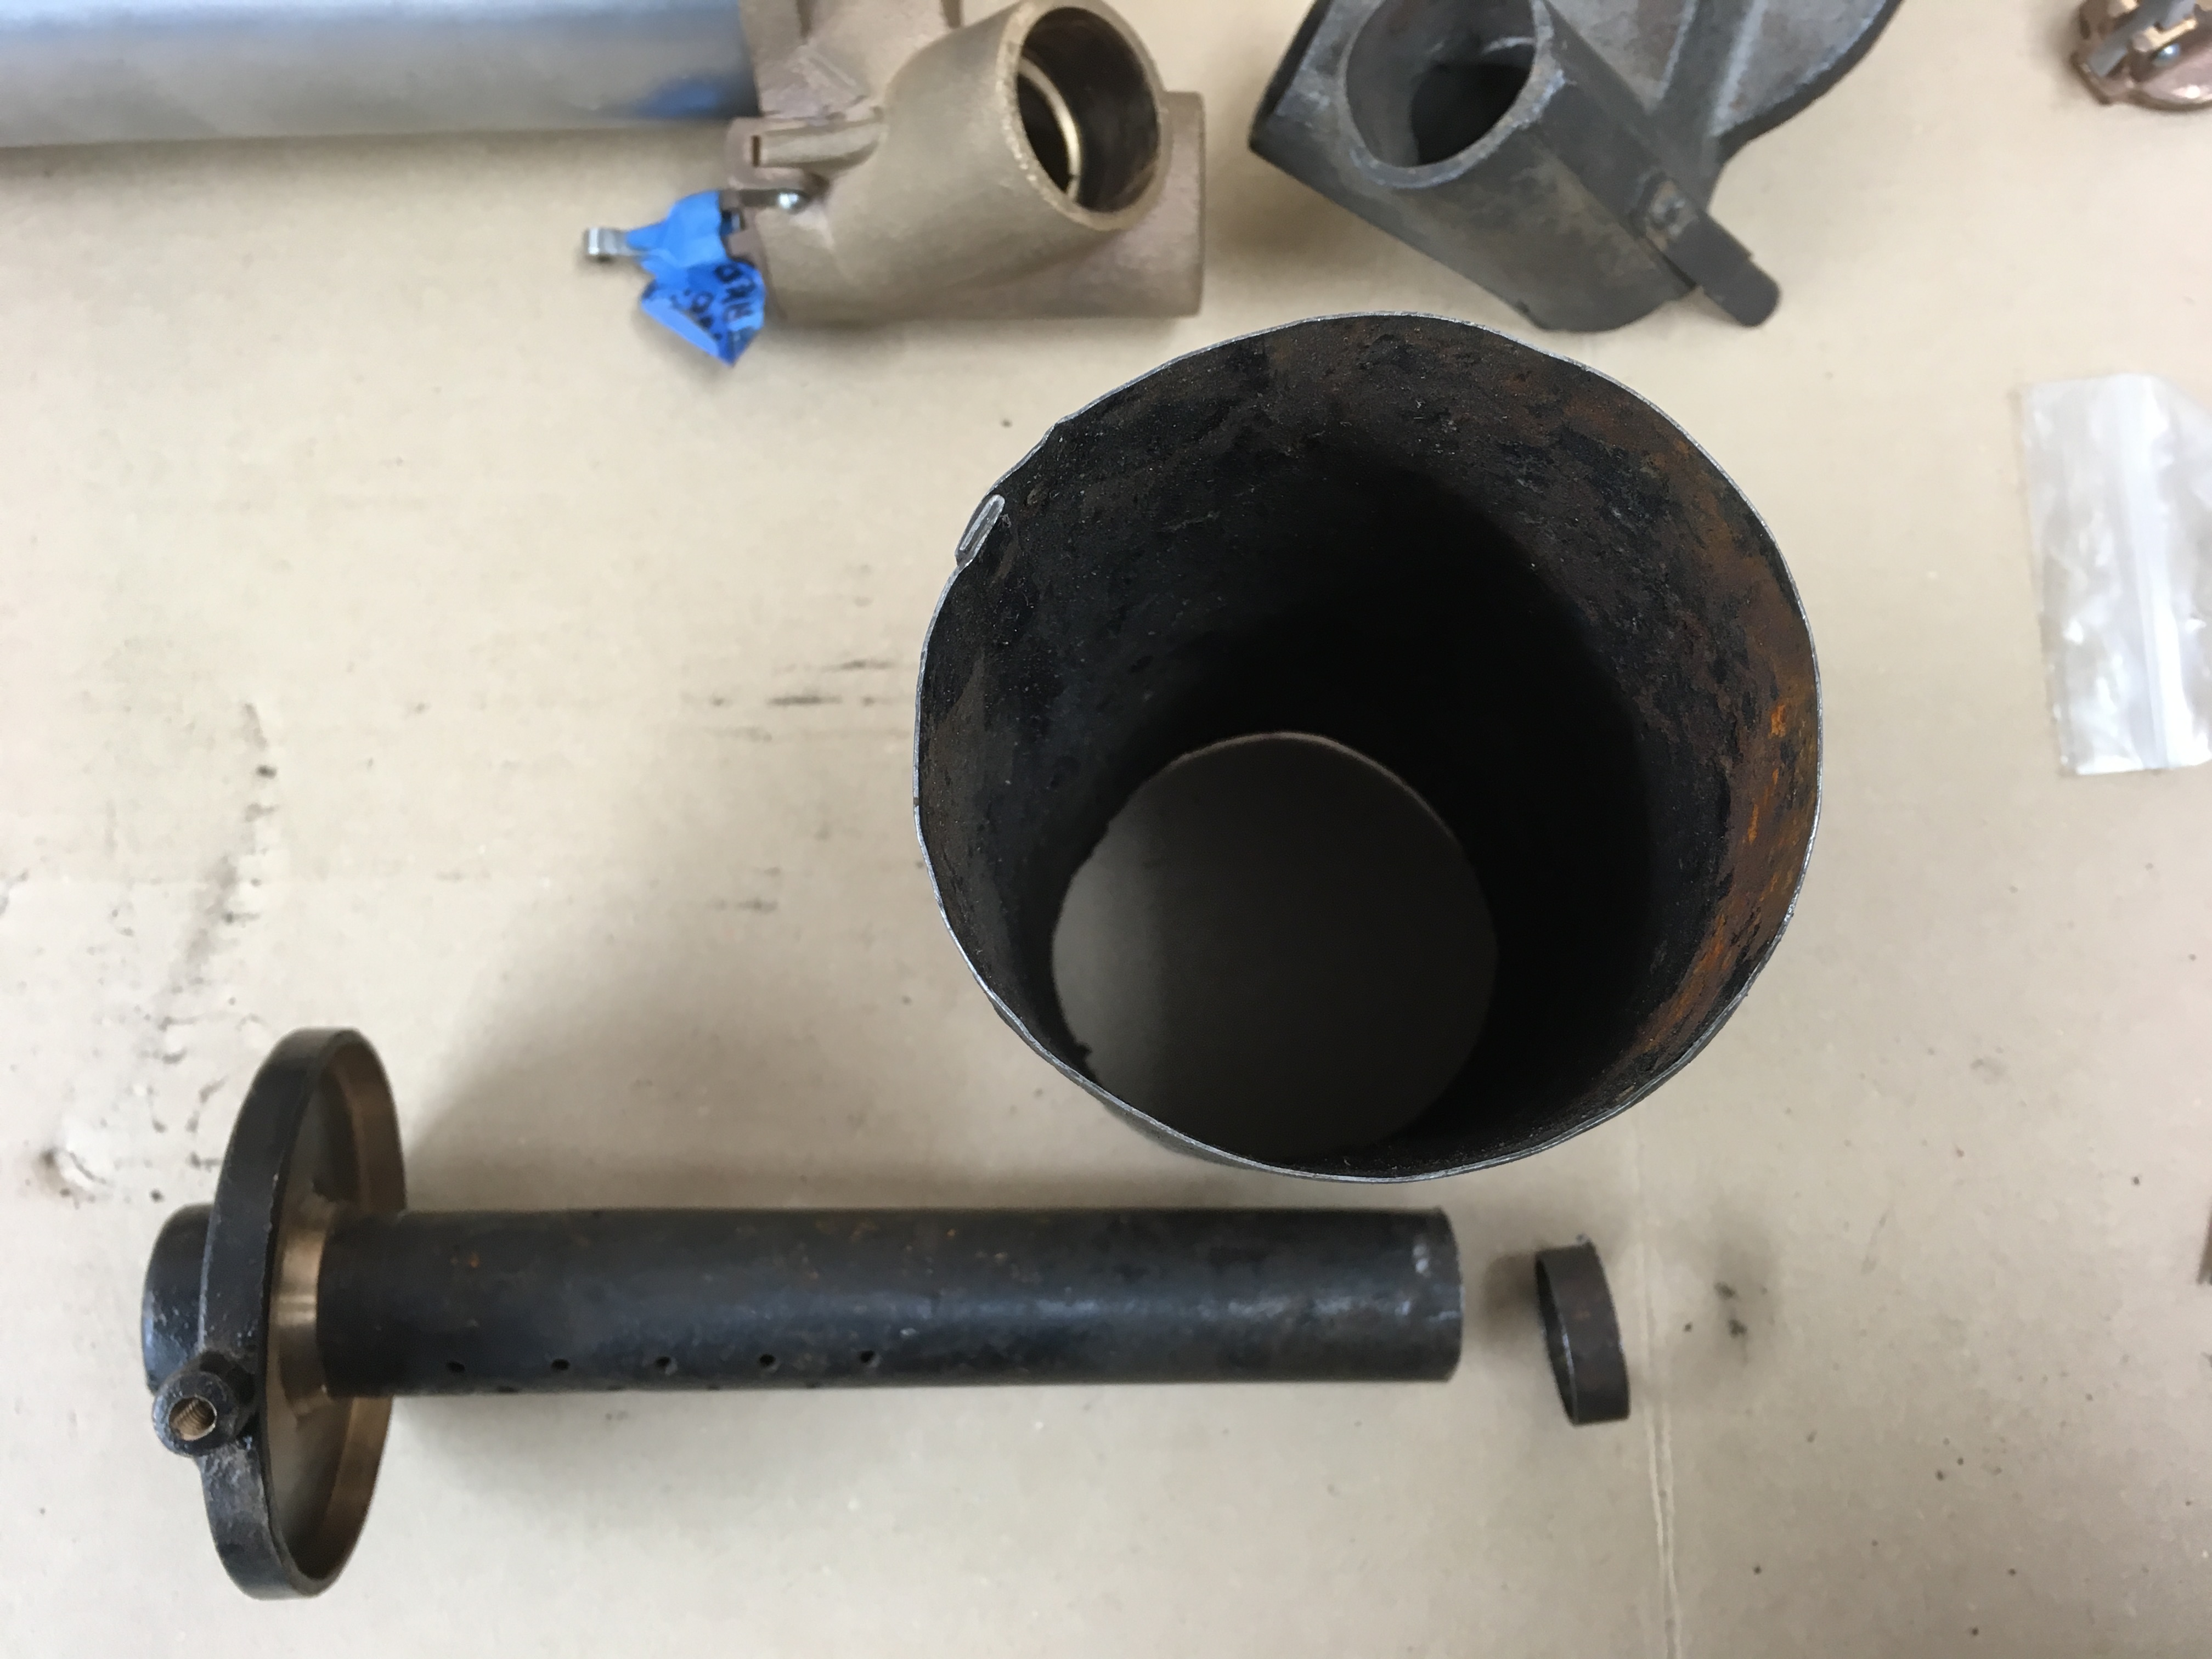
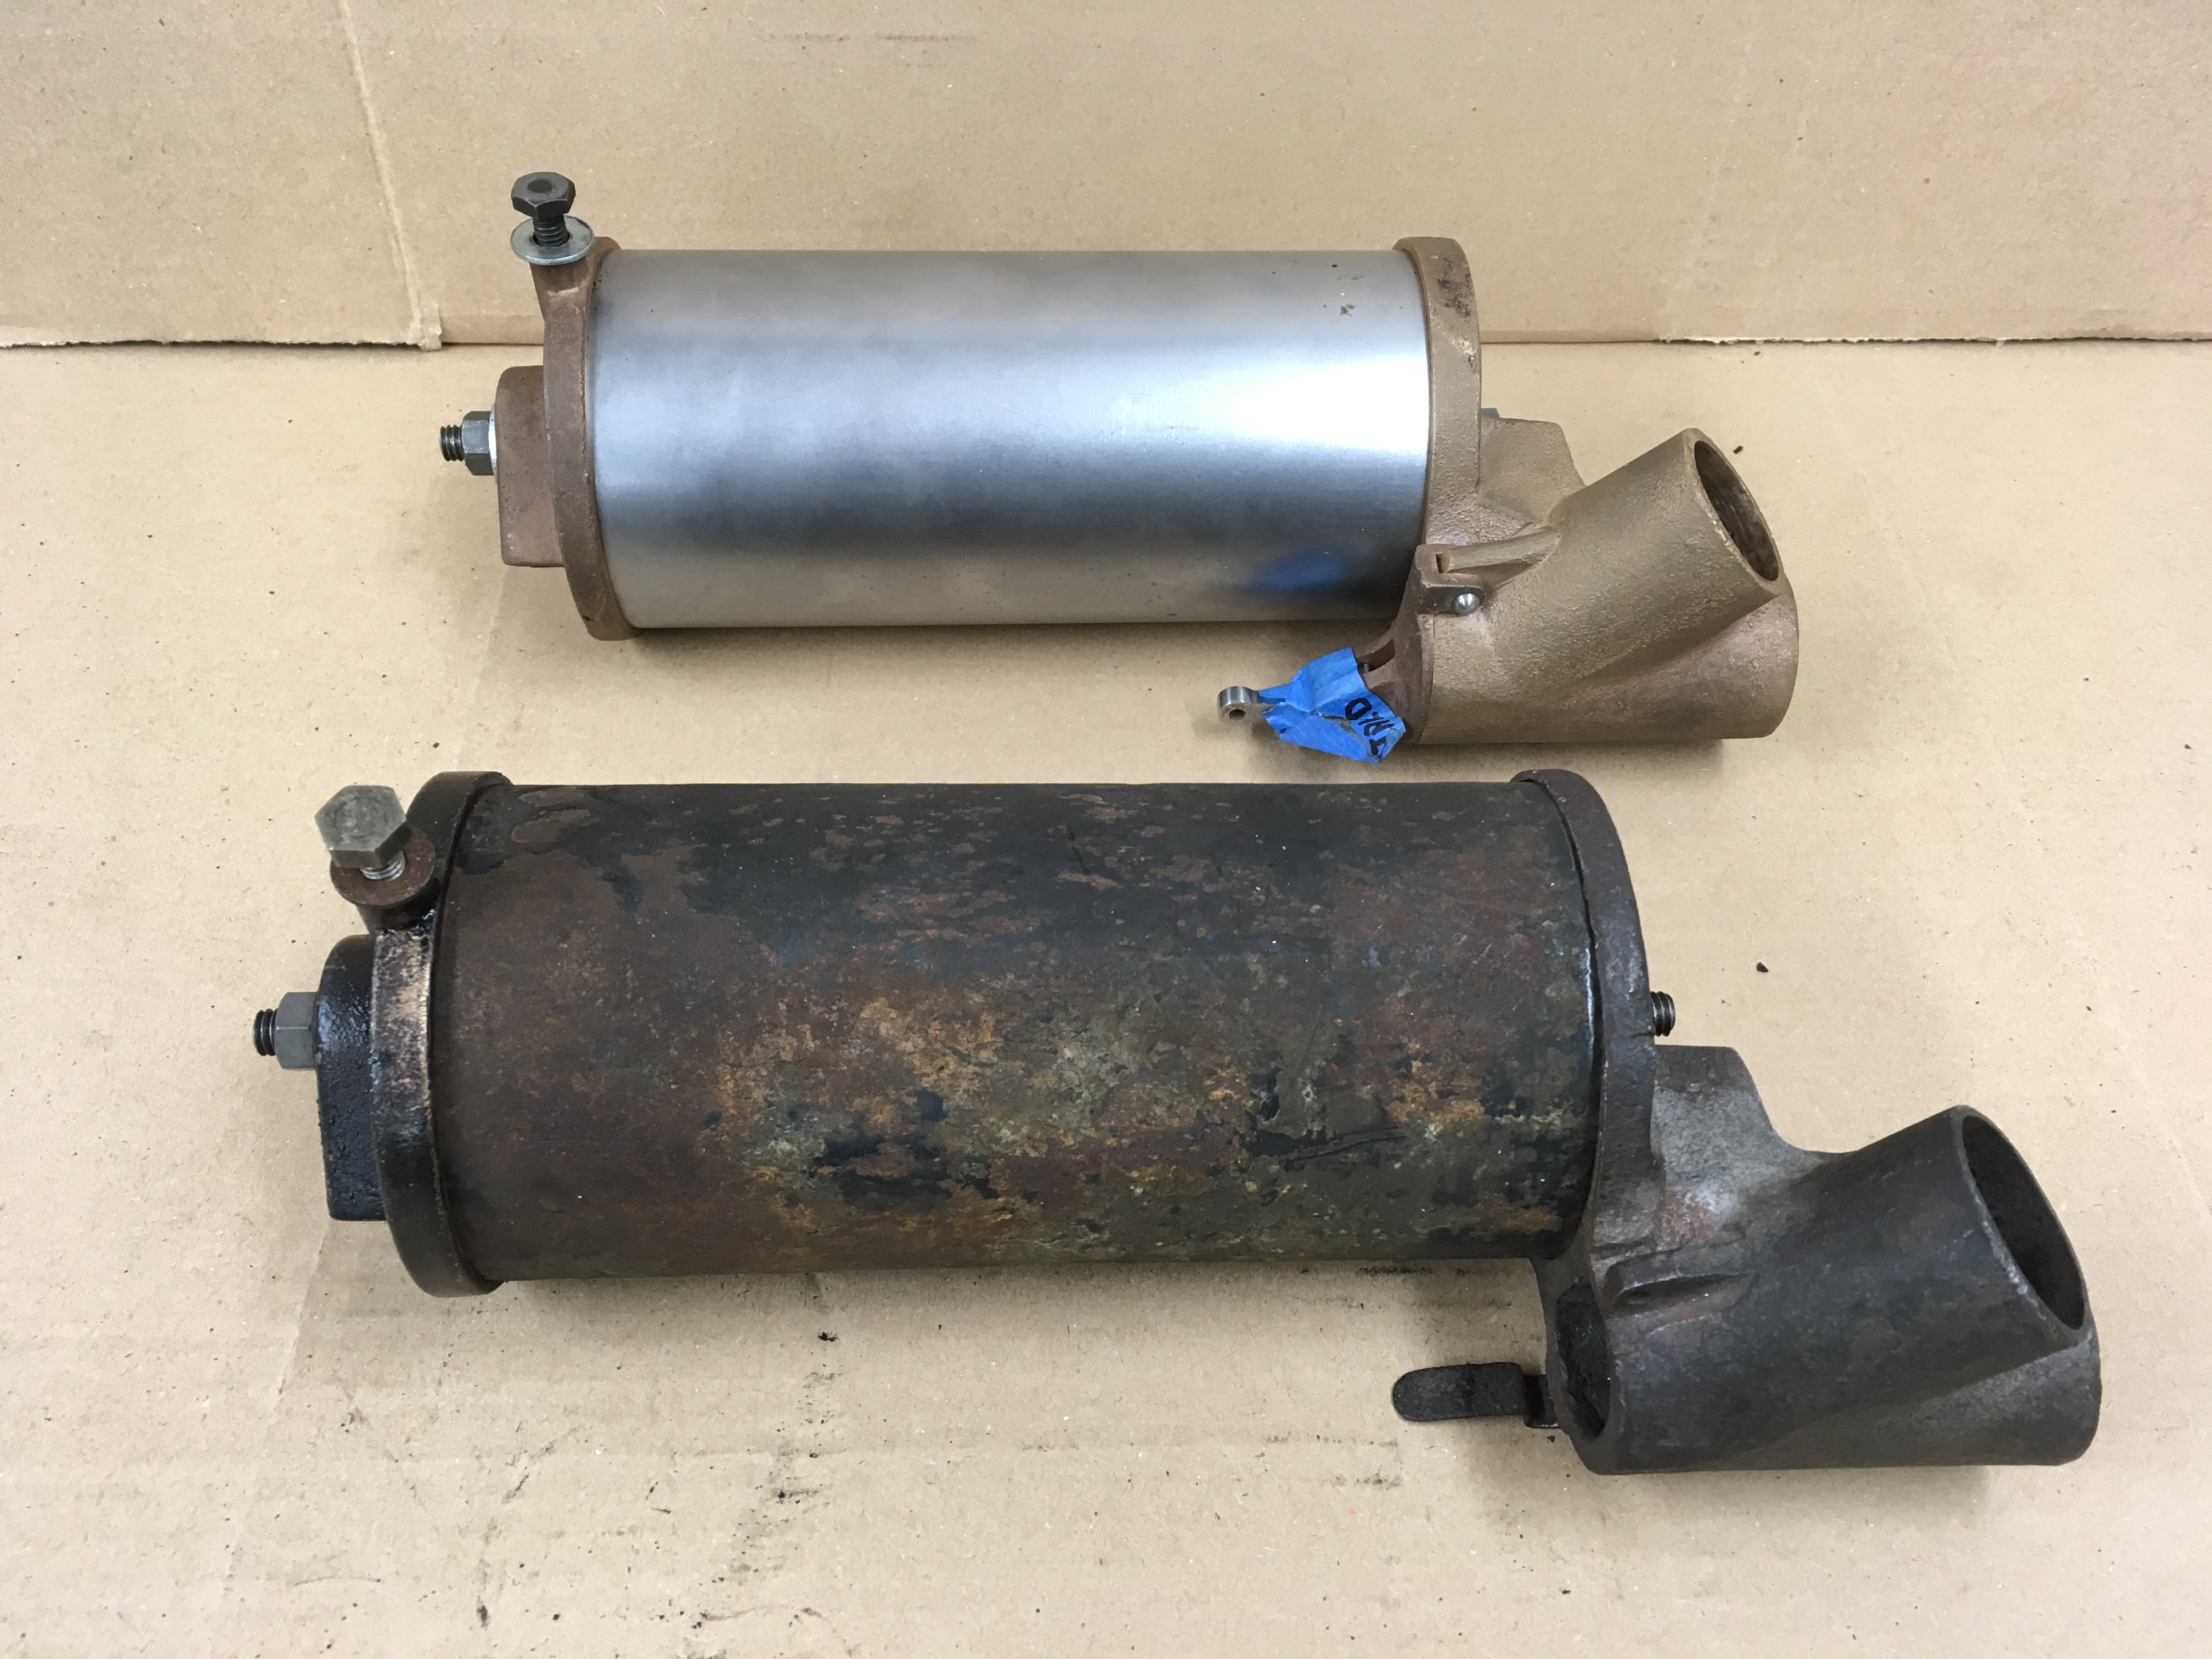
I have some original front pipes from earlier builds as well as one pipe that came with the original motor. They are a little beat up but might work. I also got a repop set from Dewey Rice so now I can go either way. The original front muffler casting, complete with spring clip came from Mark Masa along with the outer casing and the inner pipe. Tim Thoele still makes complete repop mufflers for early Harley and Yale motorcycles and he supplied the missing rear casting and gate. So barring the rear casting I now have a complete original exhaust system.
28.12.2016
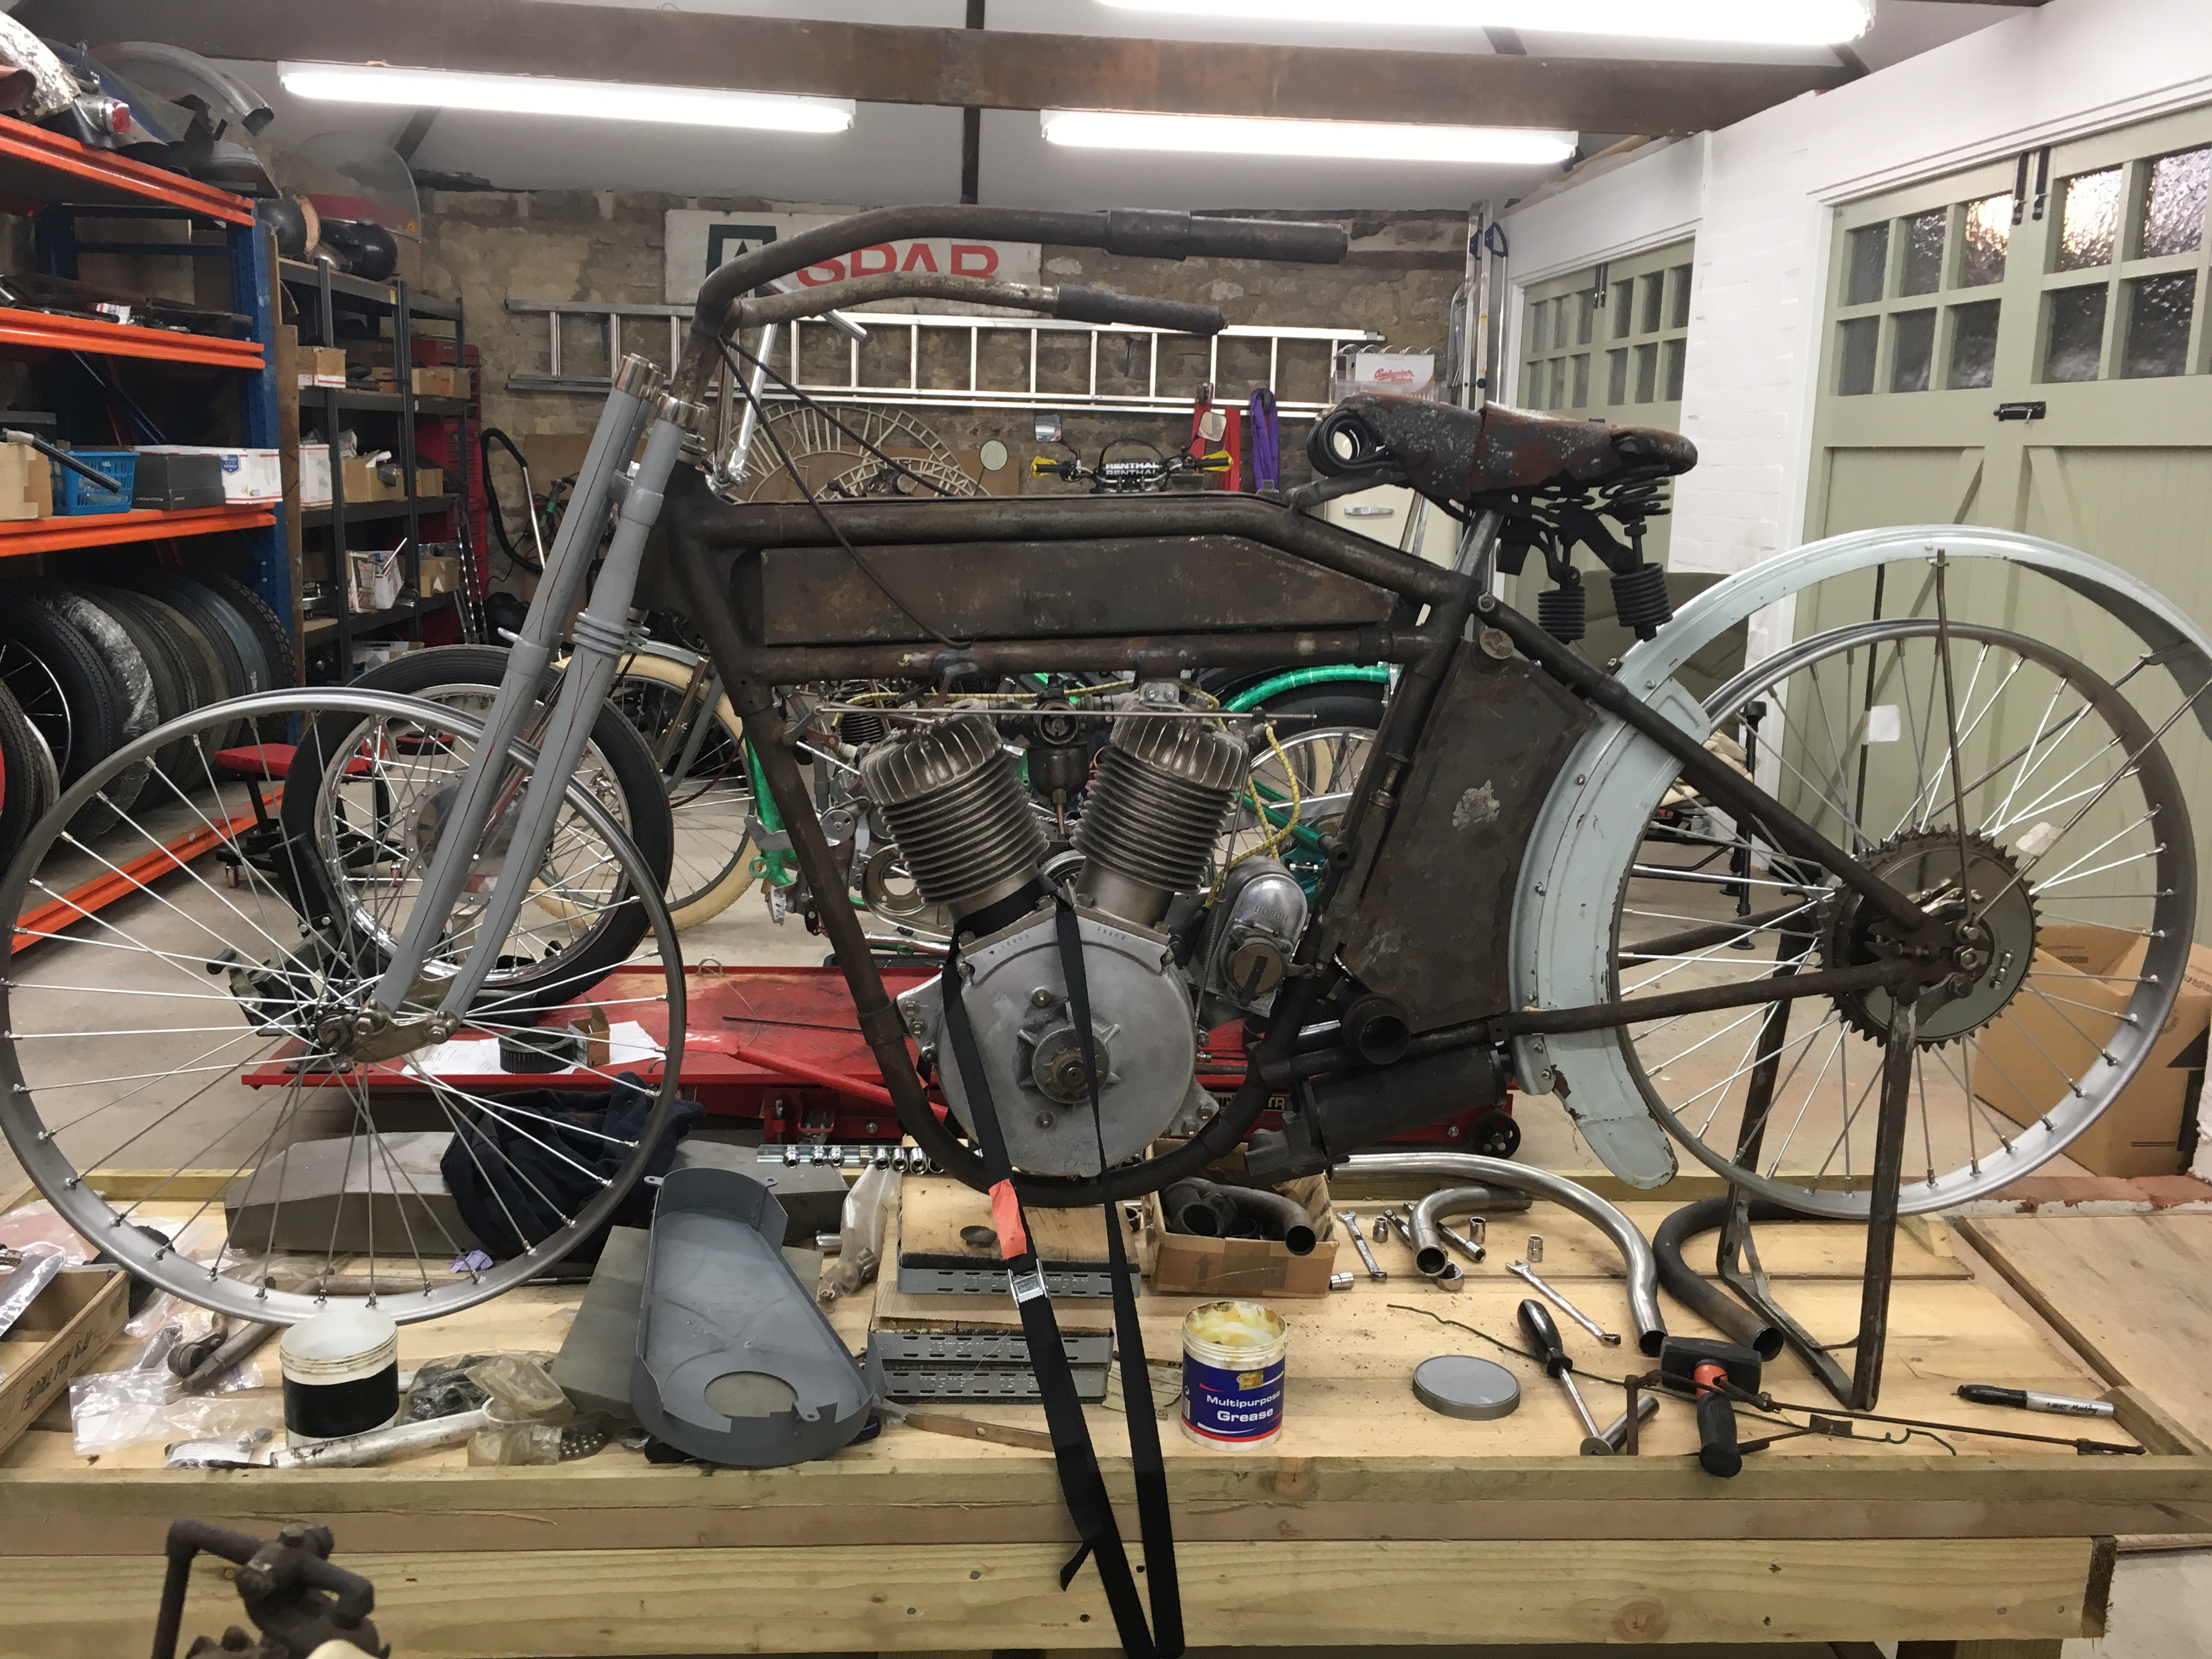
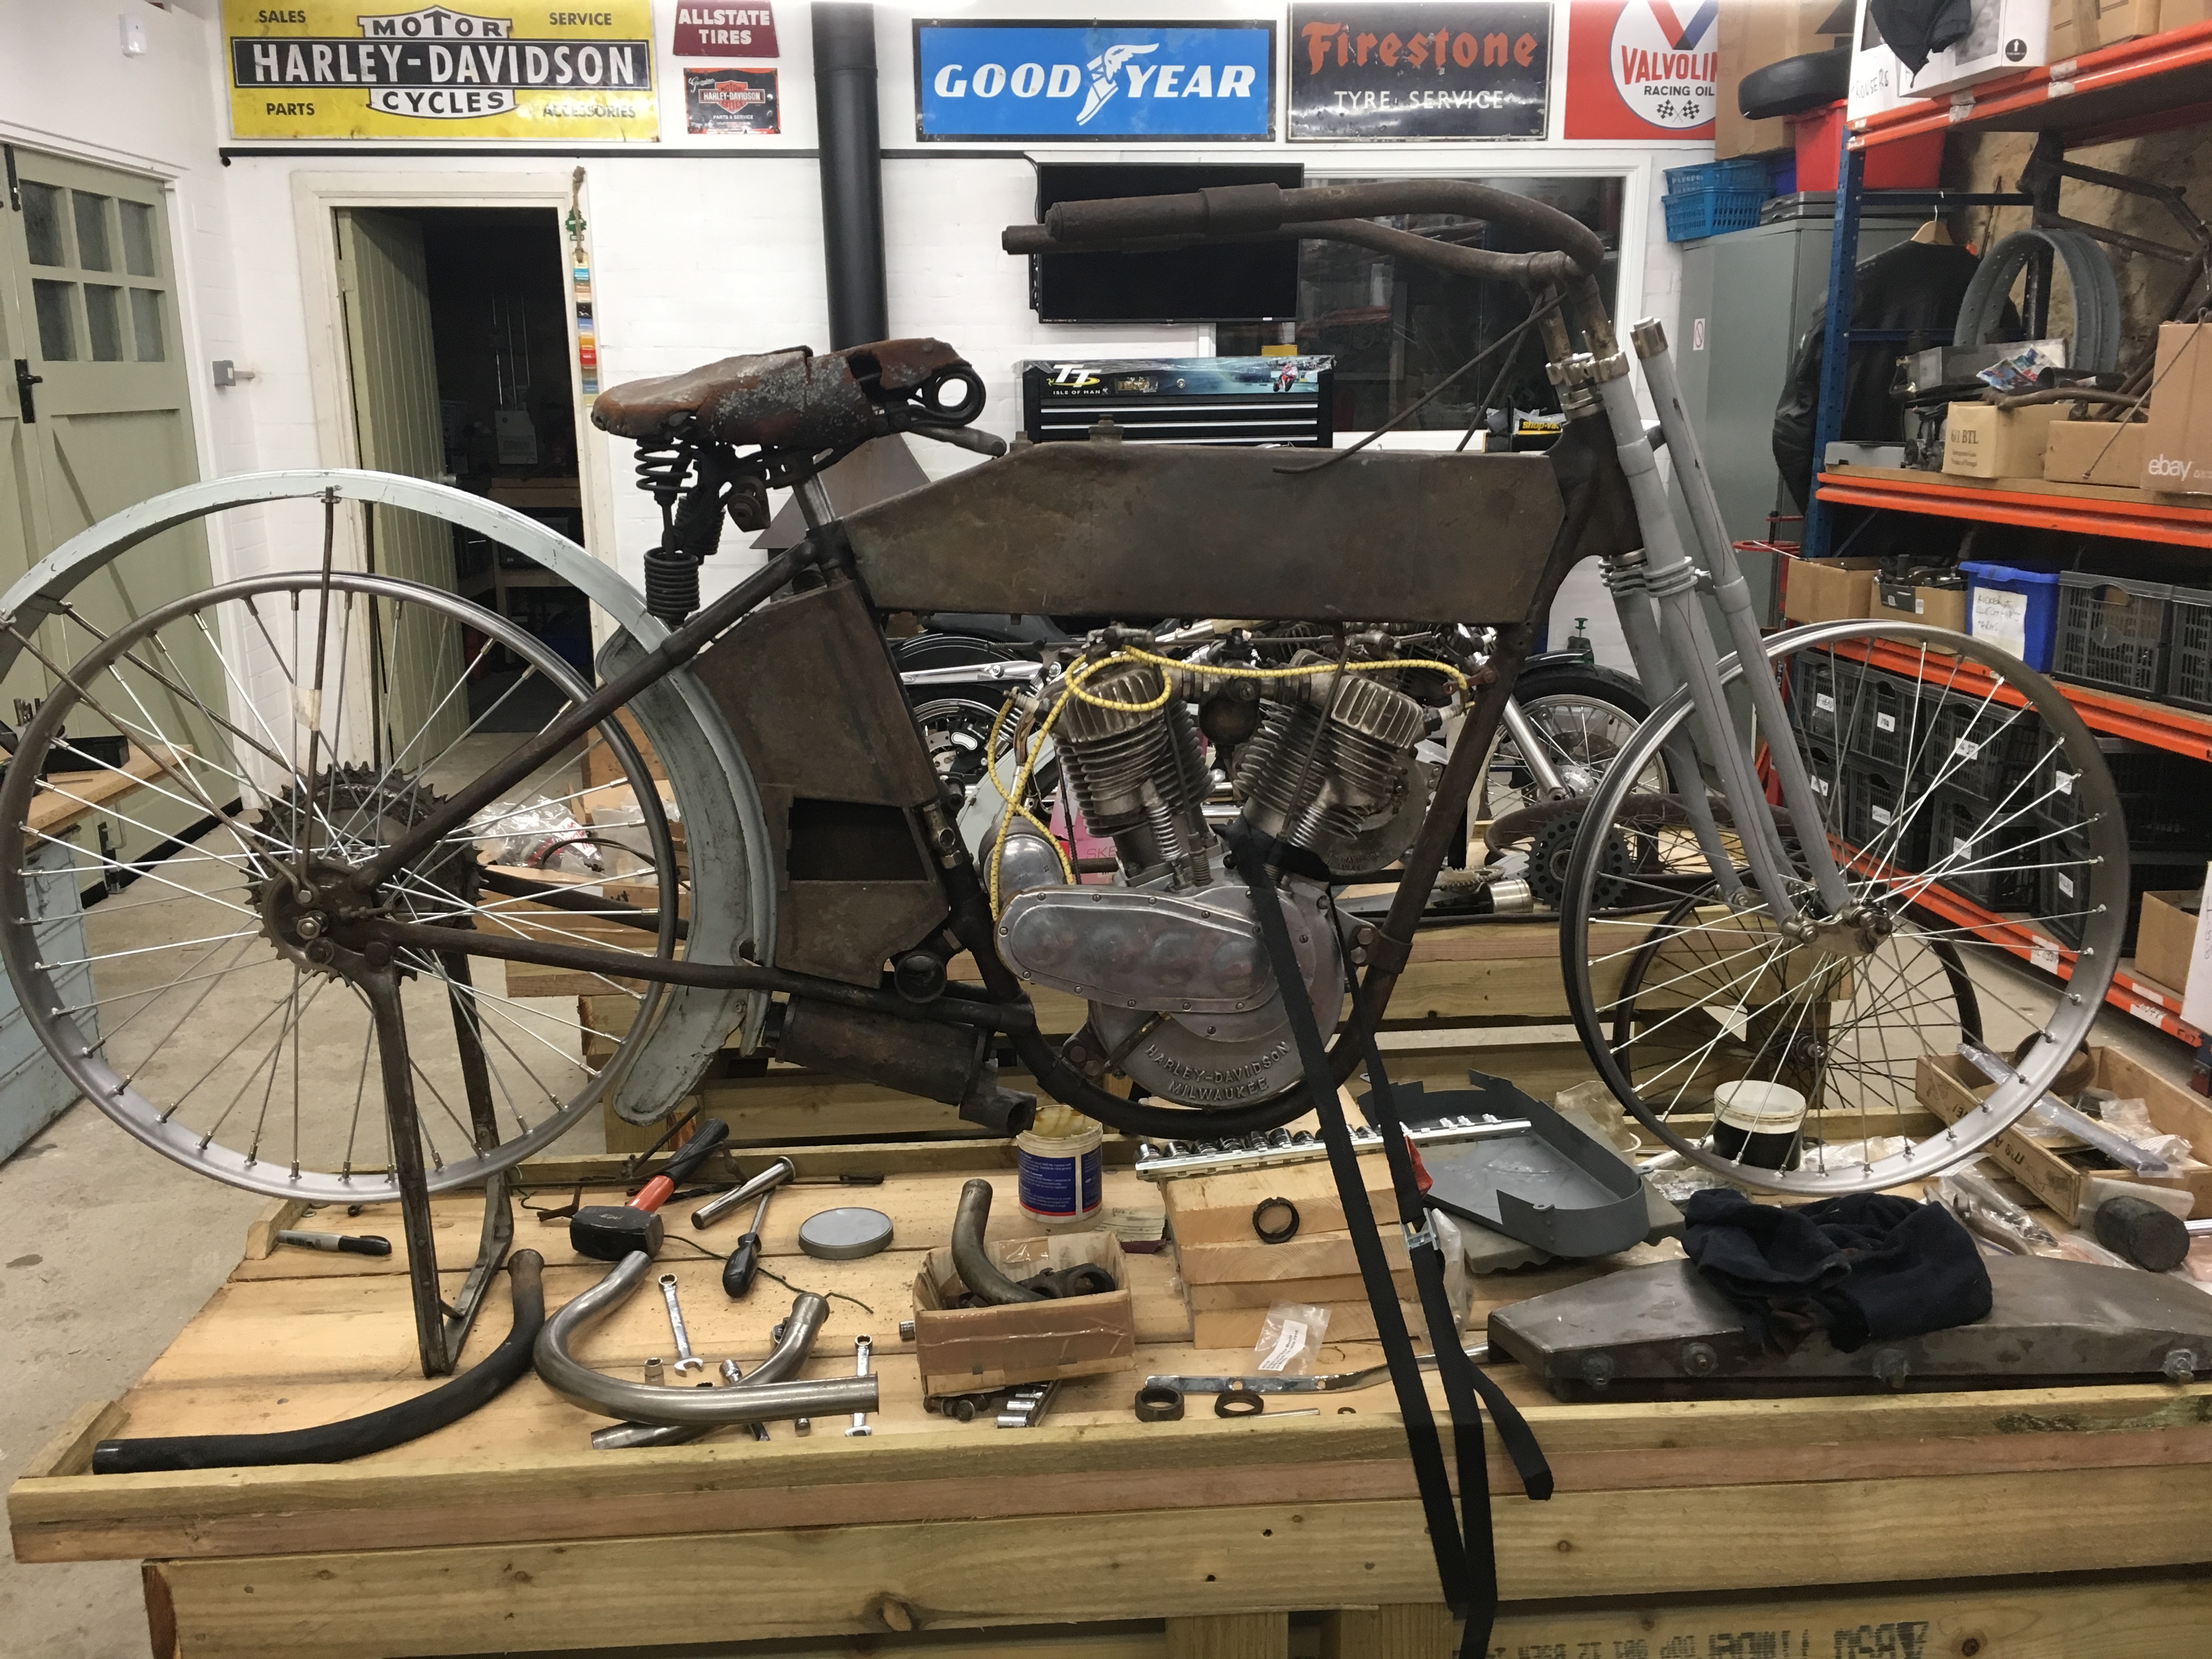
I now have enough parts to start the build. I also have a 1912 8D project and several more parts which could be used on the 8E (chain) and 8D (belt). I will probably build one bike as a dirty scruffy original and the other as a restored, painted and plated bike but still to be ridden. There is also a 1914 two speed sitting on the shelf and other assorted projects on the go.
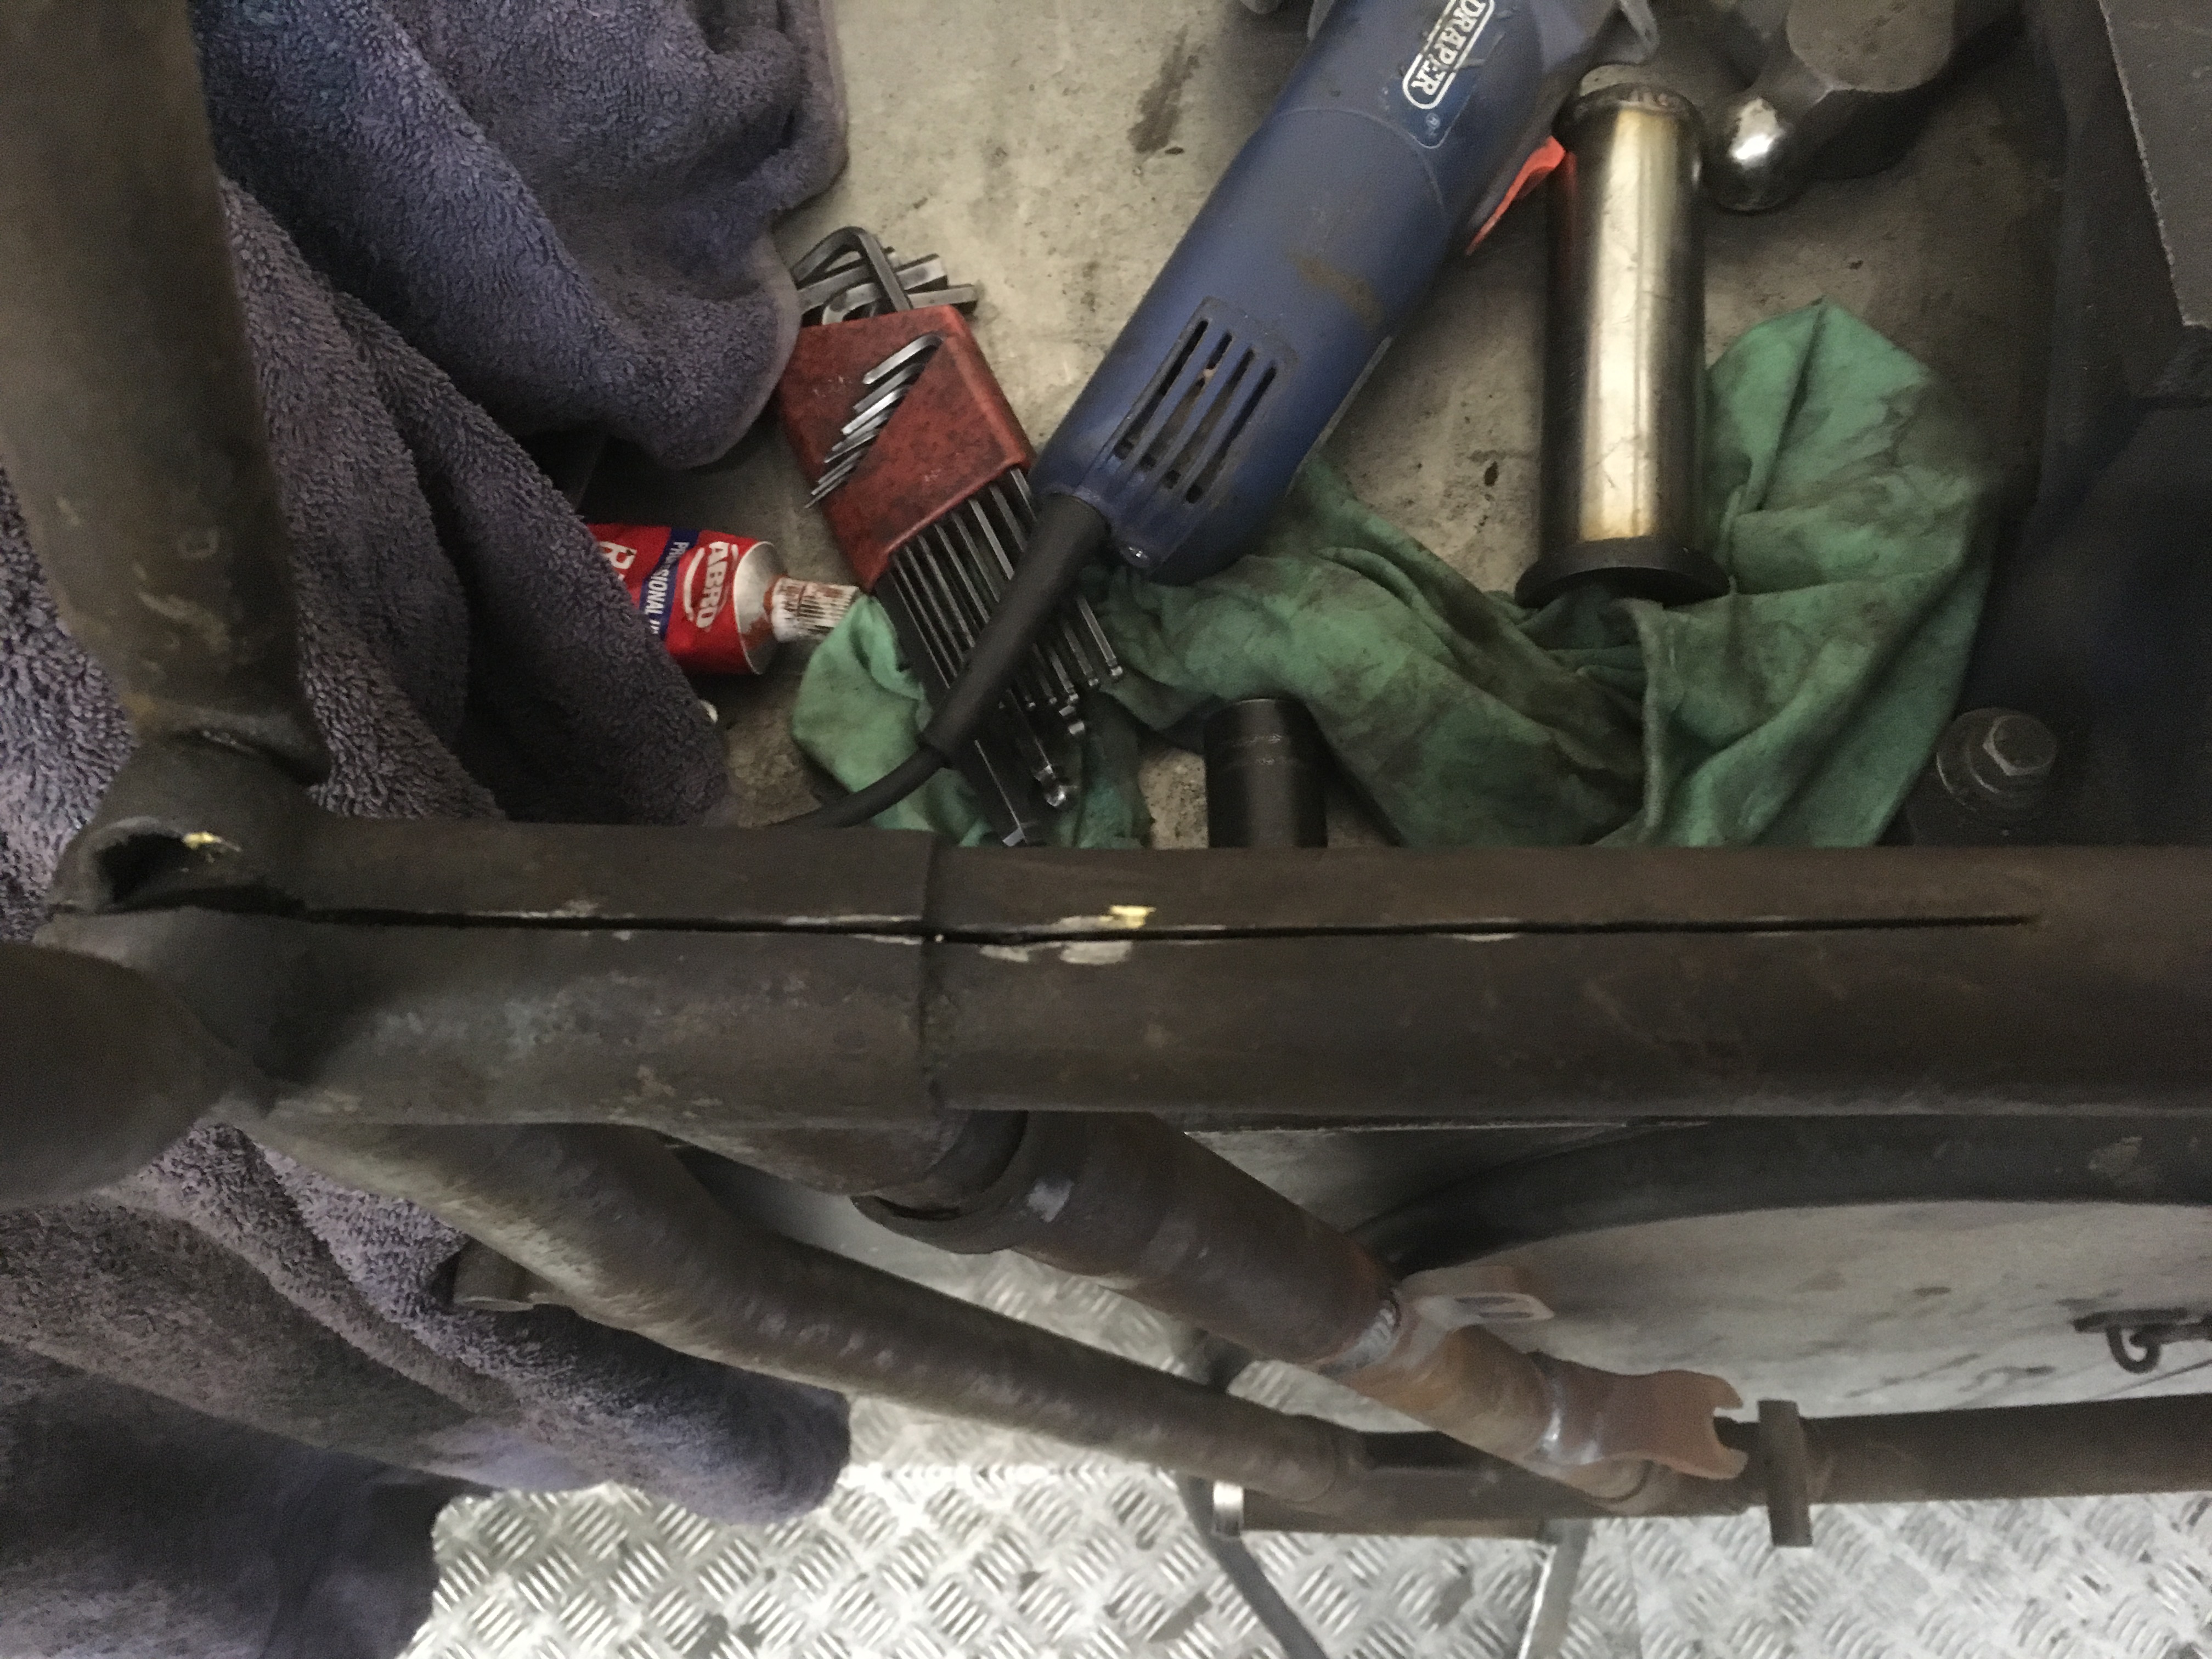
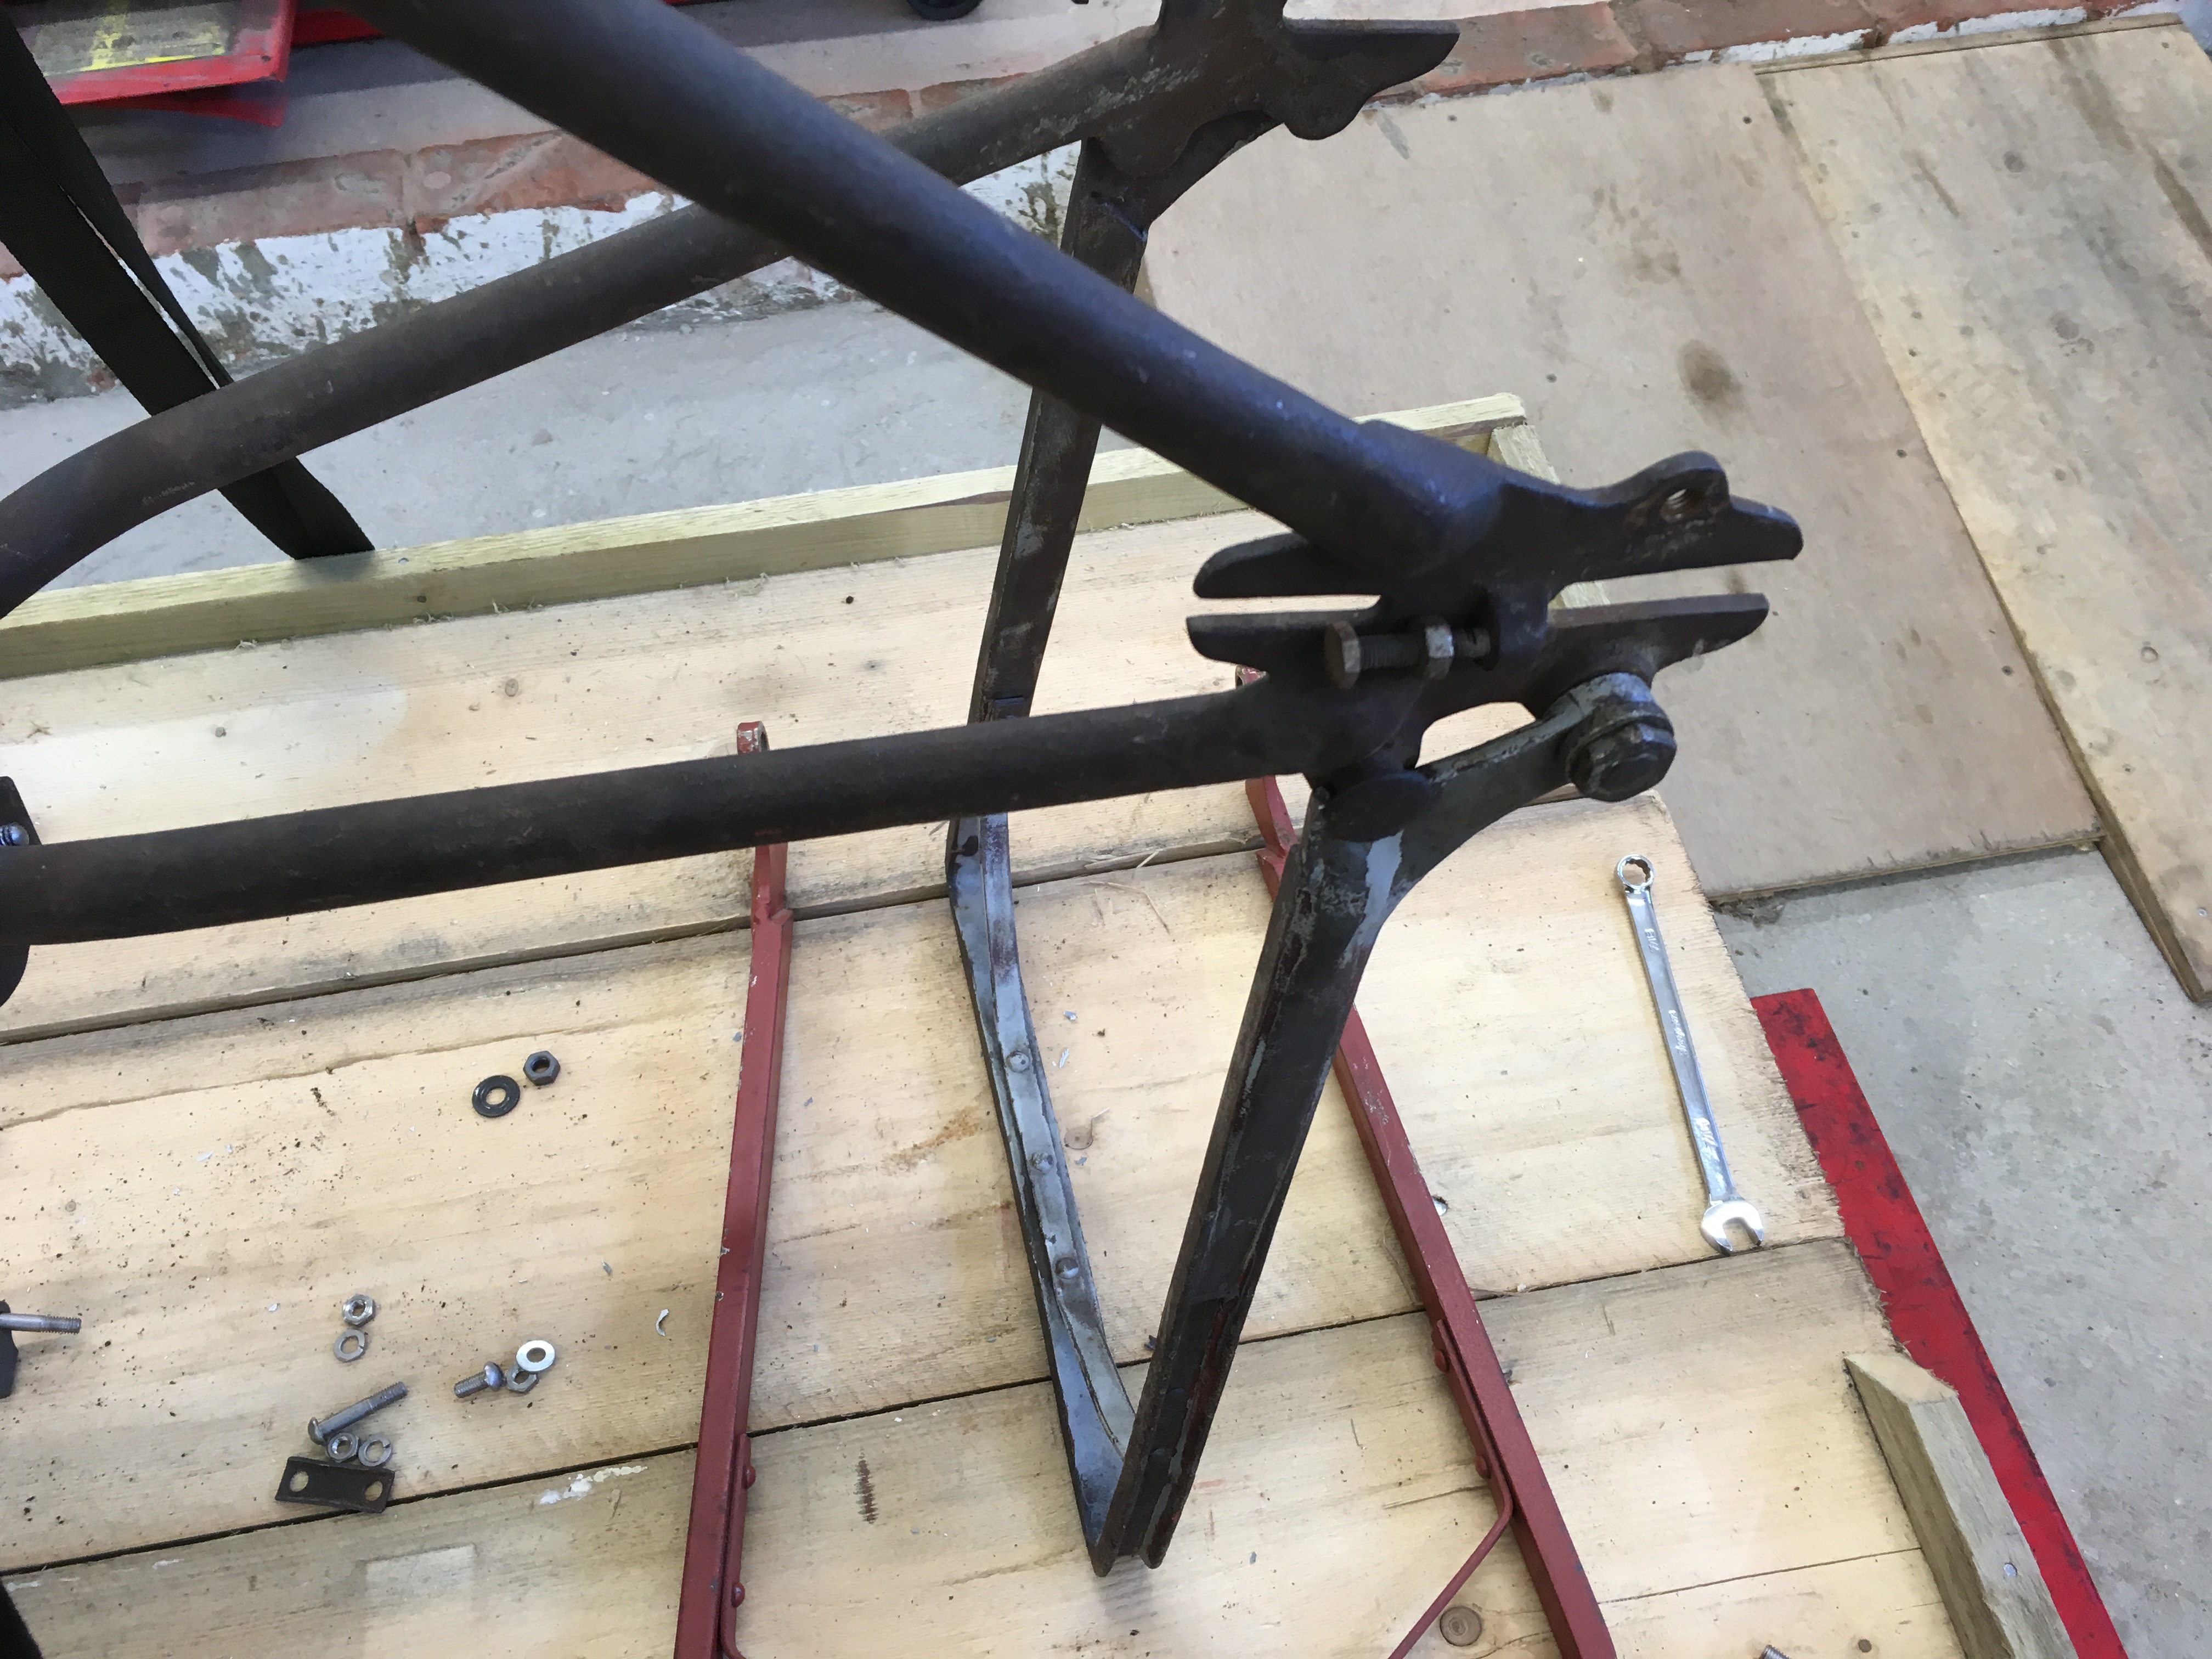
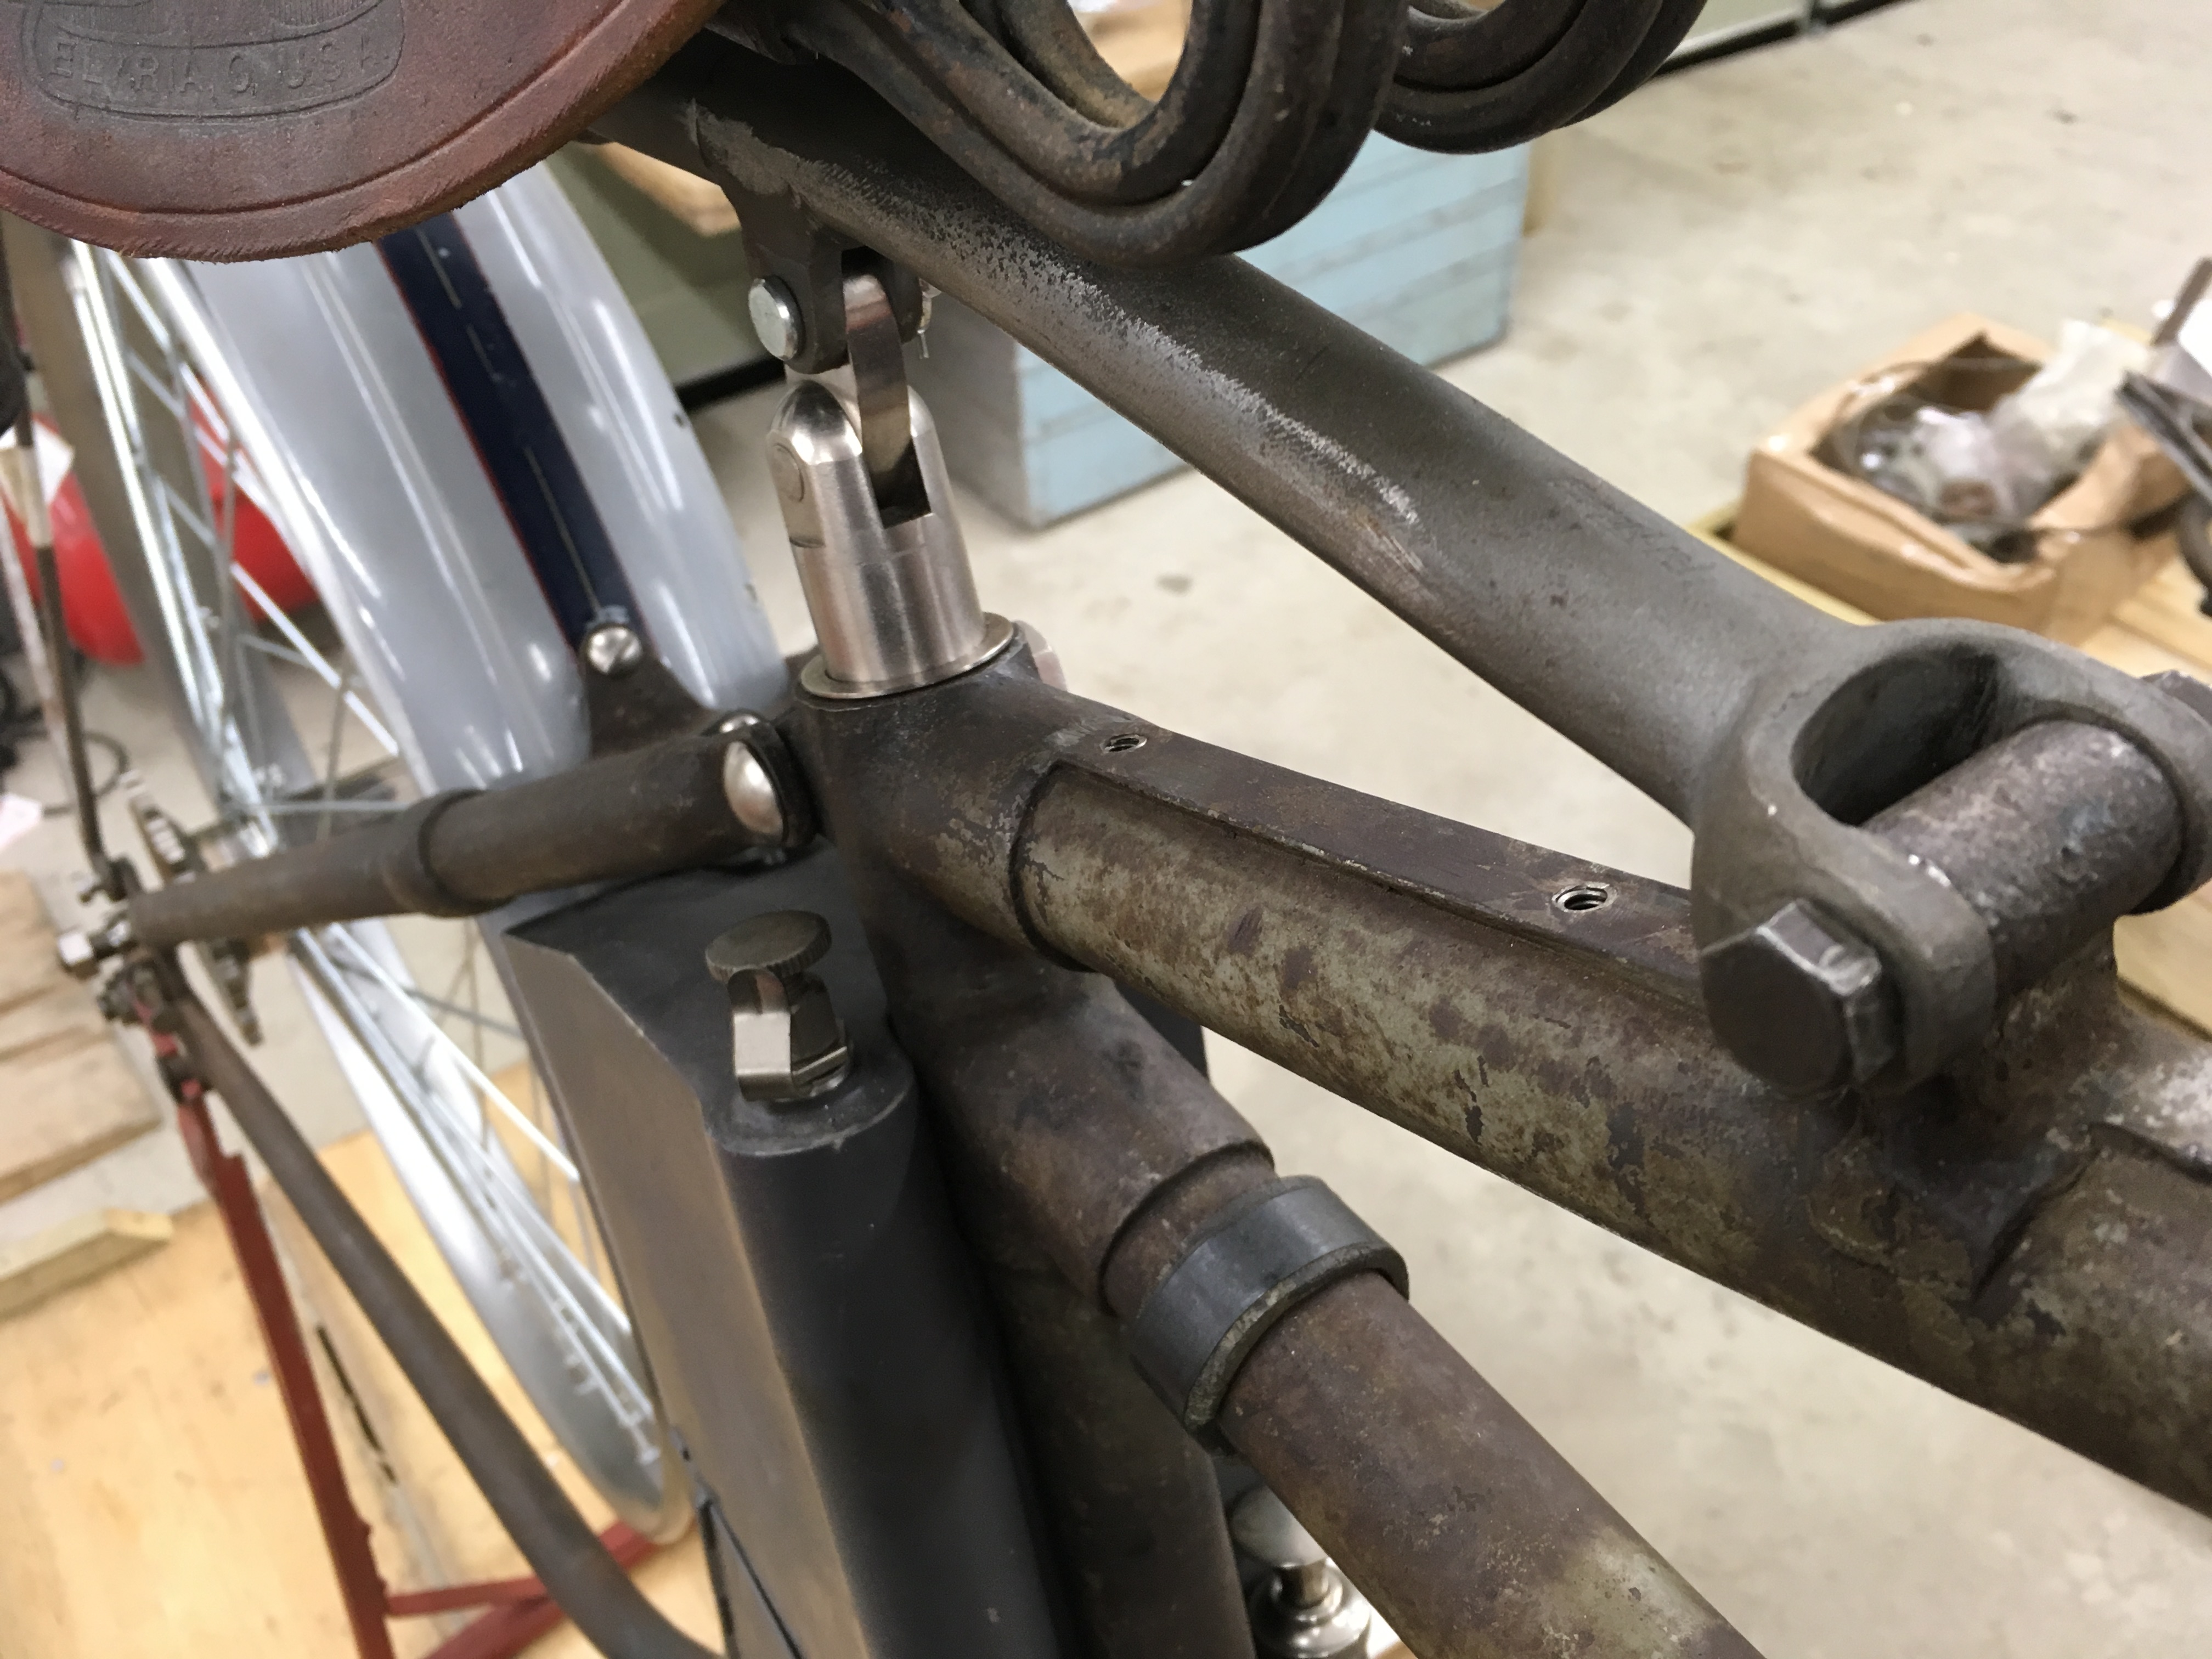
The first issue was with the frame; I couldn’t get the seat post out, fixed solid. I had the cut the back of the seat tube and then weld a rod and slide hammer the post out. Then re-weld the tube and re-fit another (original) seat post.
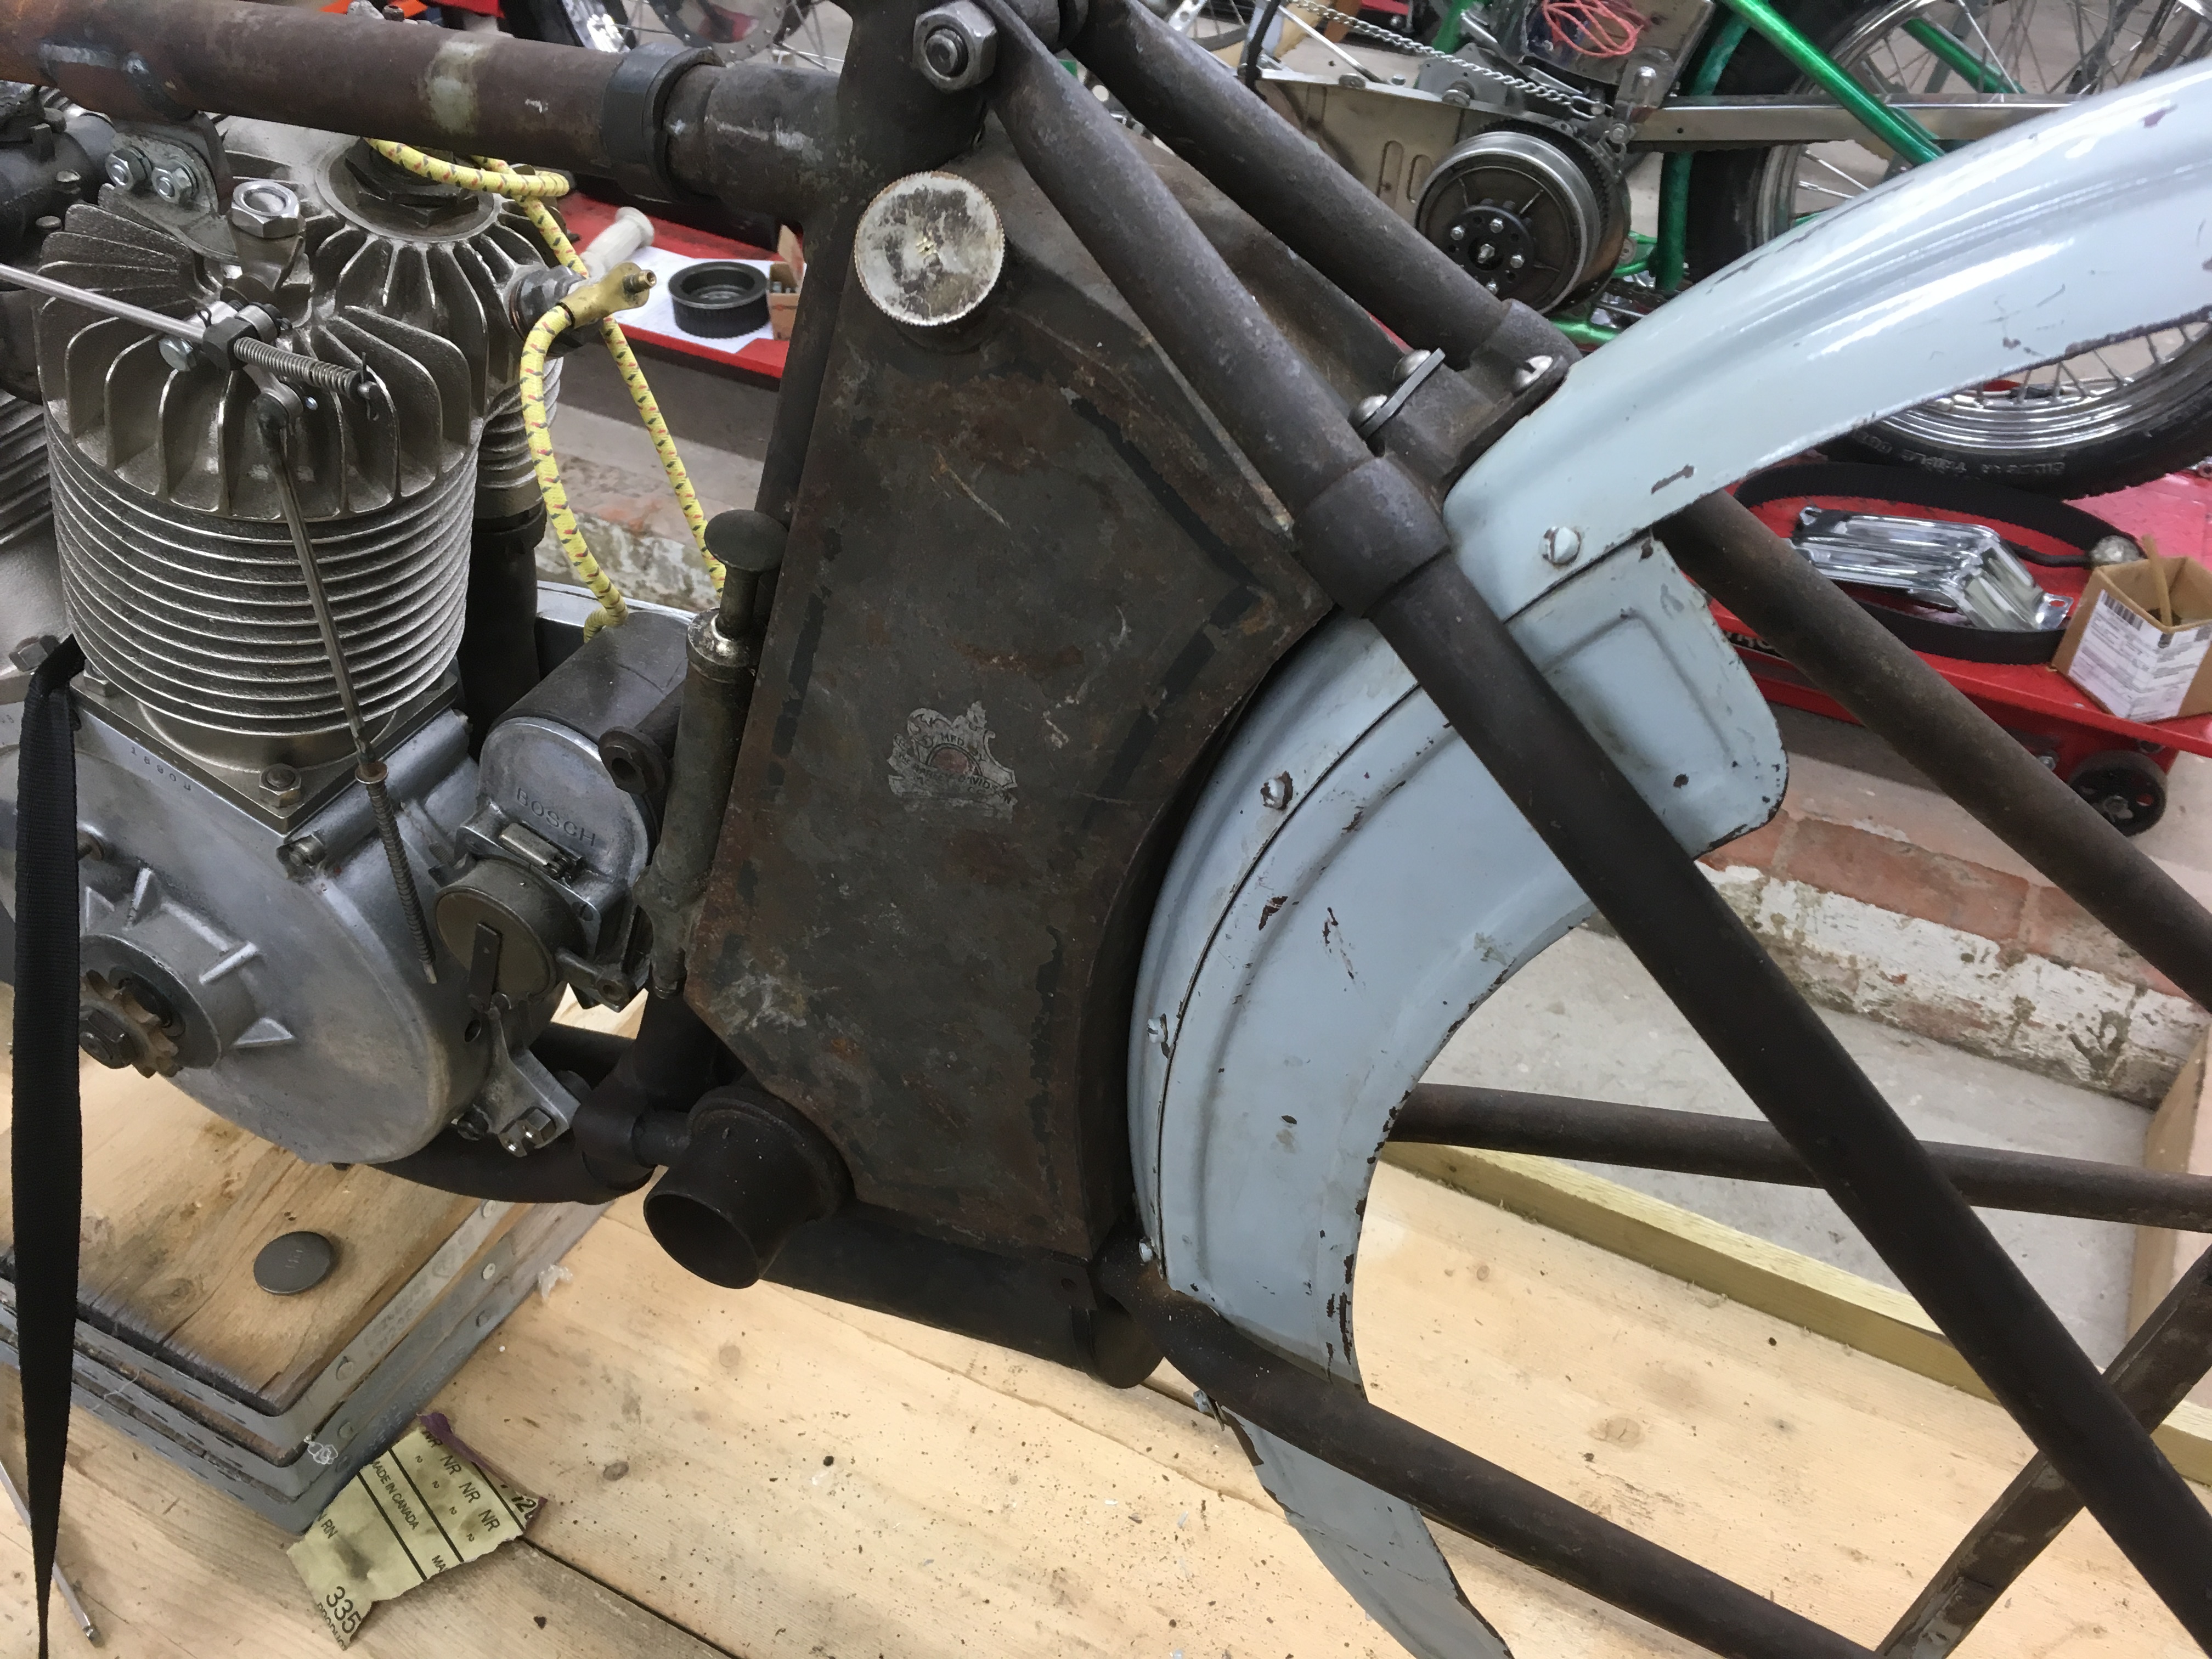
Next was the silencer. I built up the re-pop version on the bike as a guide to check the fit. Then I had to make the original one fit (usually it’s the other way around). First I had to machine the baffle so it would fit into the rear outlet and then on assembly discovered it was too long. So 12 mm off the baffle and then re-round the outer cover to fit both end pieces.
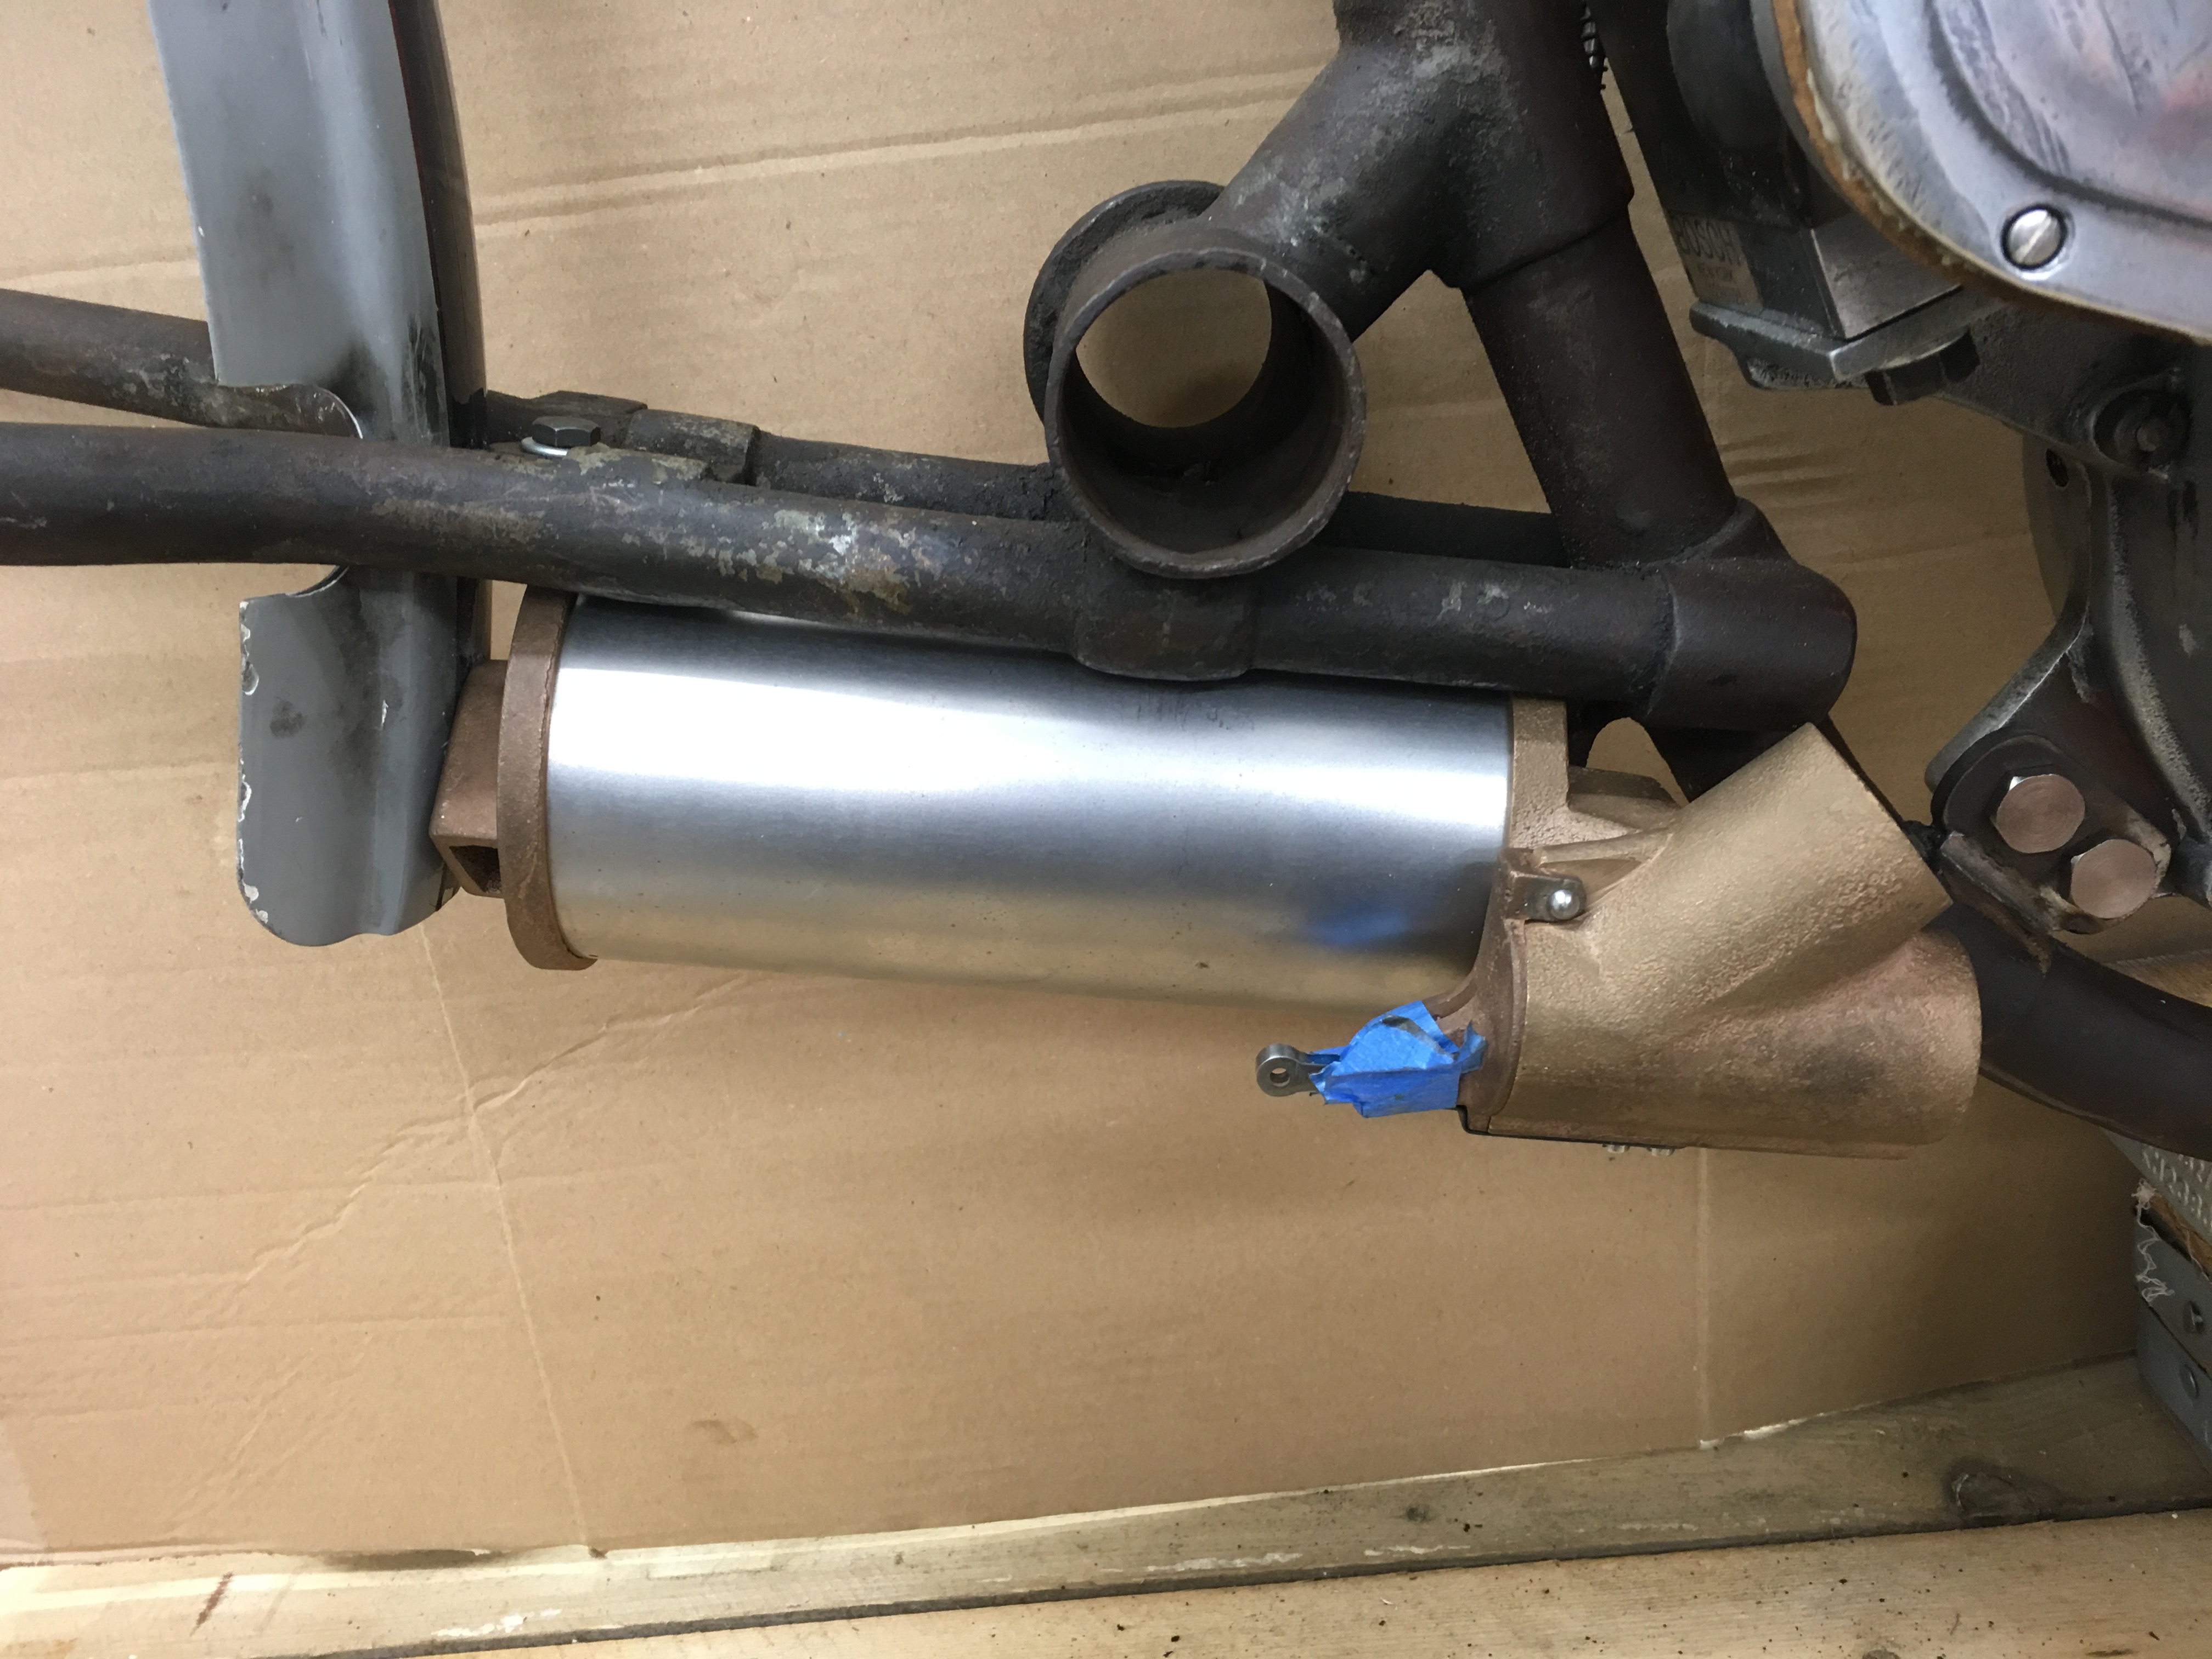

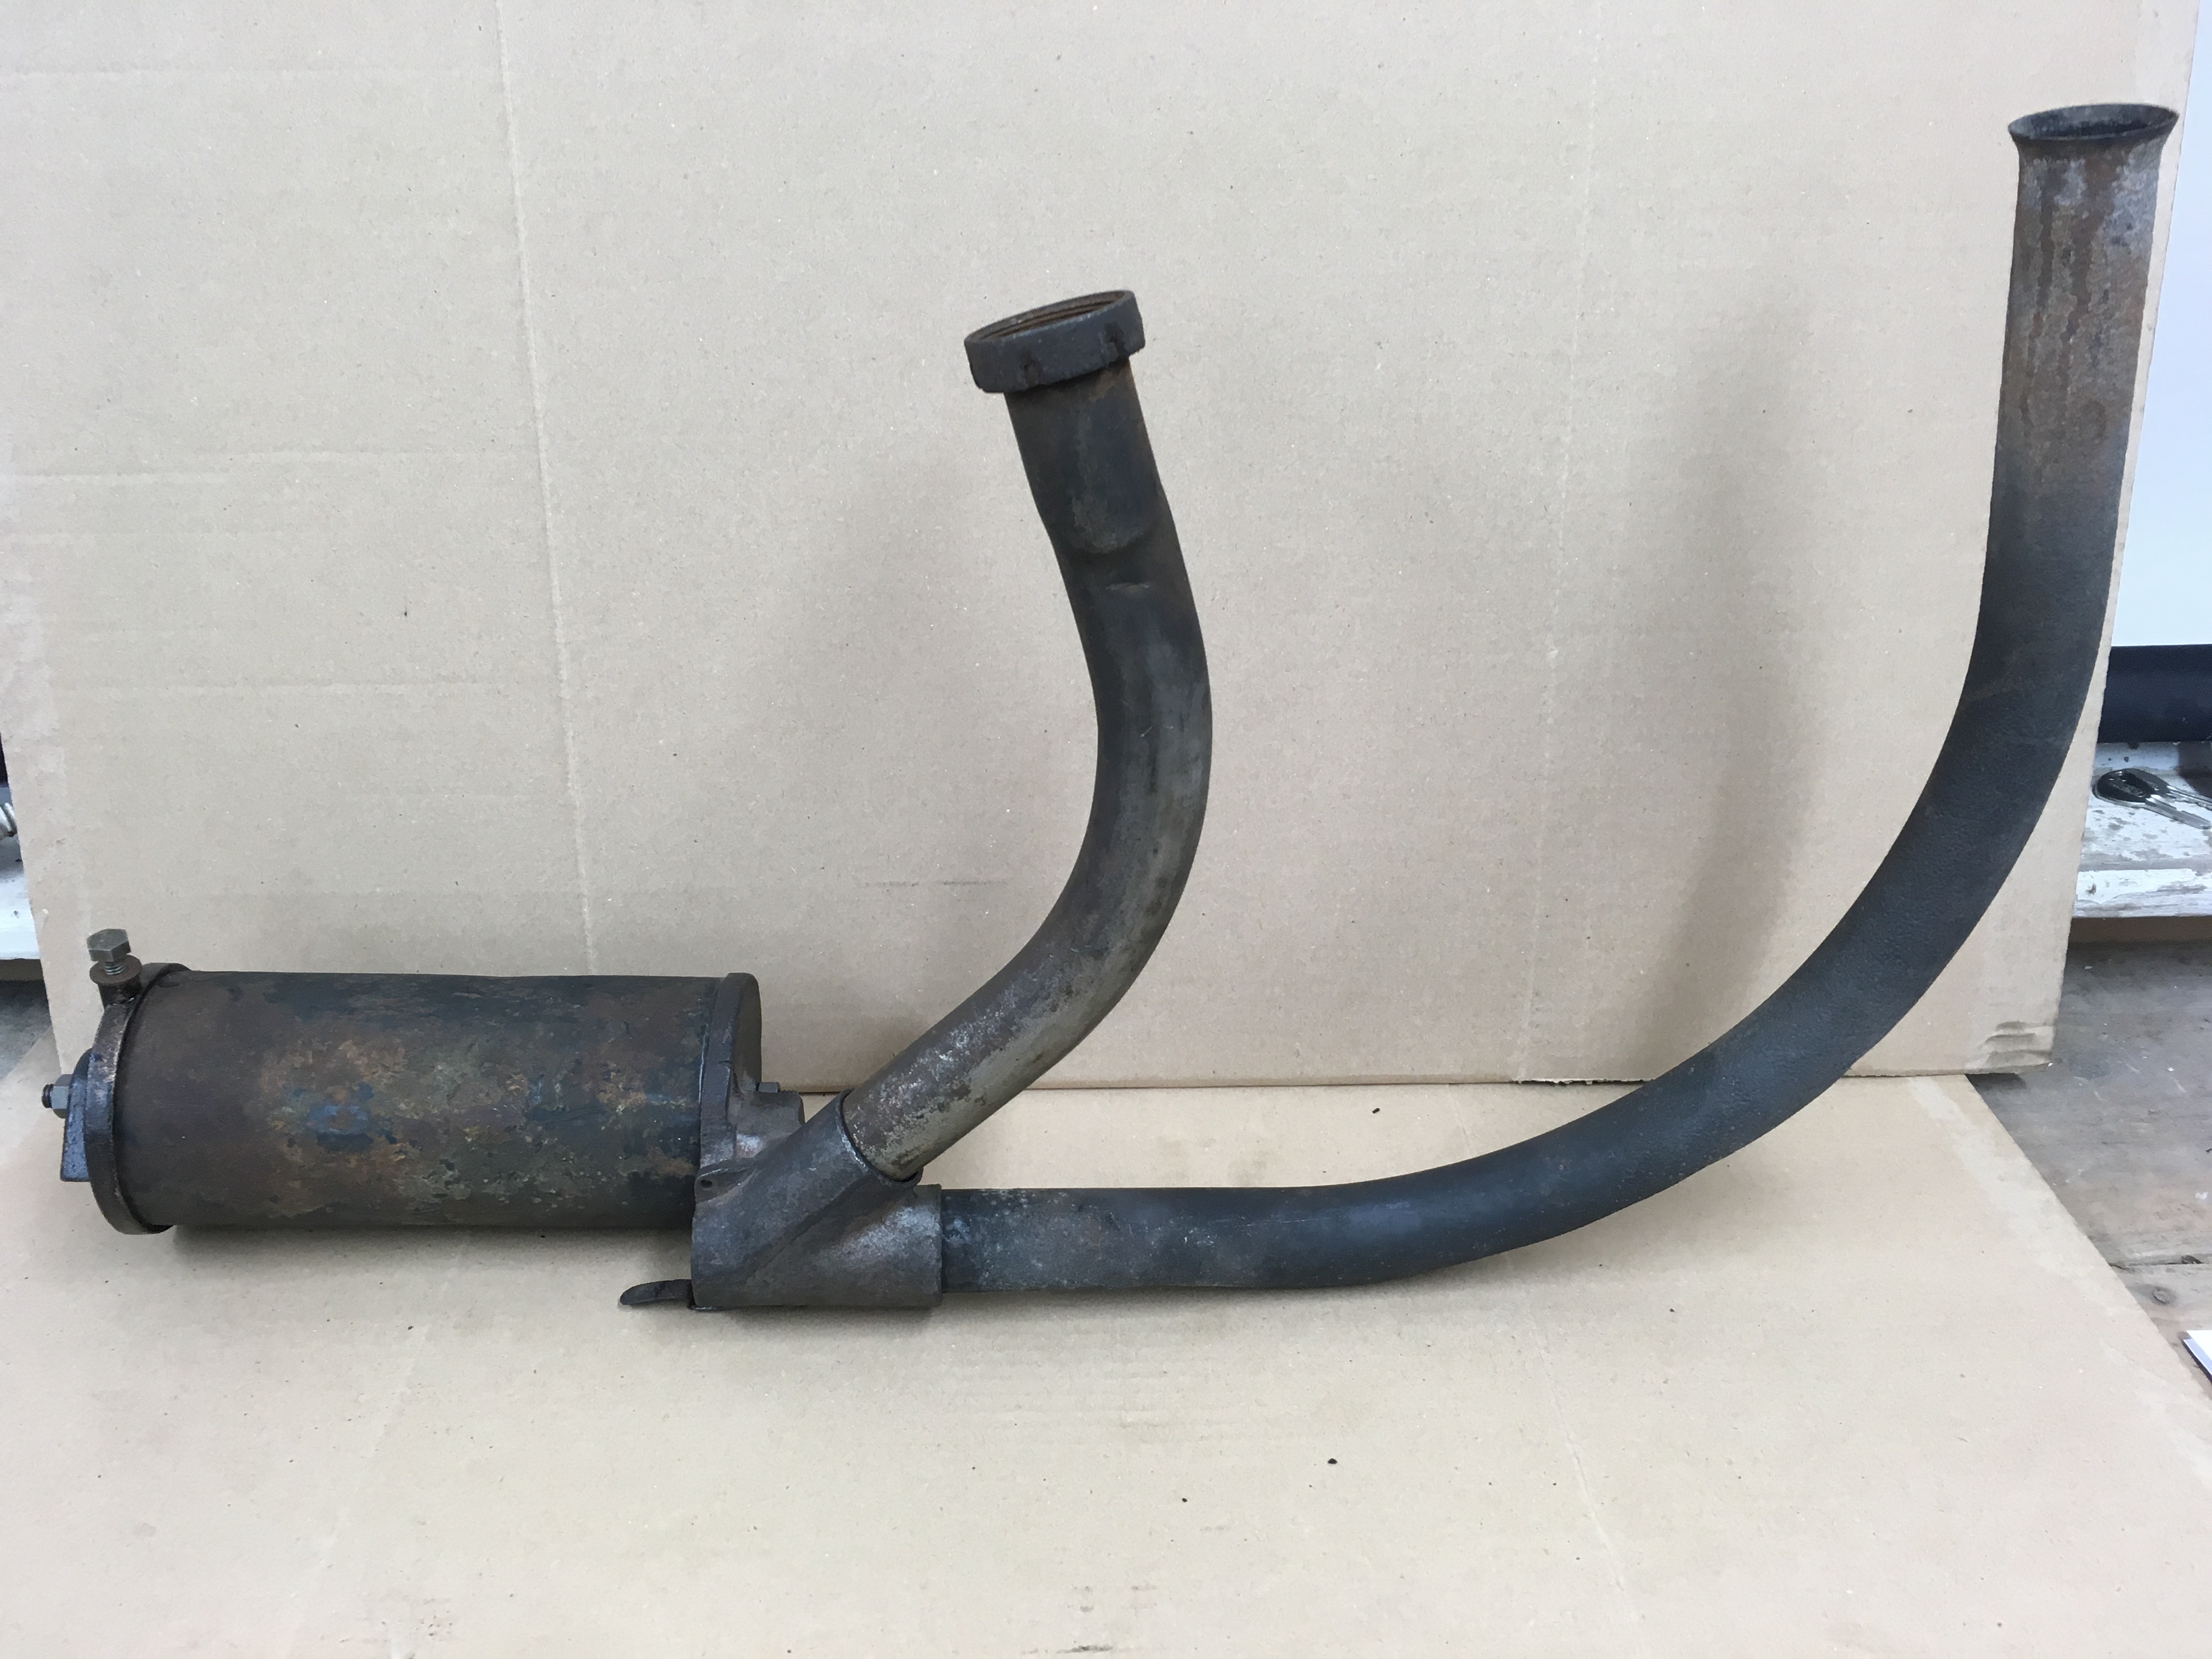
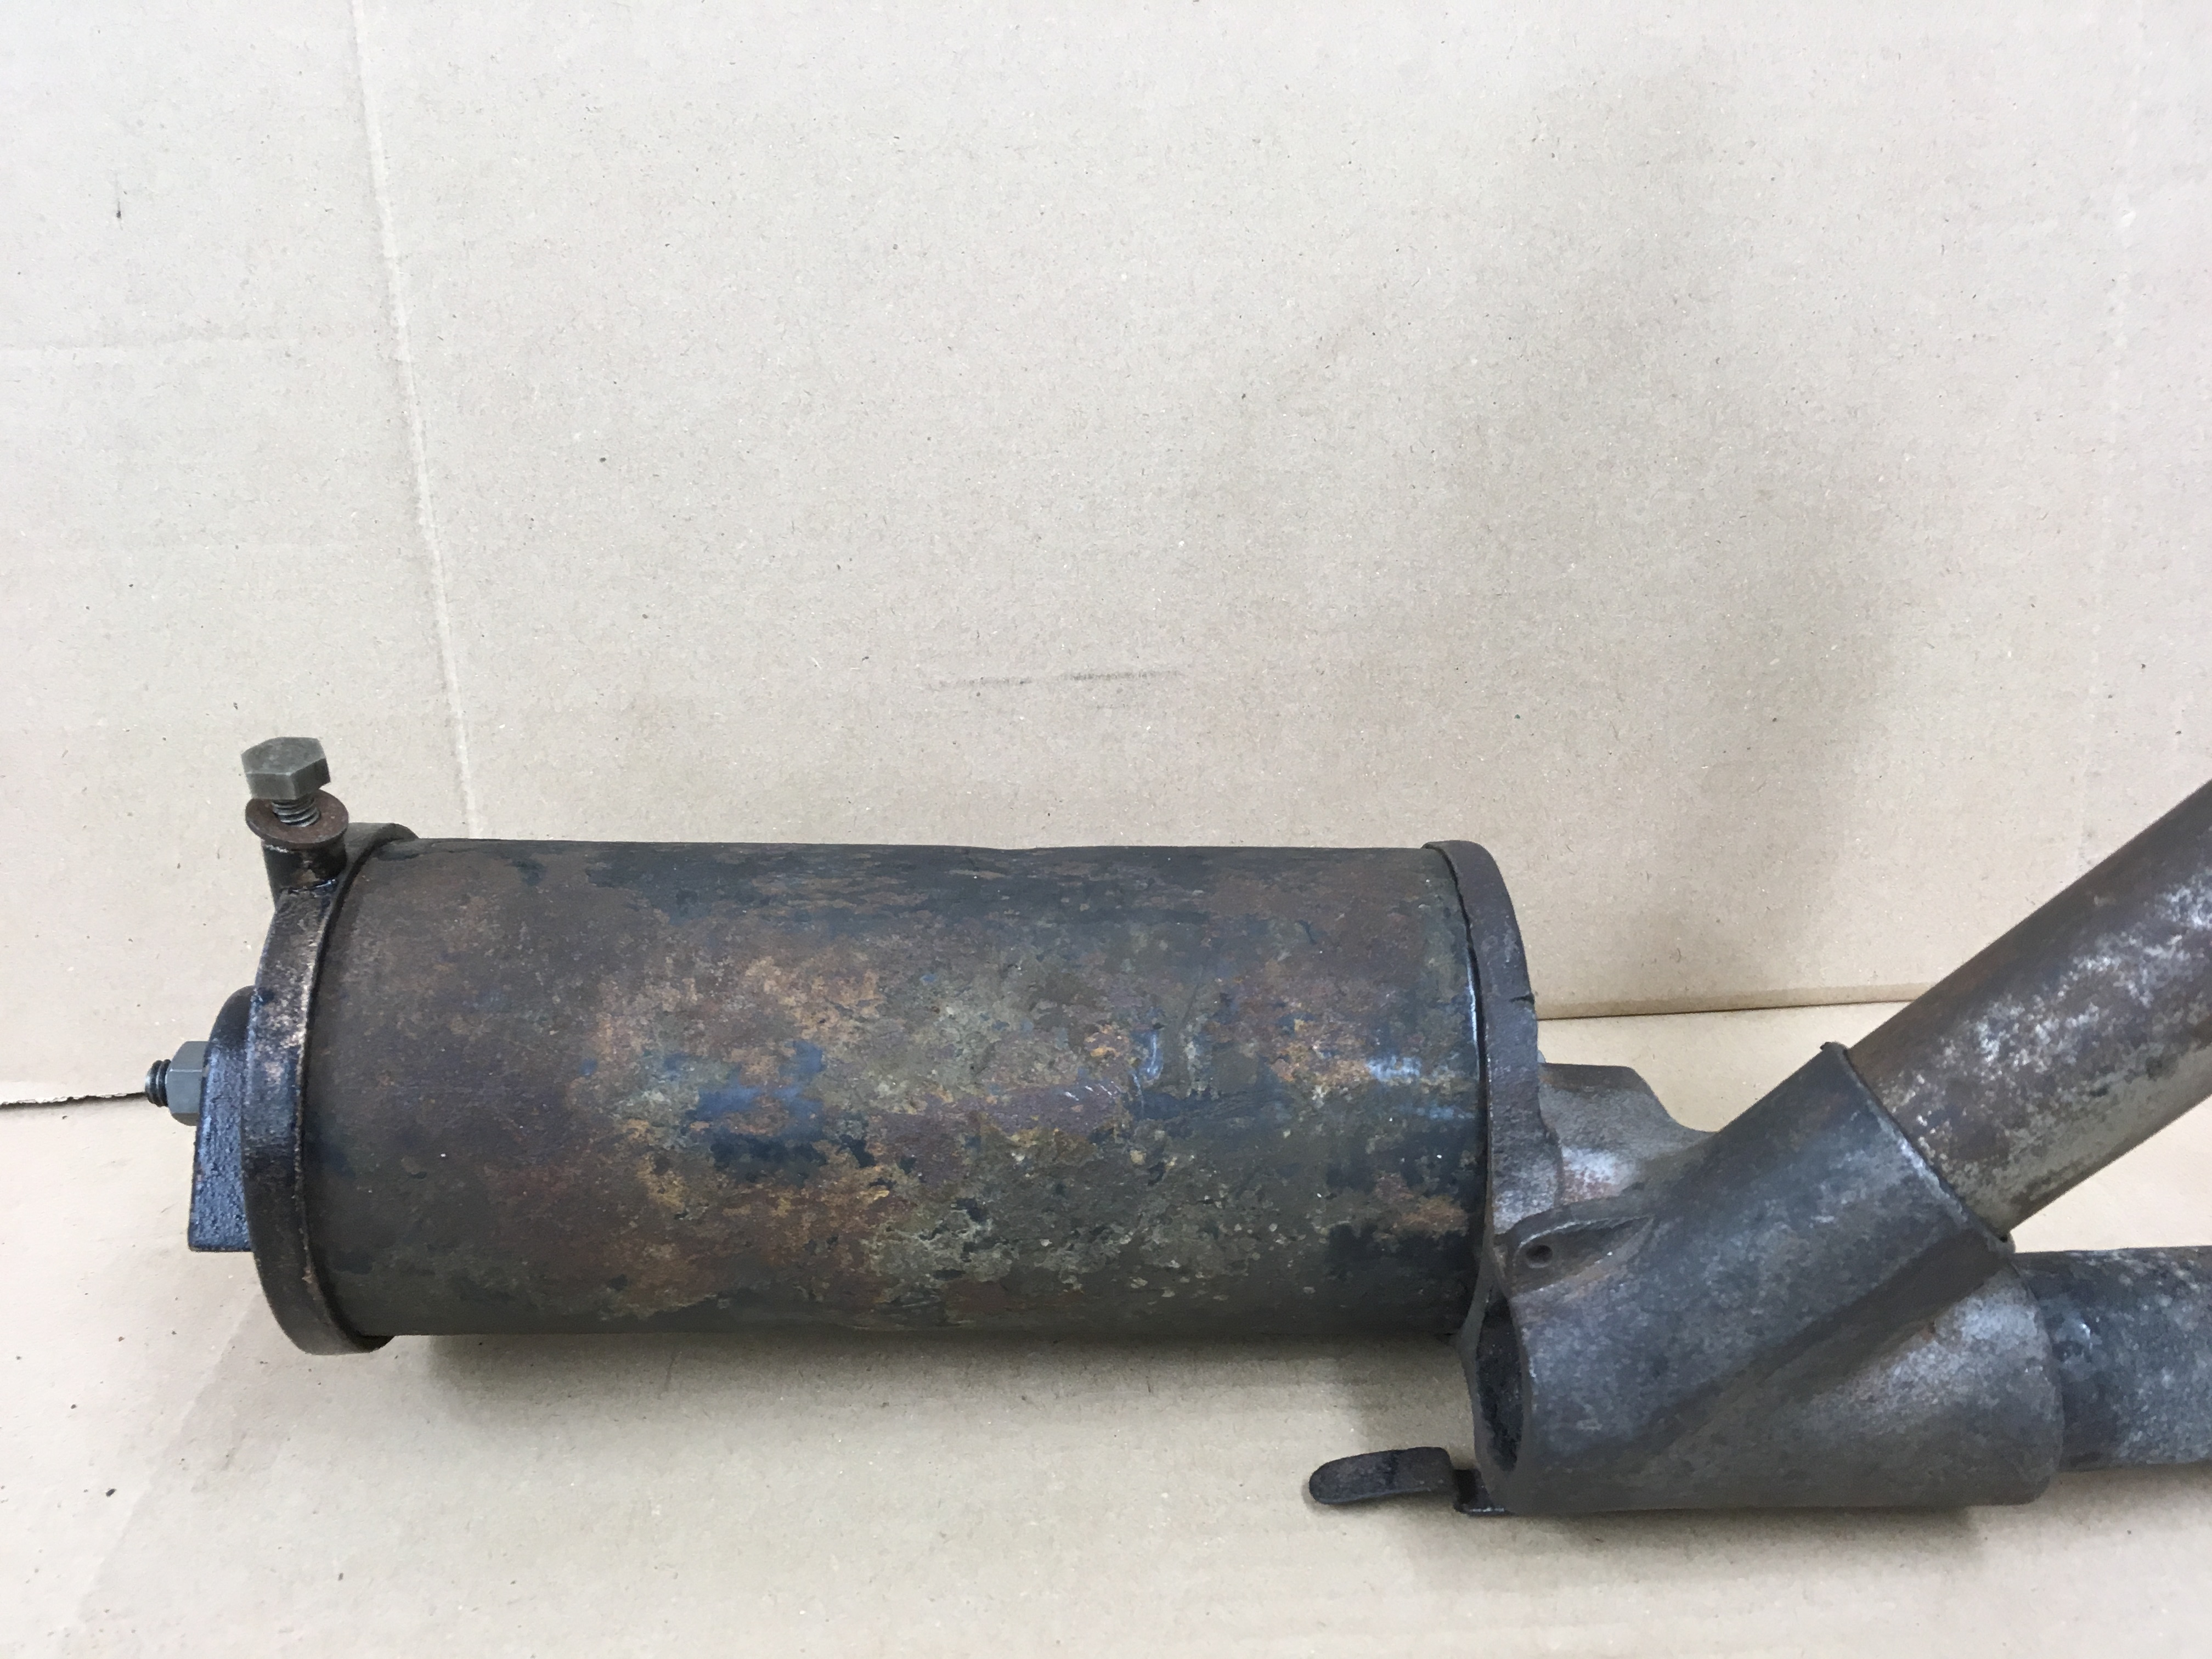
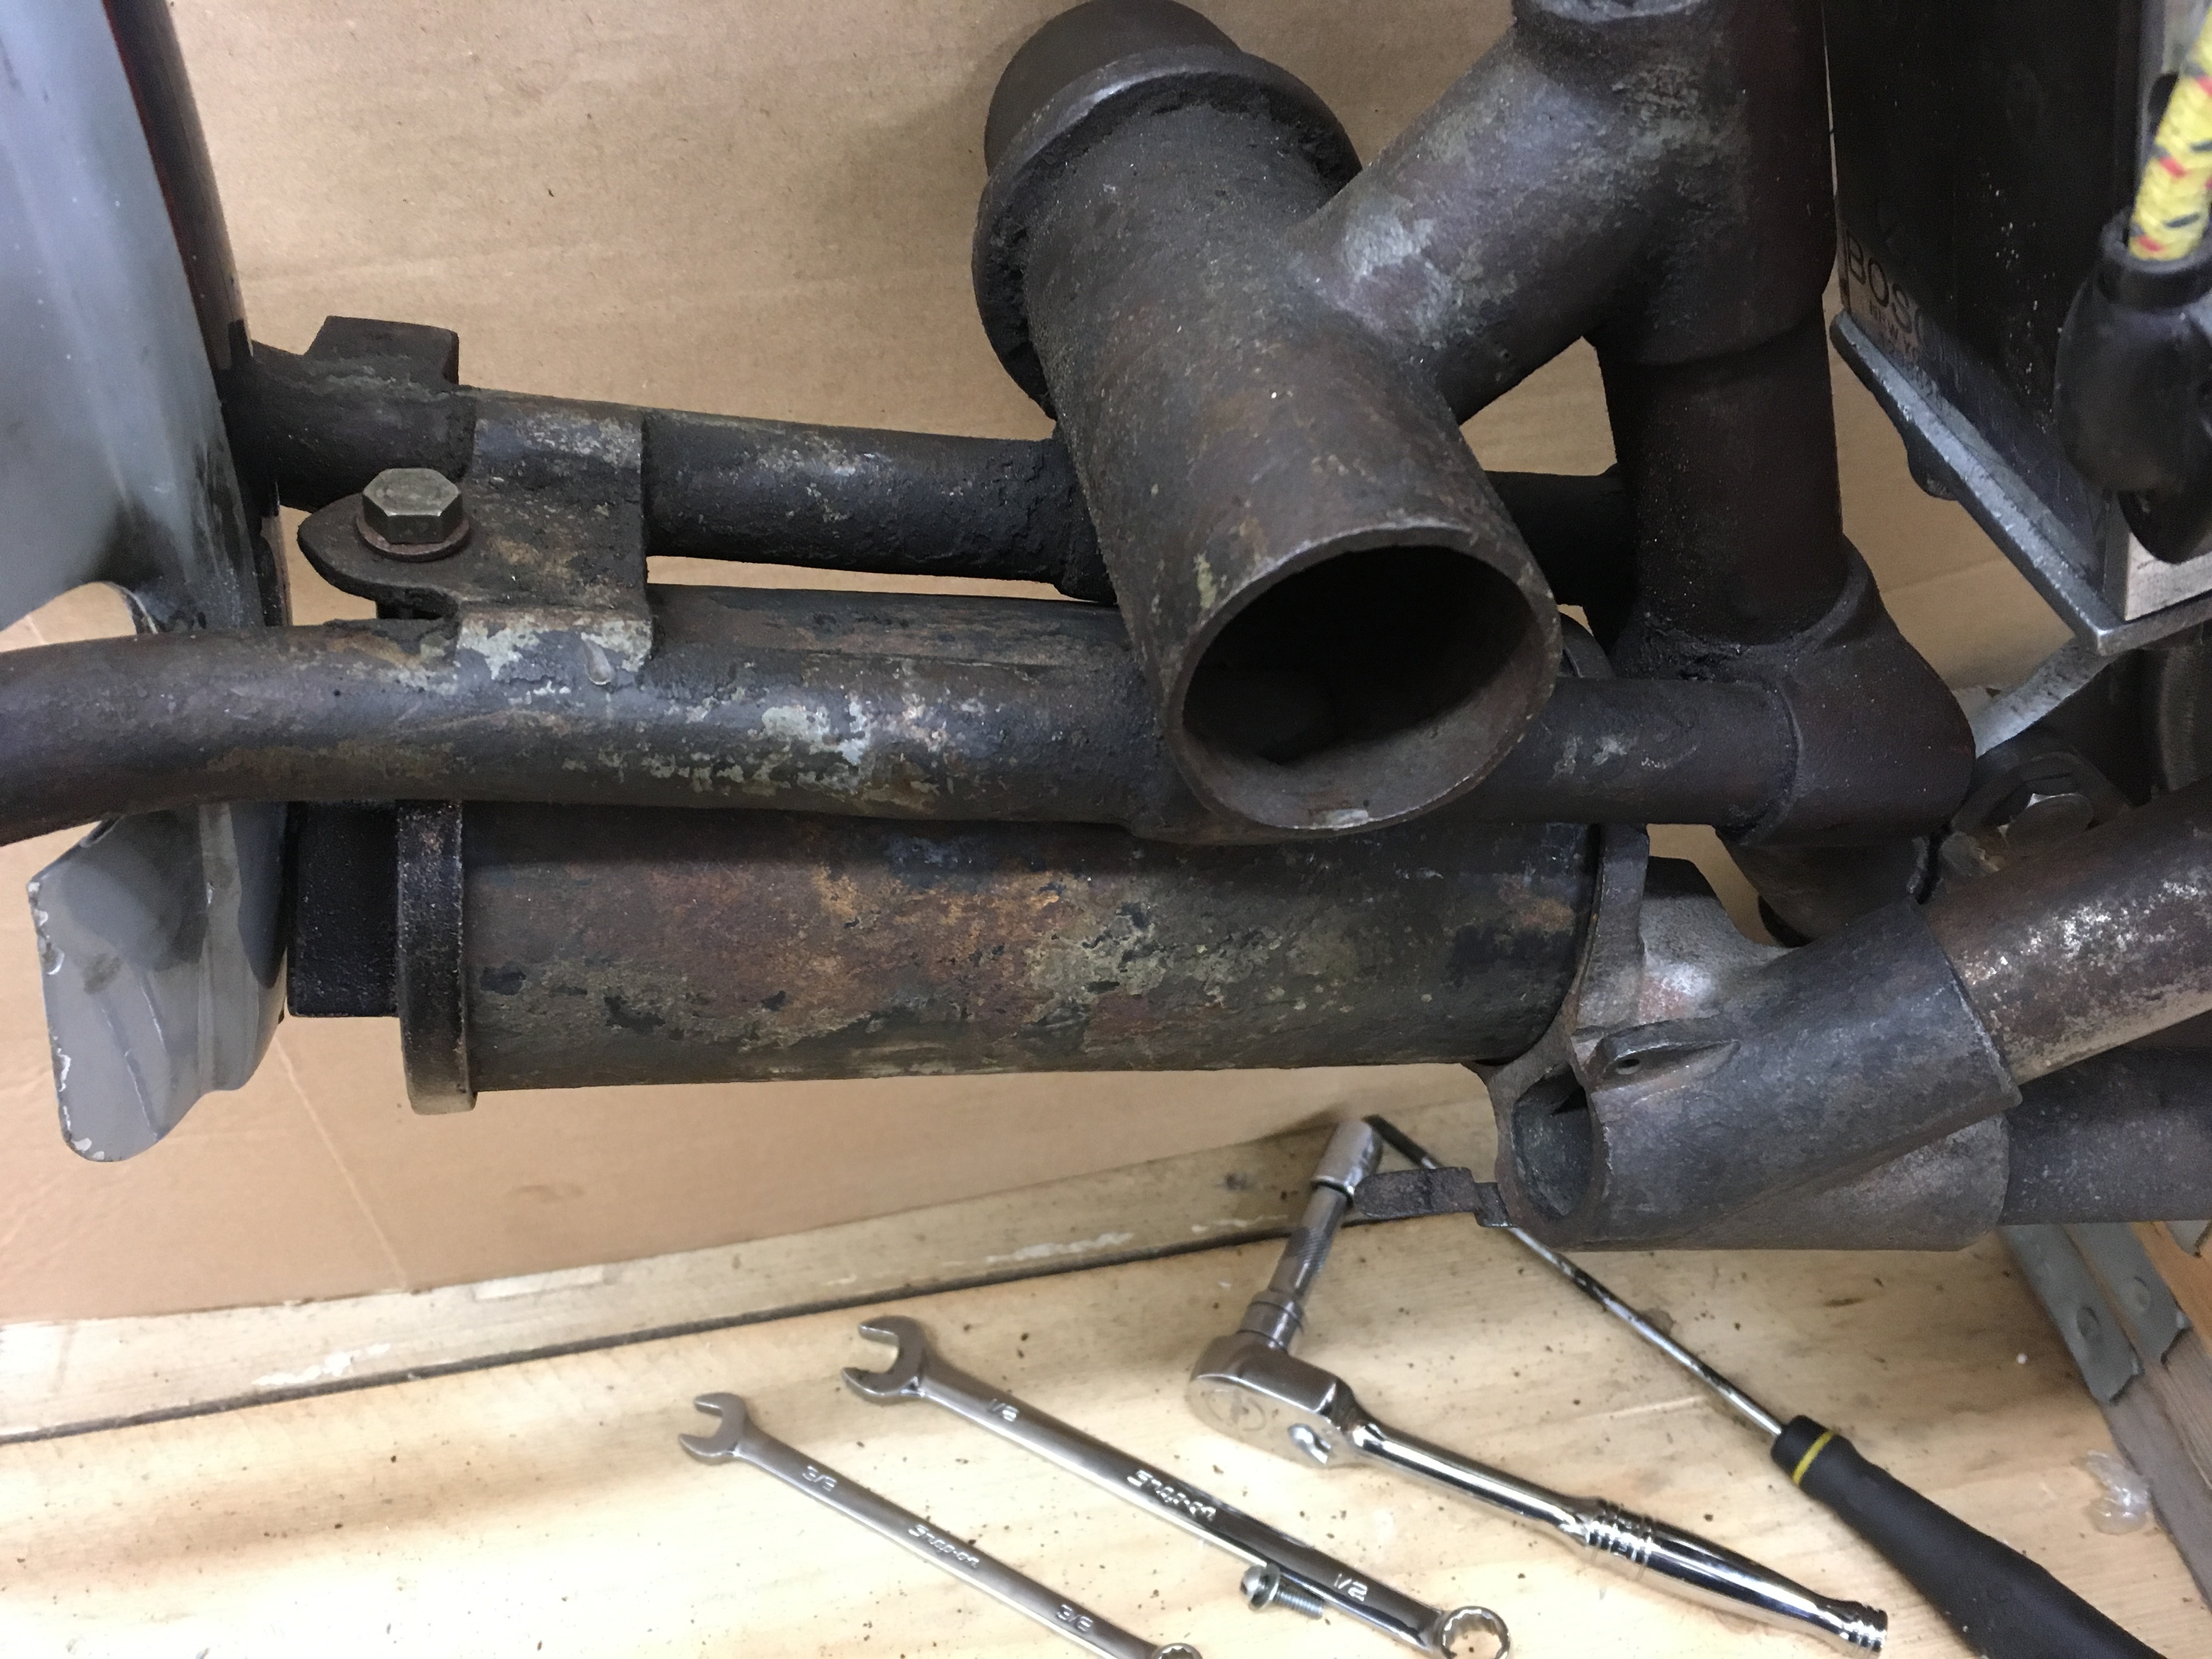
The next job is to tweek the flange on the front header pipe and fit some olives inside both unions. Then fit the cut out and the exhaust should be done.
29.12.2016
First off today was to fit an original rear stand in place of the repop version that came with the frame; easy fit, no problems.
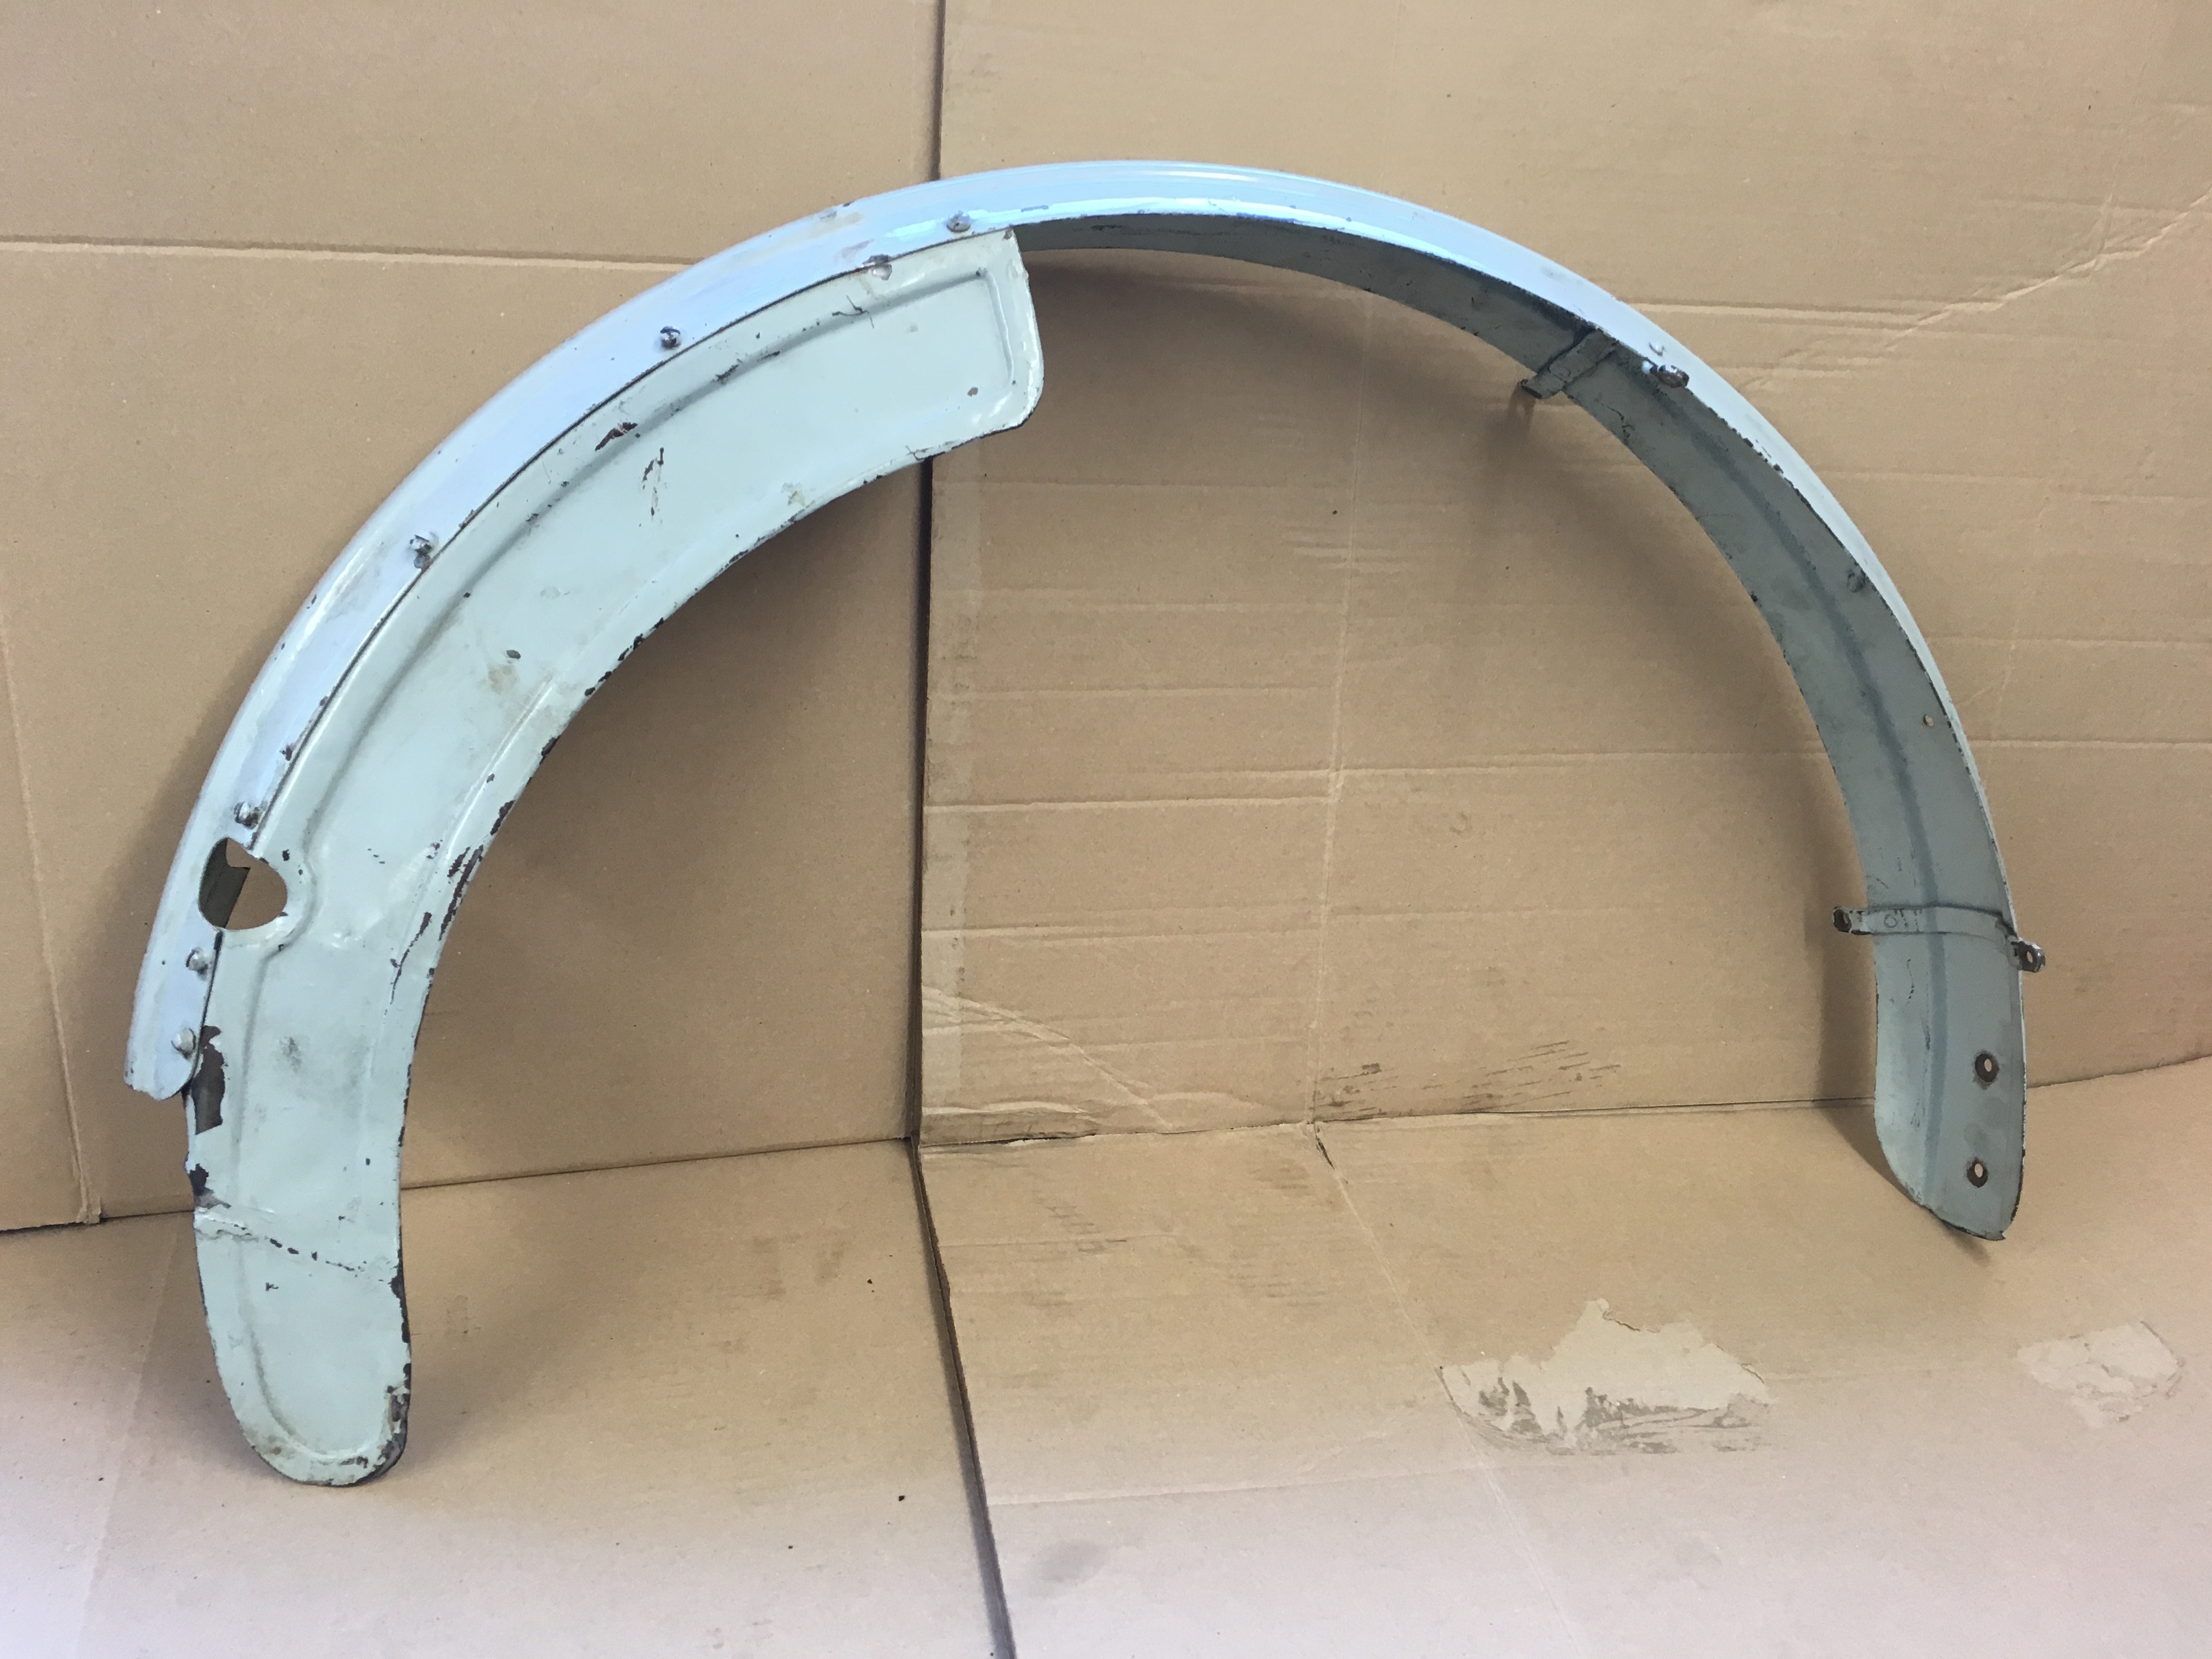
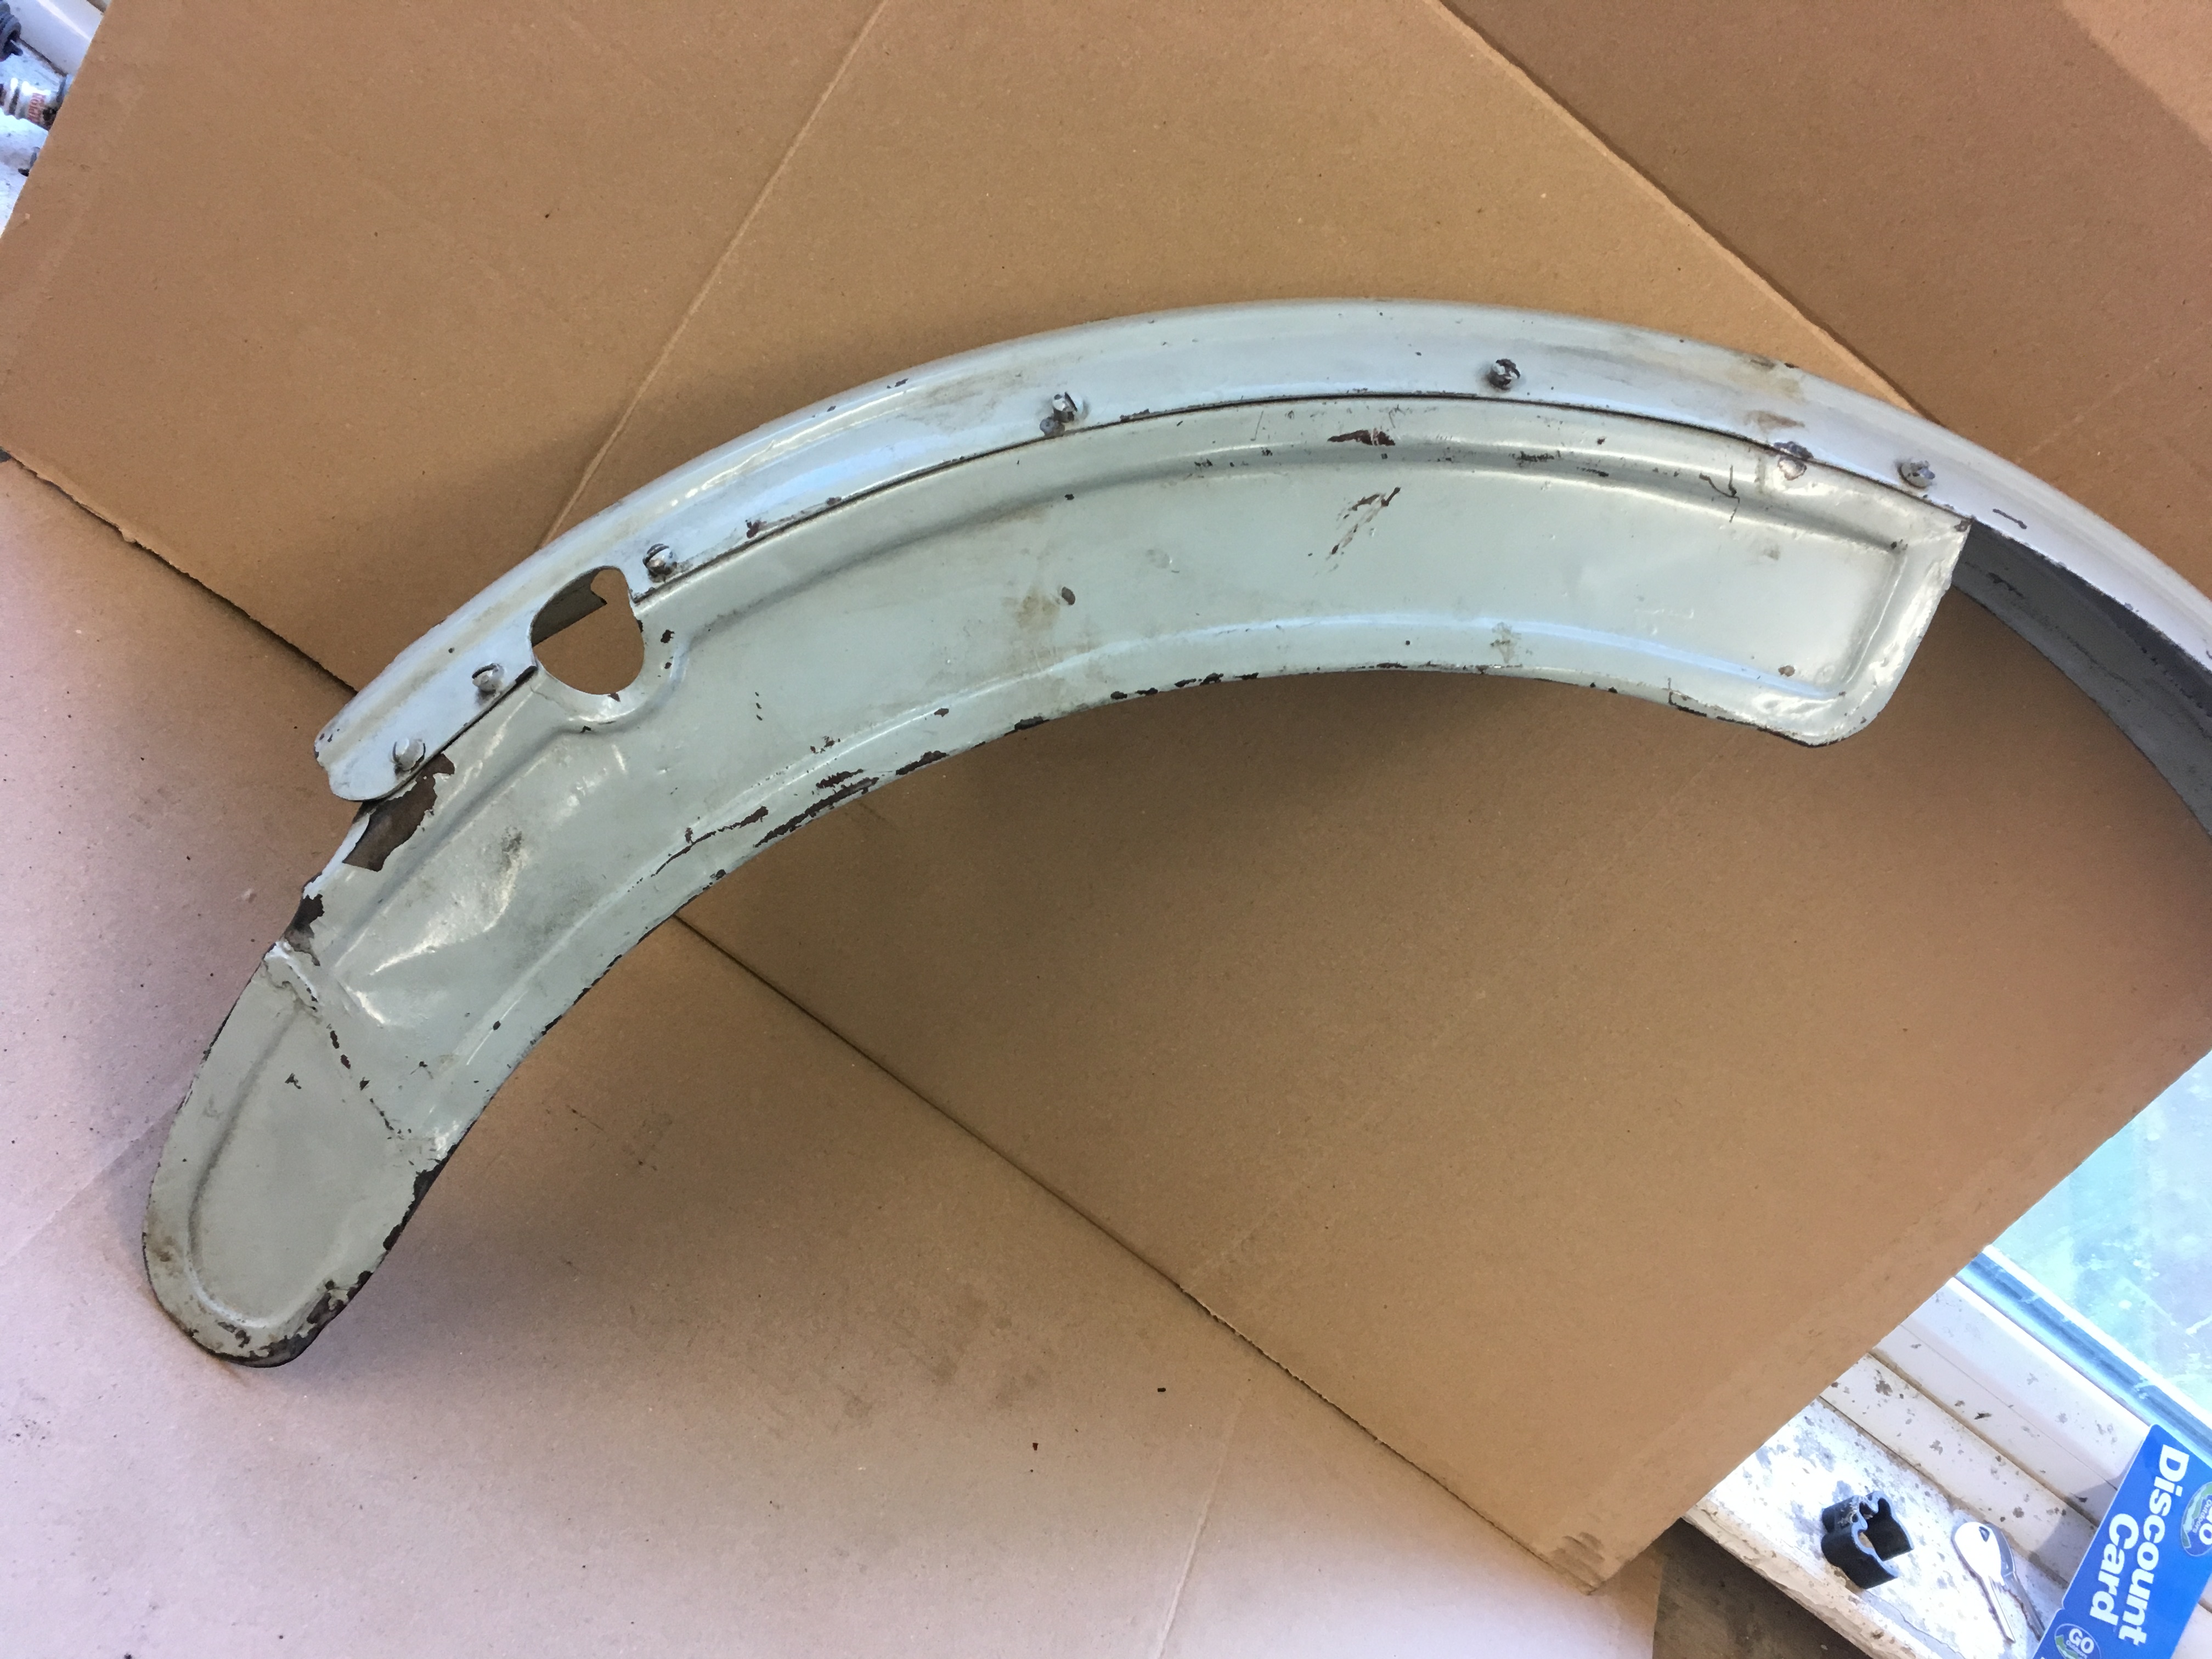
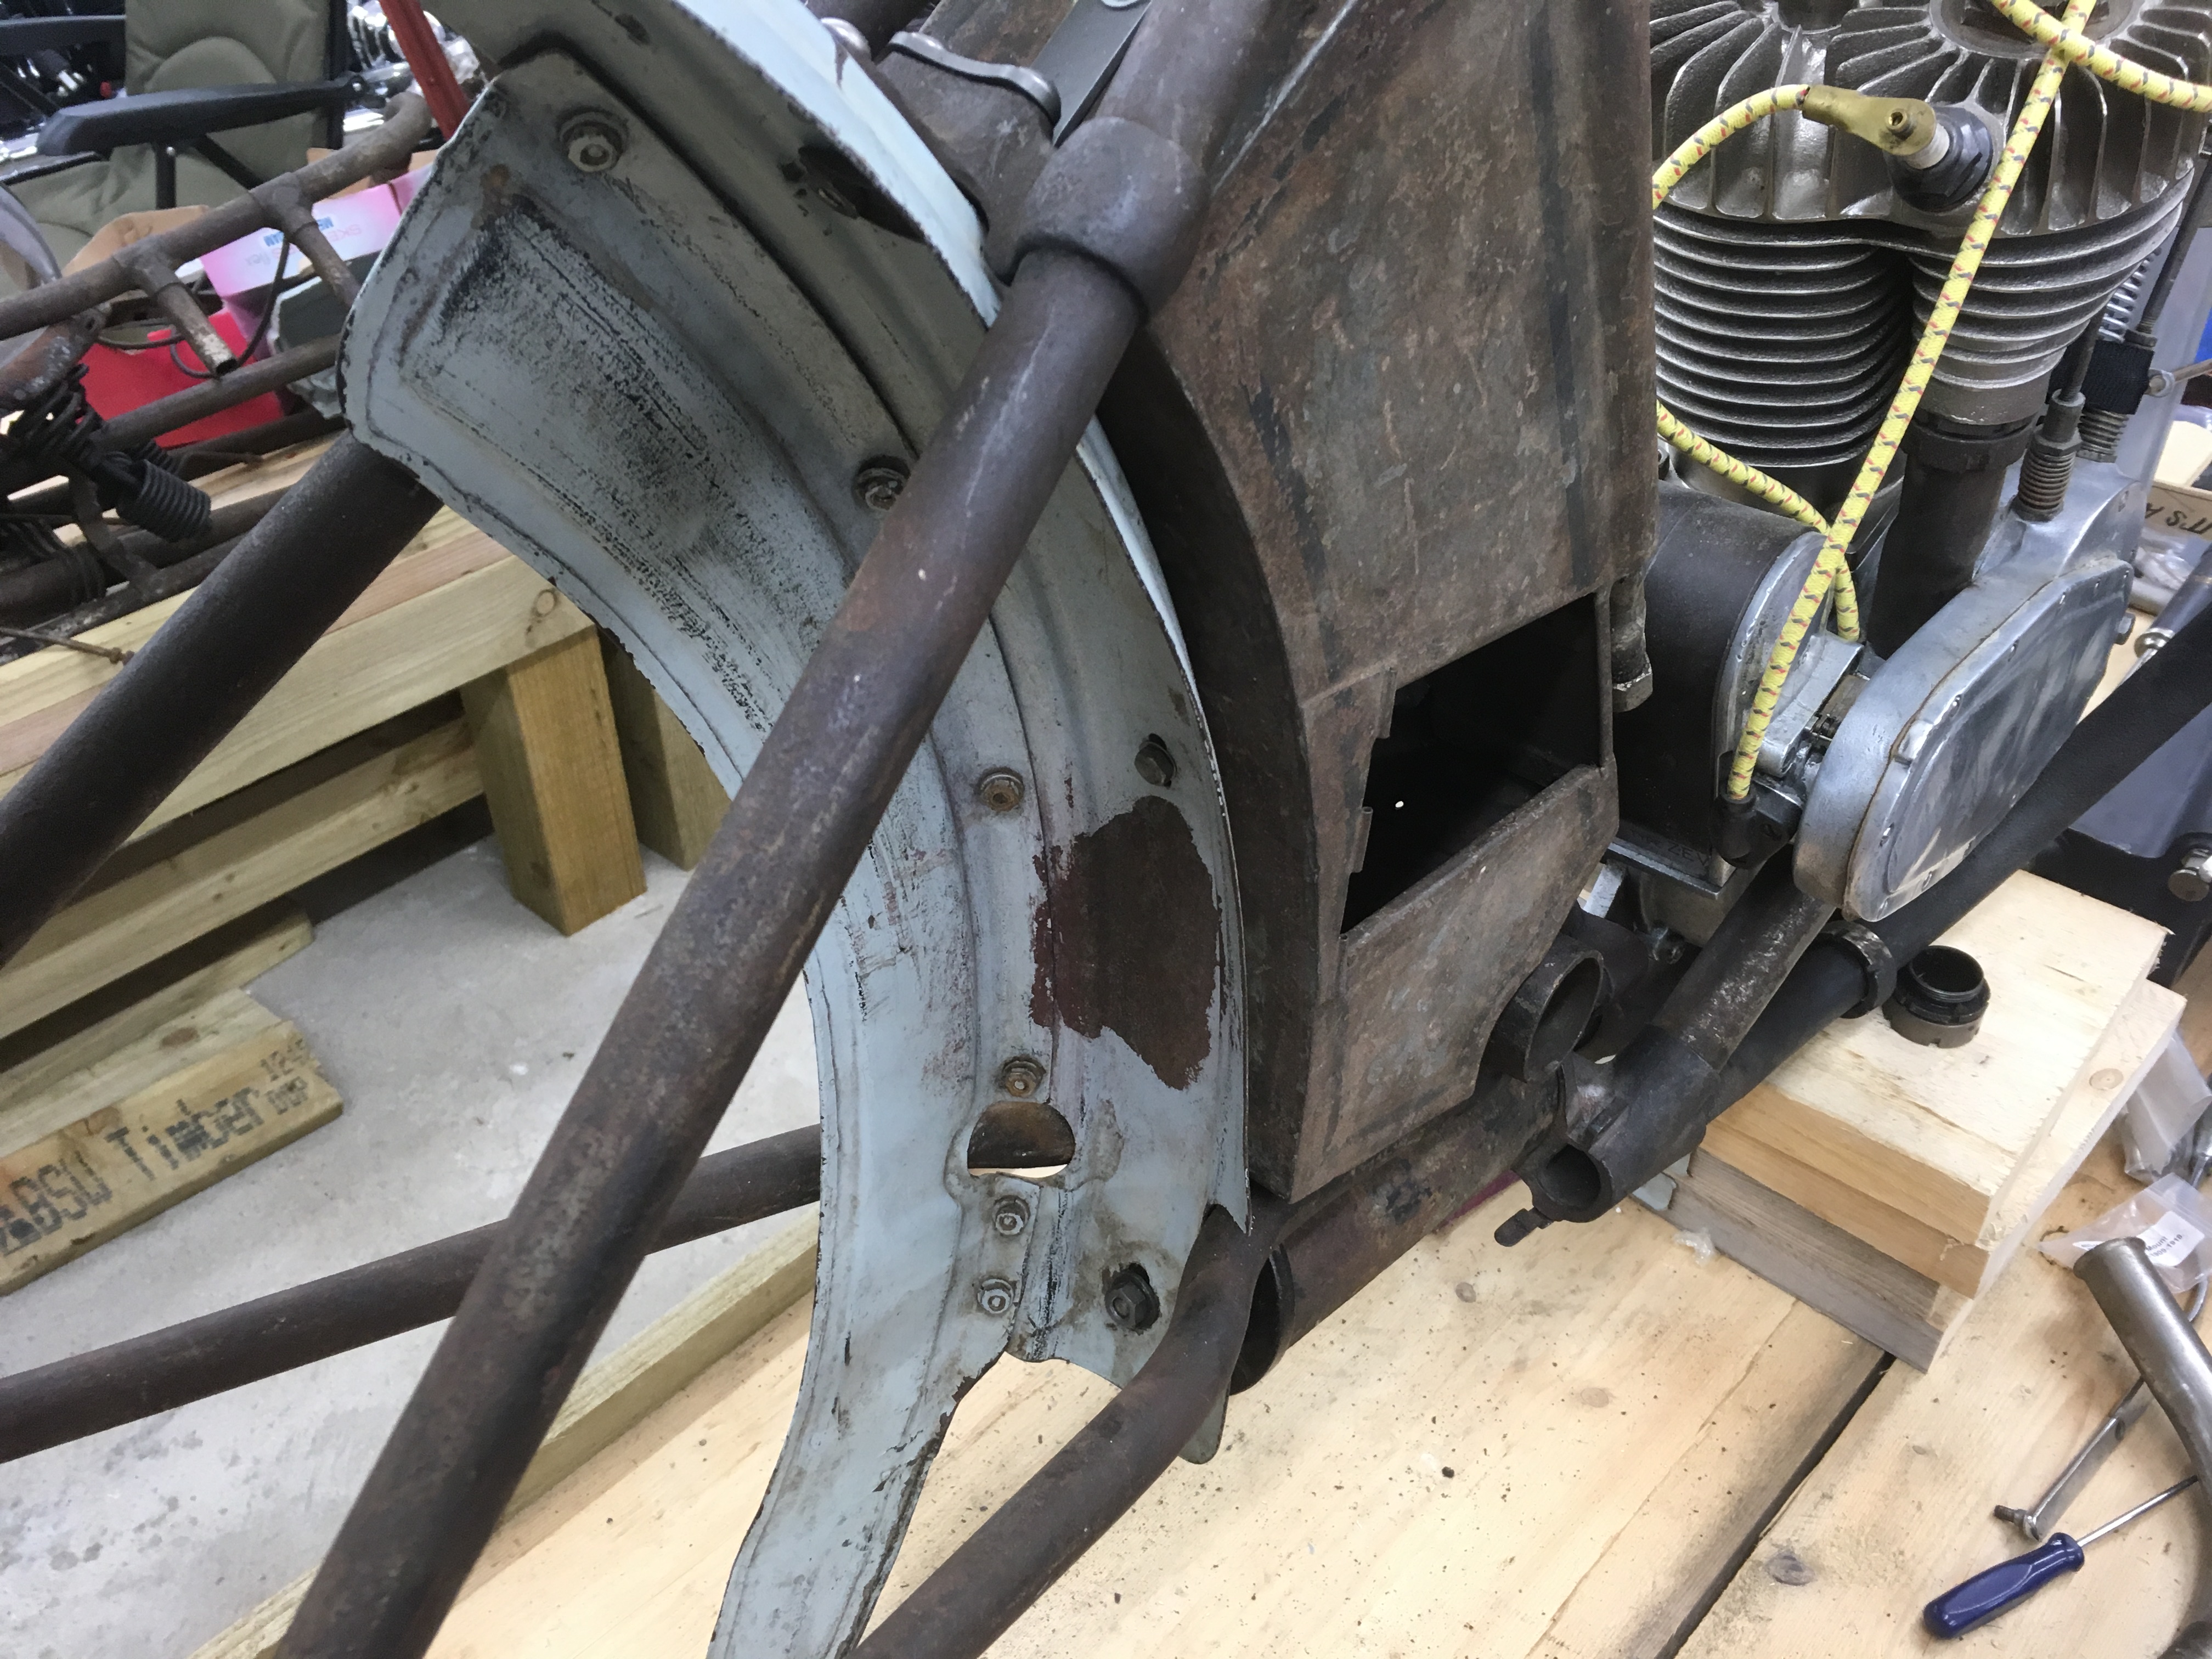
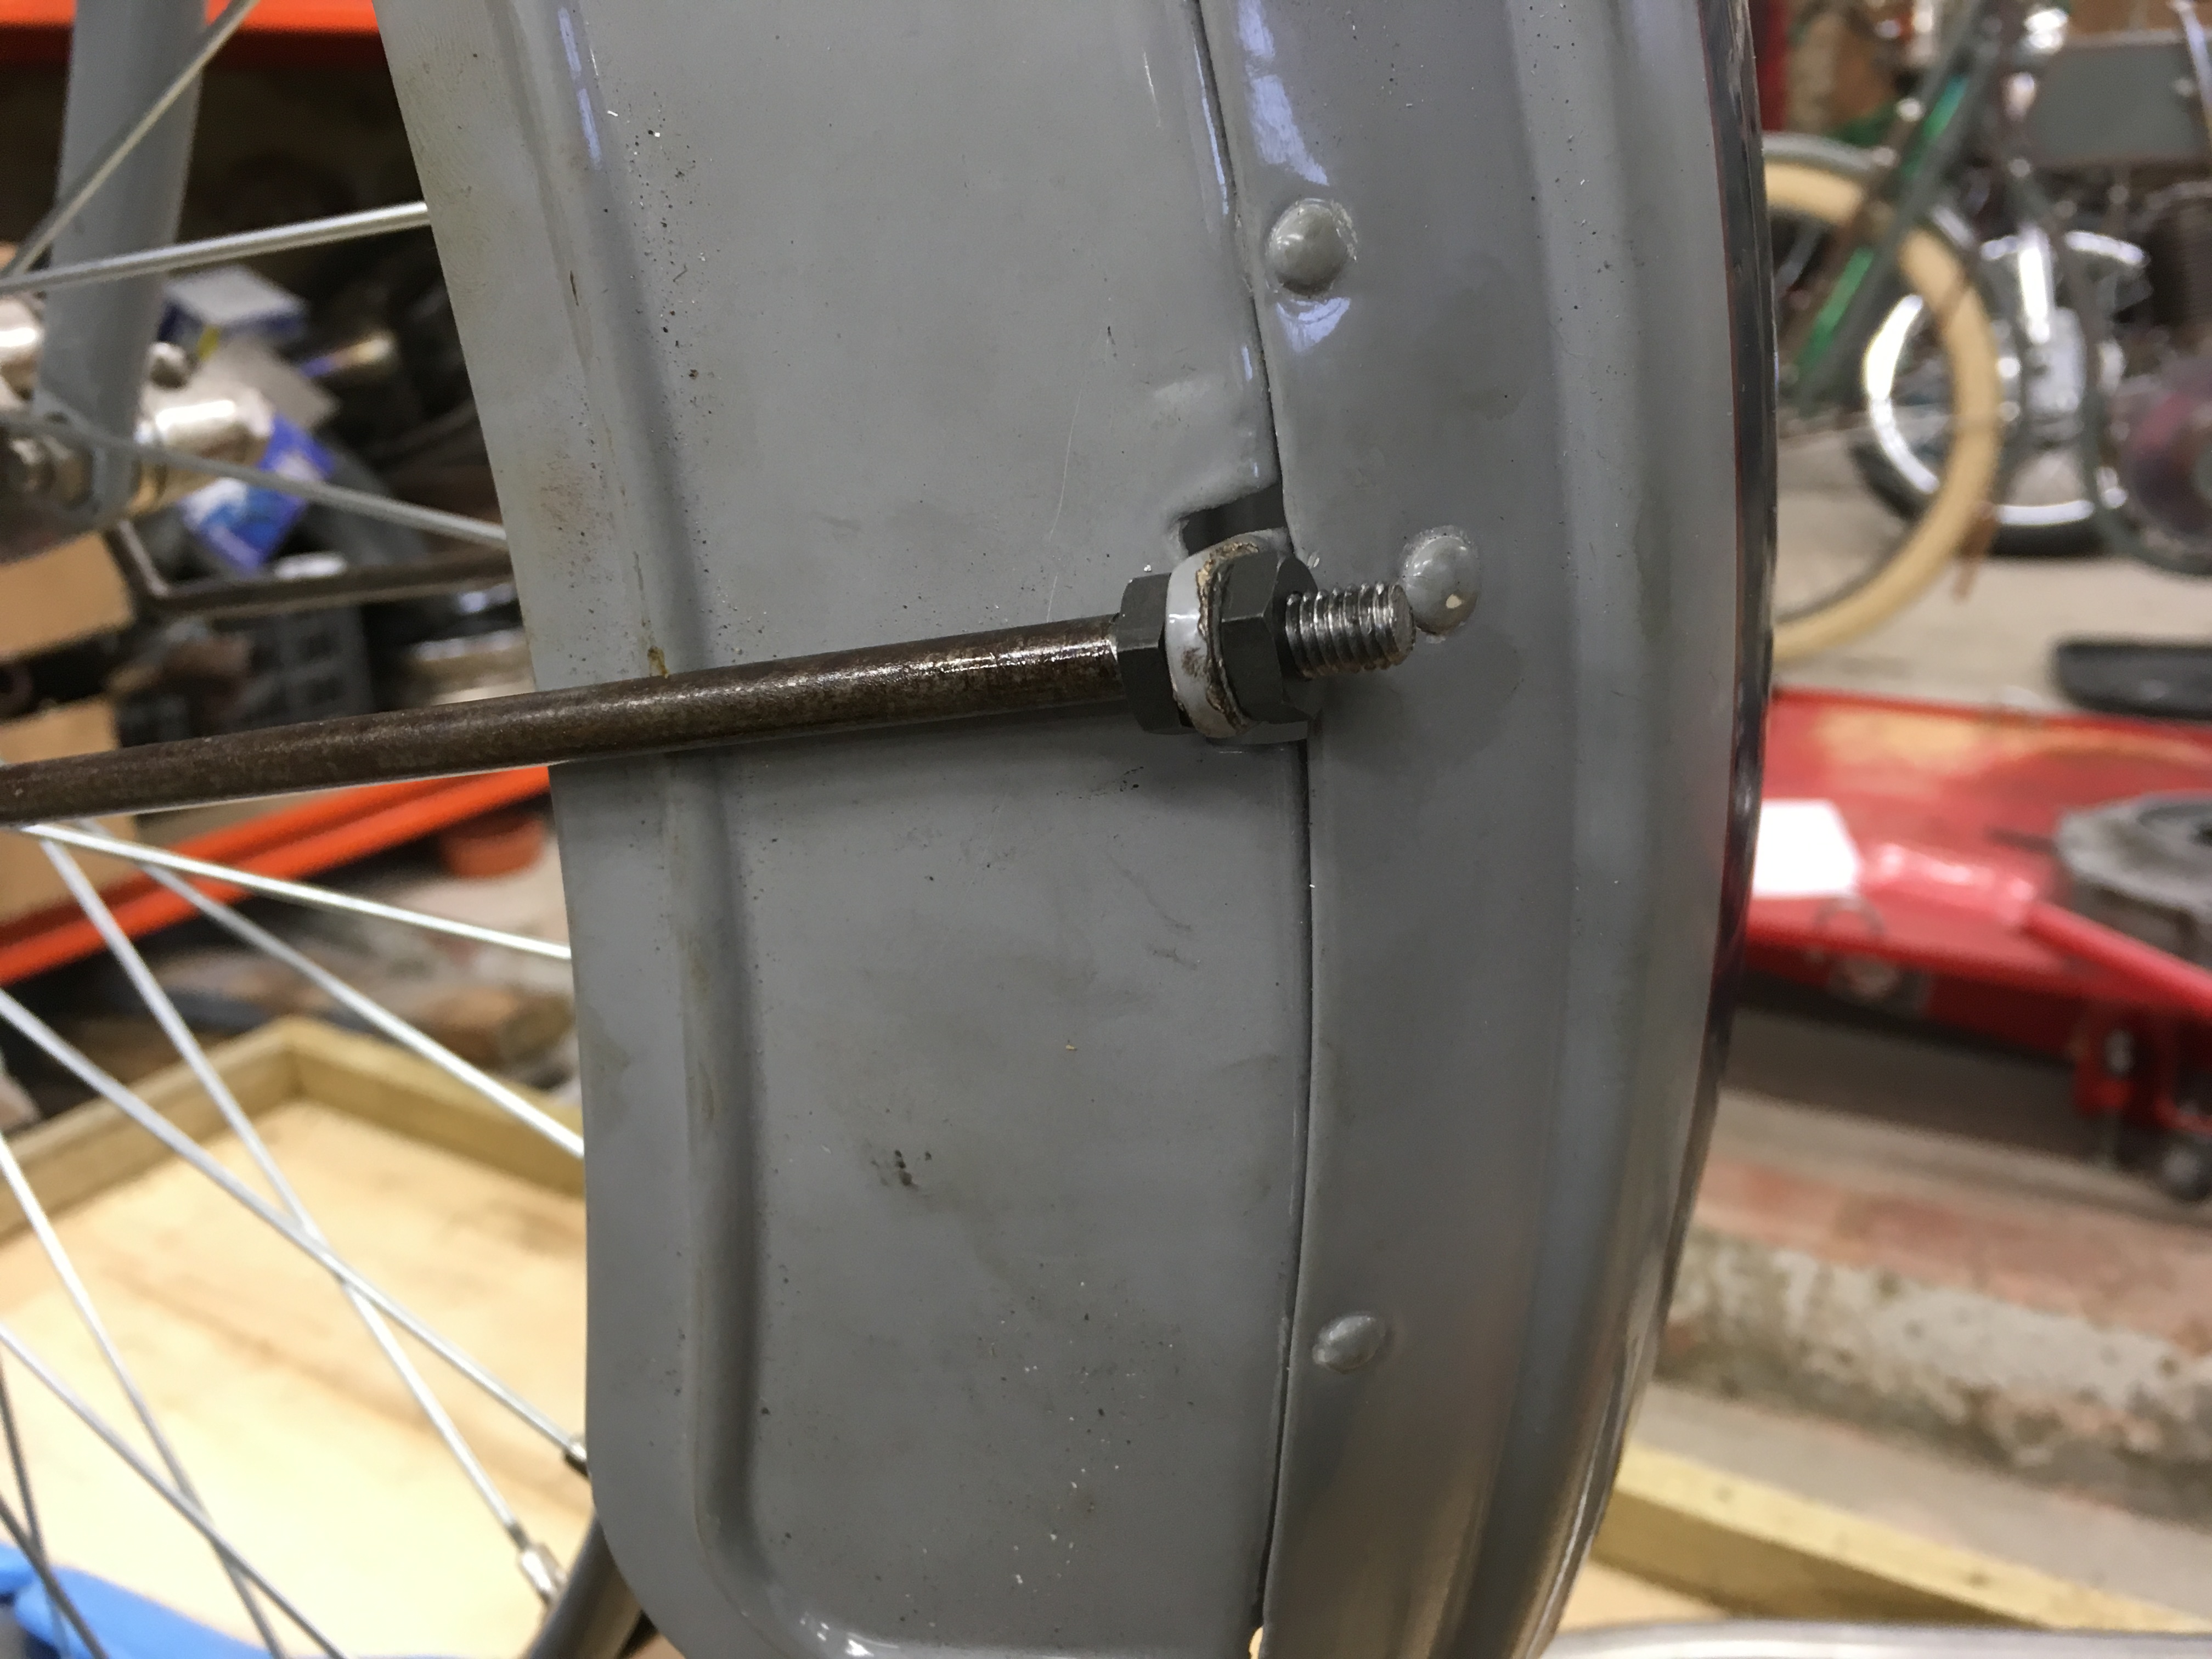
The original rear fender went straight on without any effort and I will address the paint at a later date. It’s an old repaint but doesn’t match the rest of the bike. I’m using new stays from Jethro Smith and he also sent me the correct 1/4″ 24 tpi die to thread the ends.
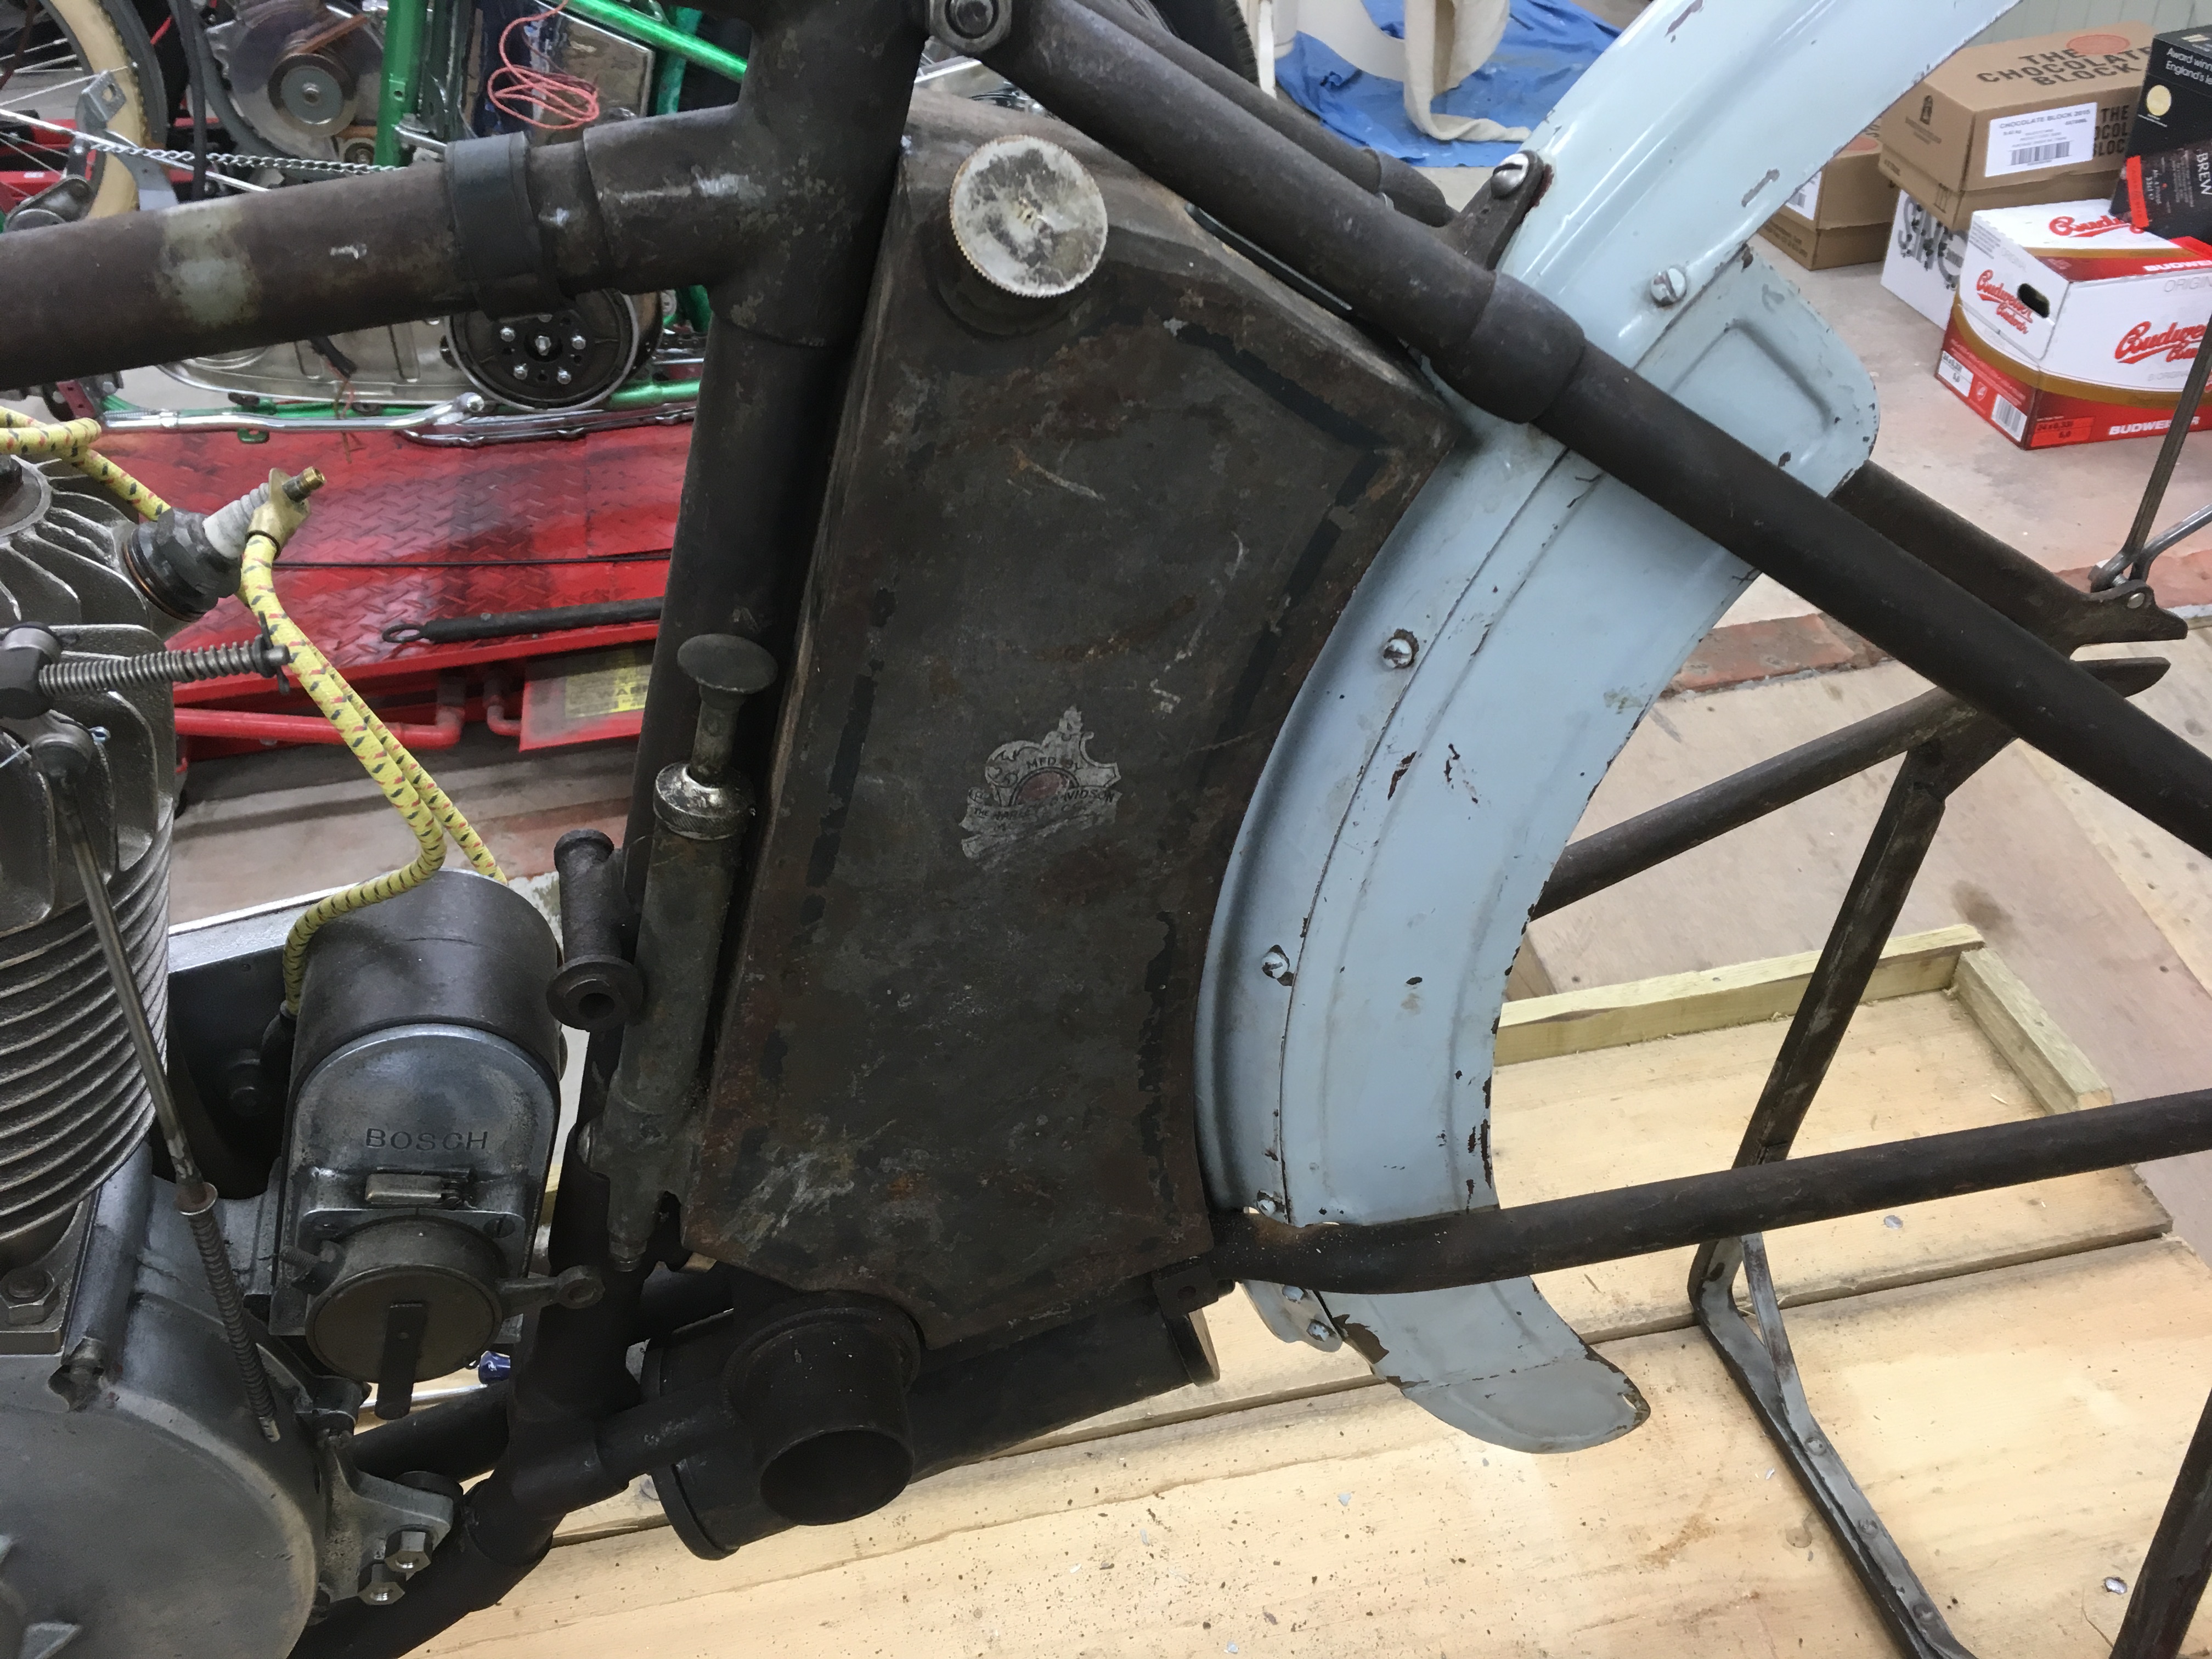
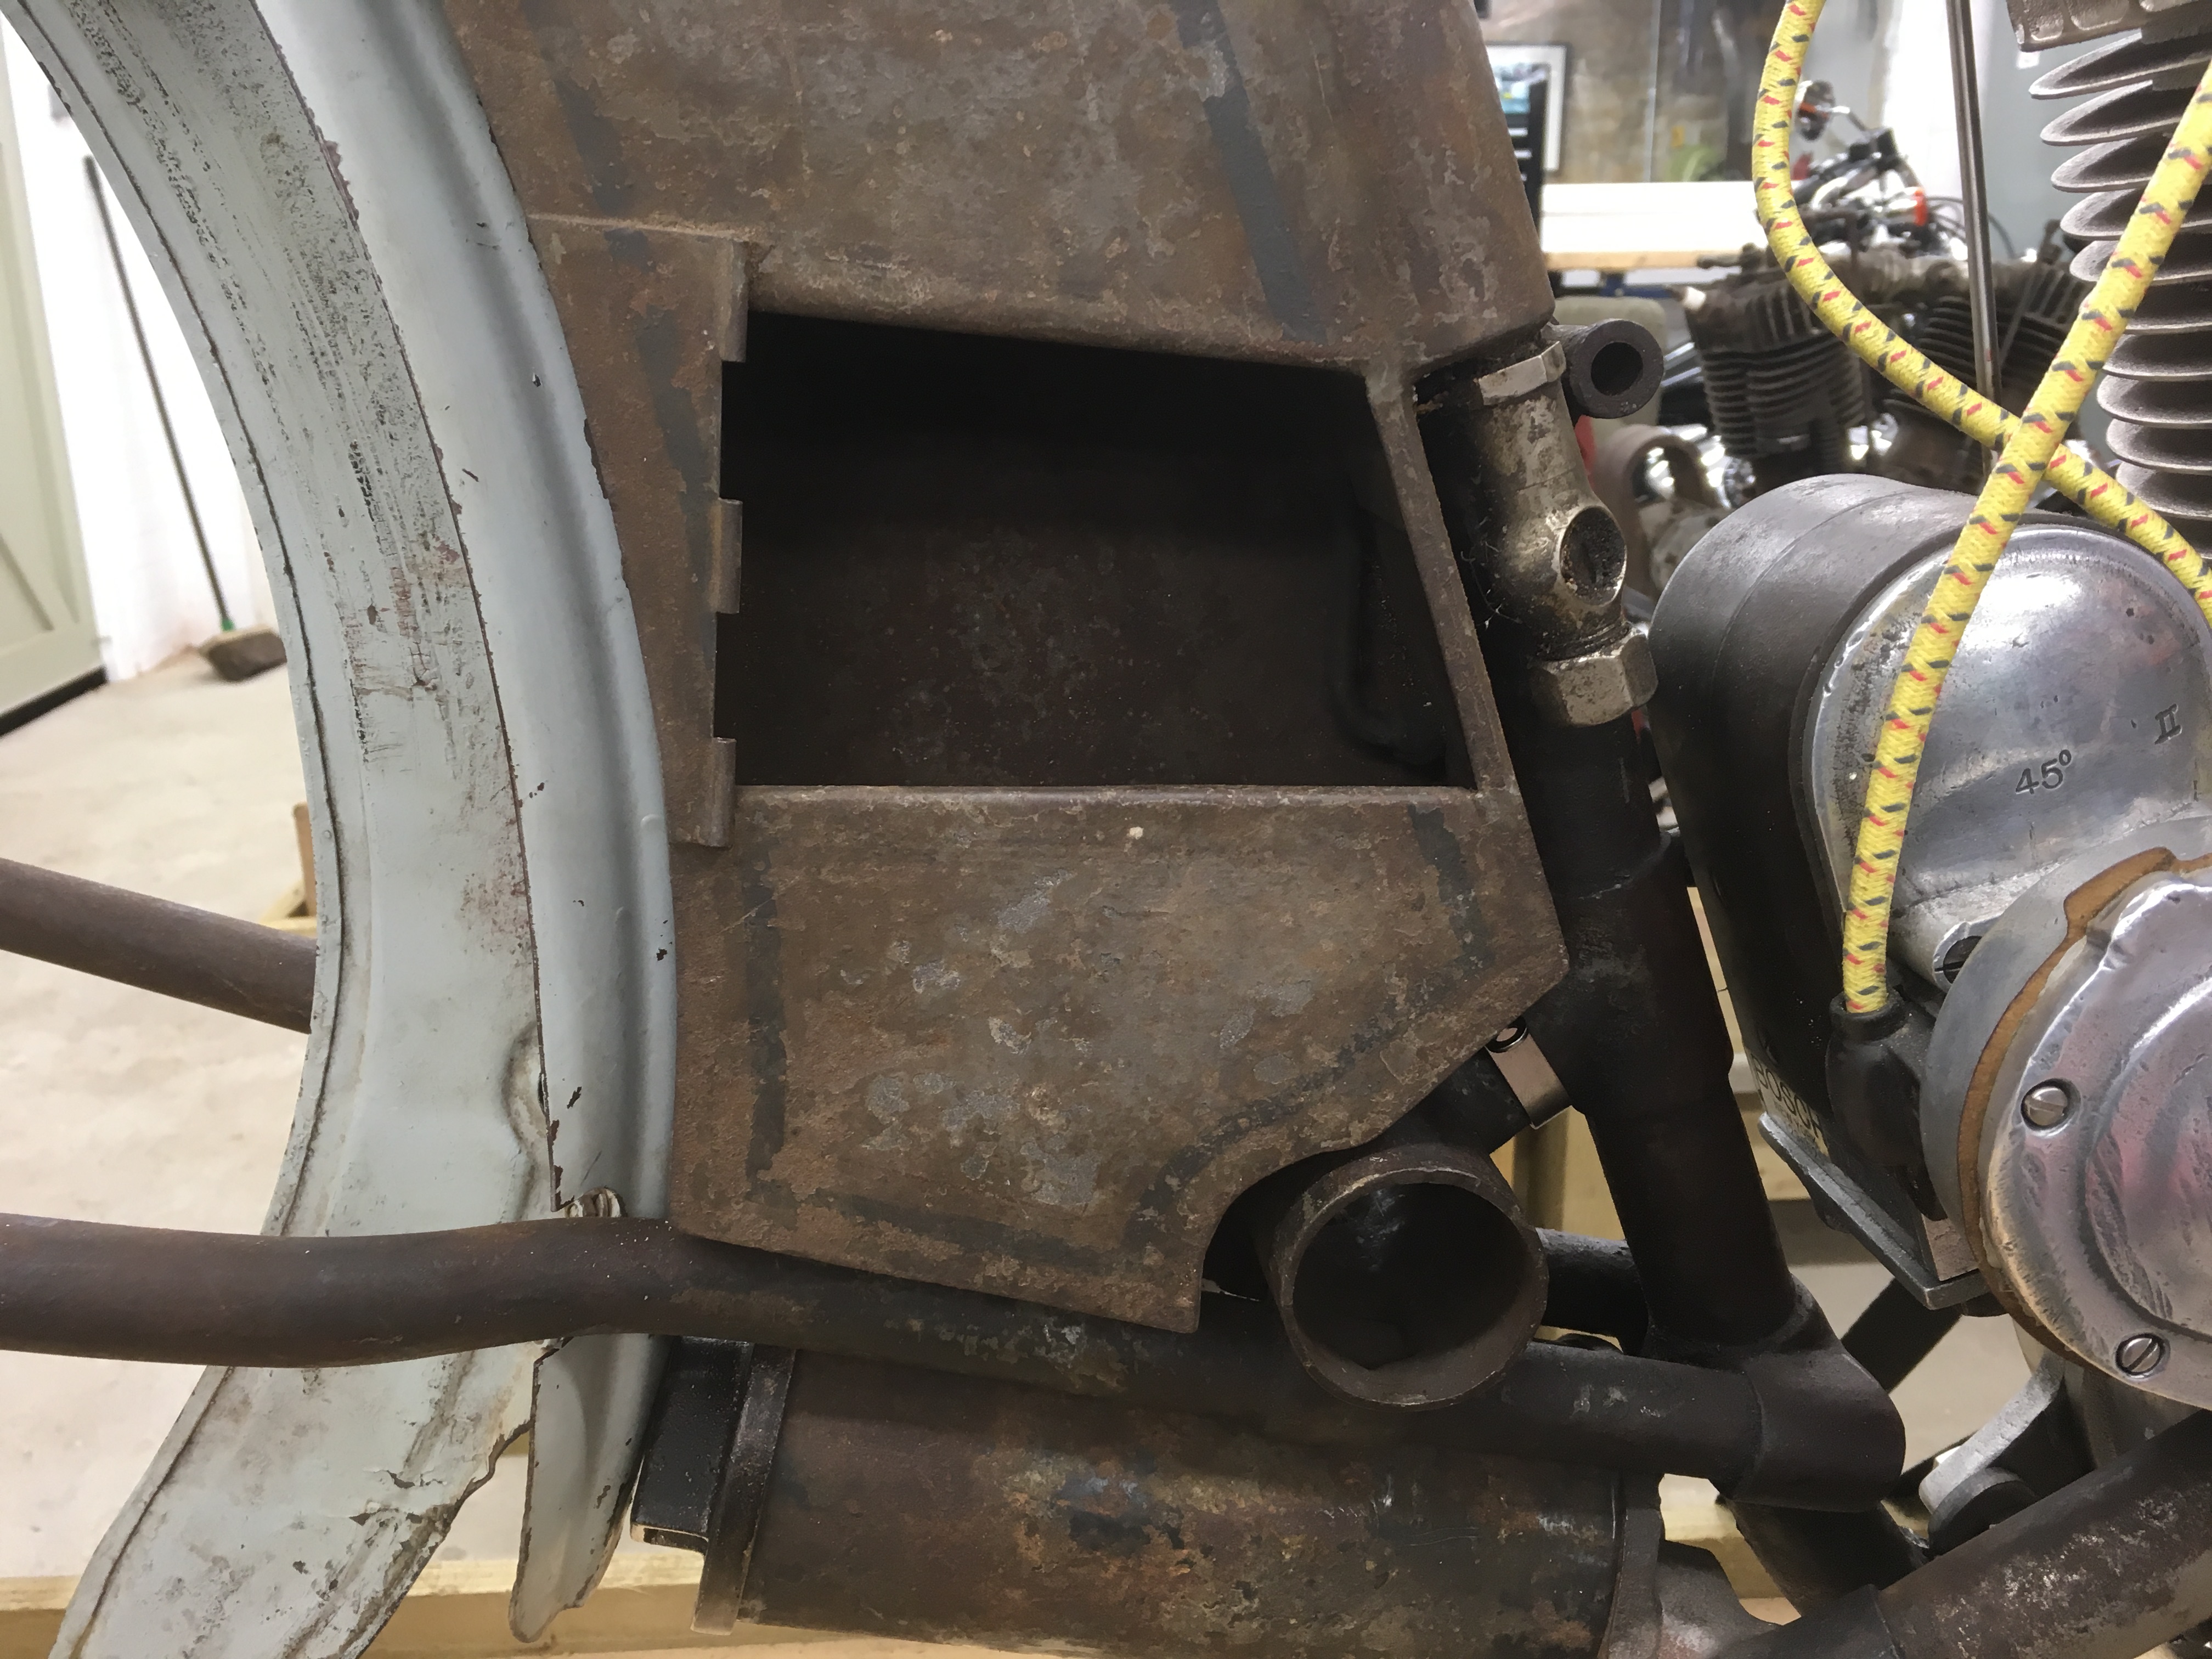
The oil tank/tool box also went on without problems. It is secured by way of a repop top mount and a bolt through the back of the box and through the fender. There is also a bottom mount that fits under the frame but the one I have doesn’t work: I’ll make one. All in all an easy day, it will make up for the stressful ones which WILL follow.
02.01.2017
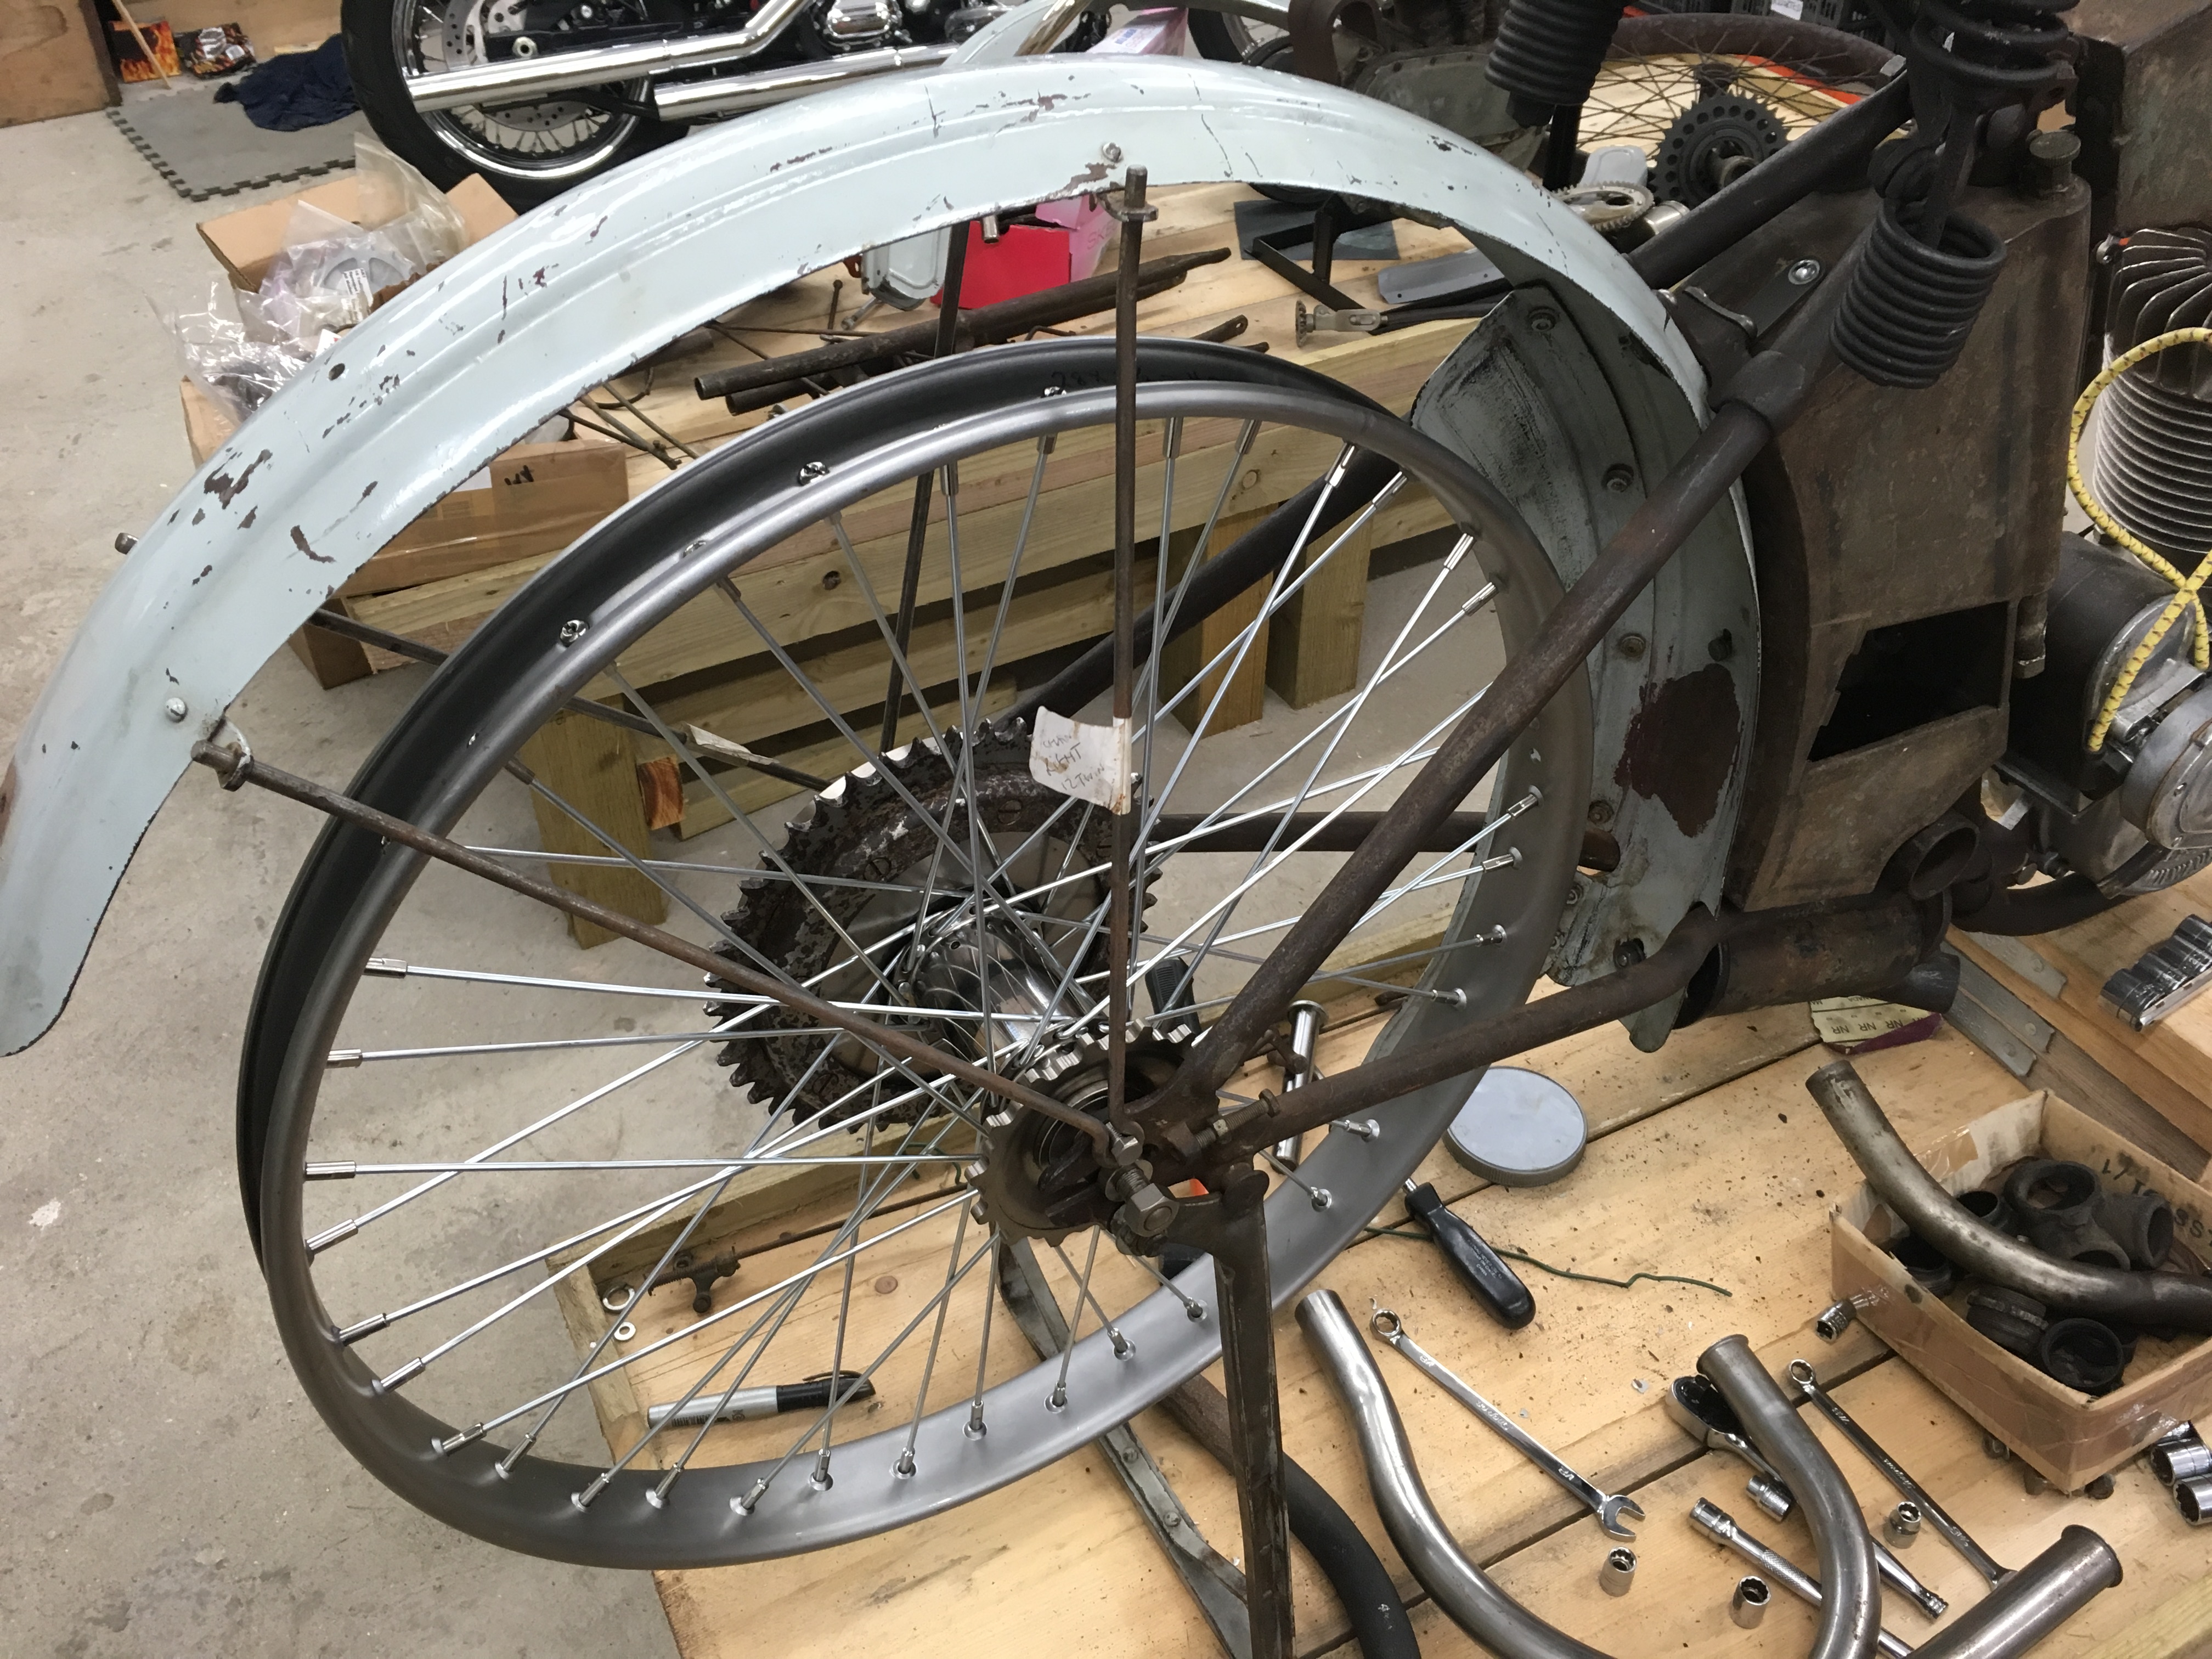
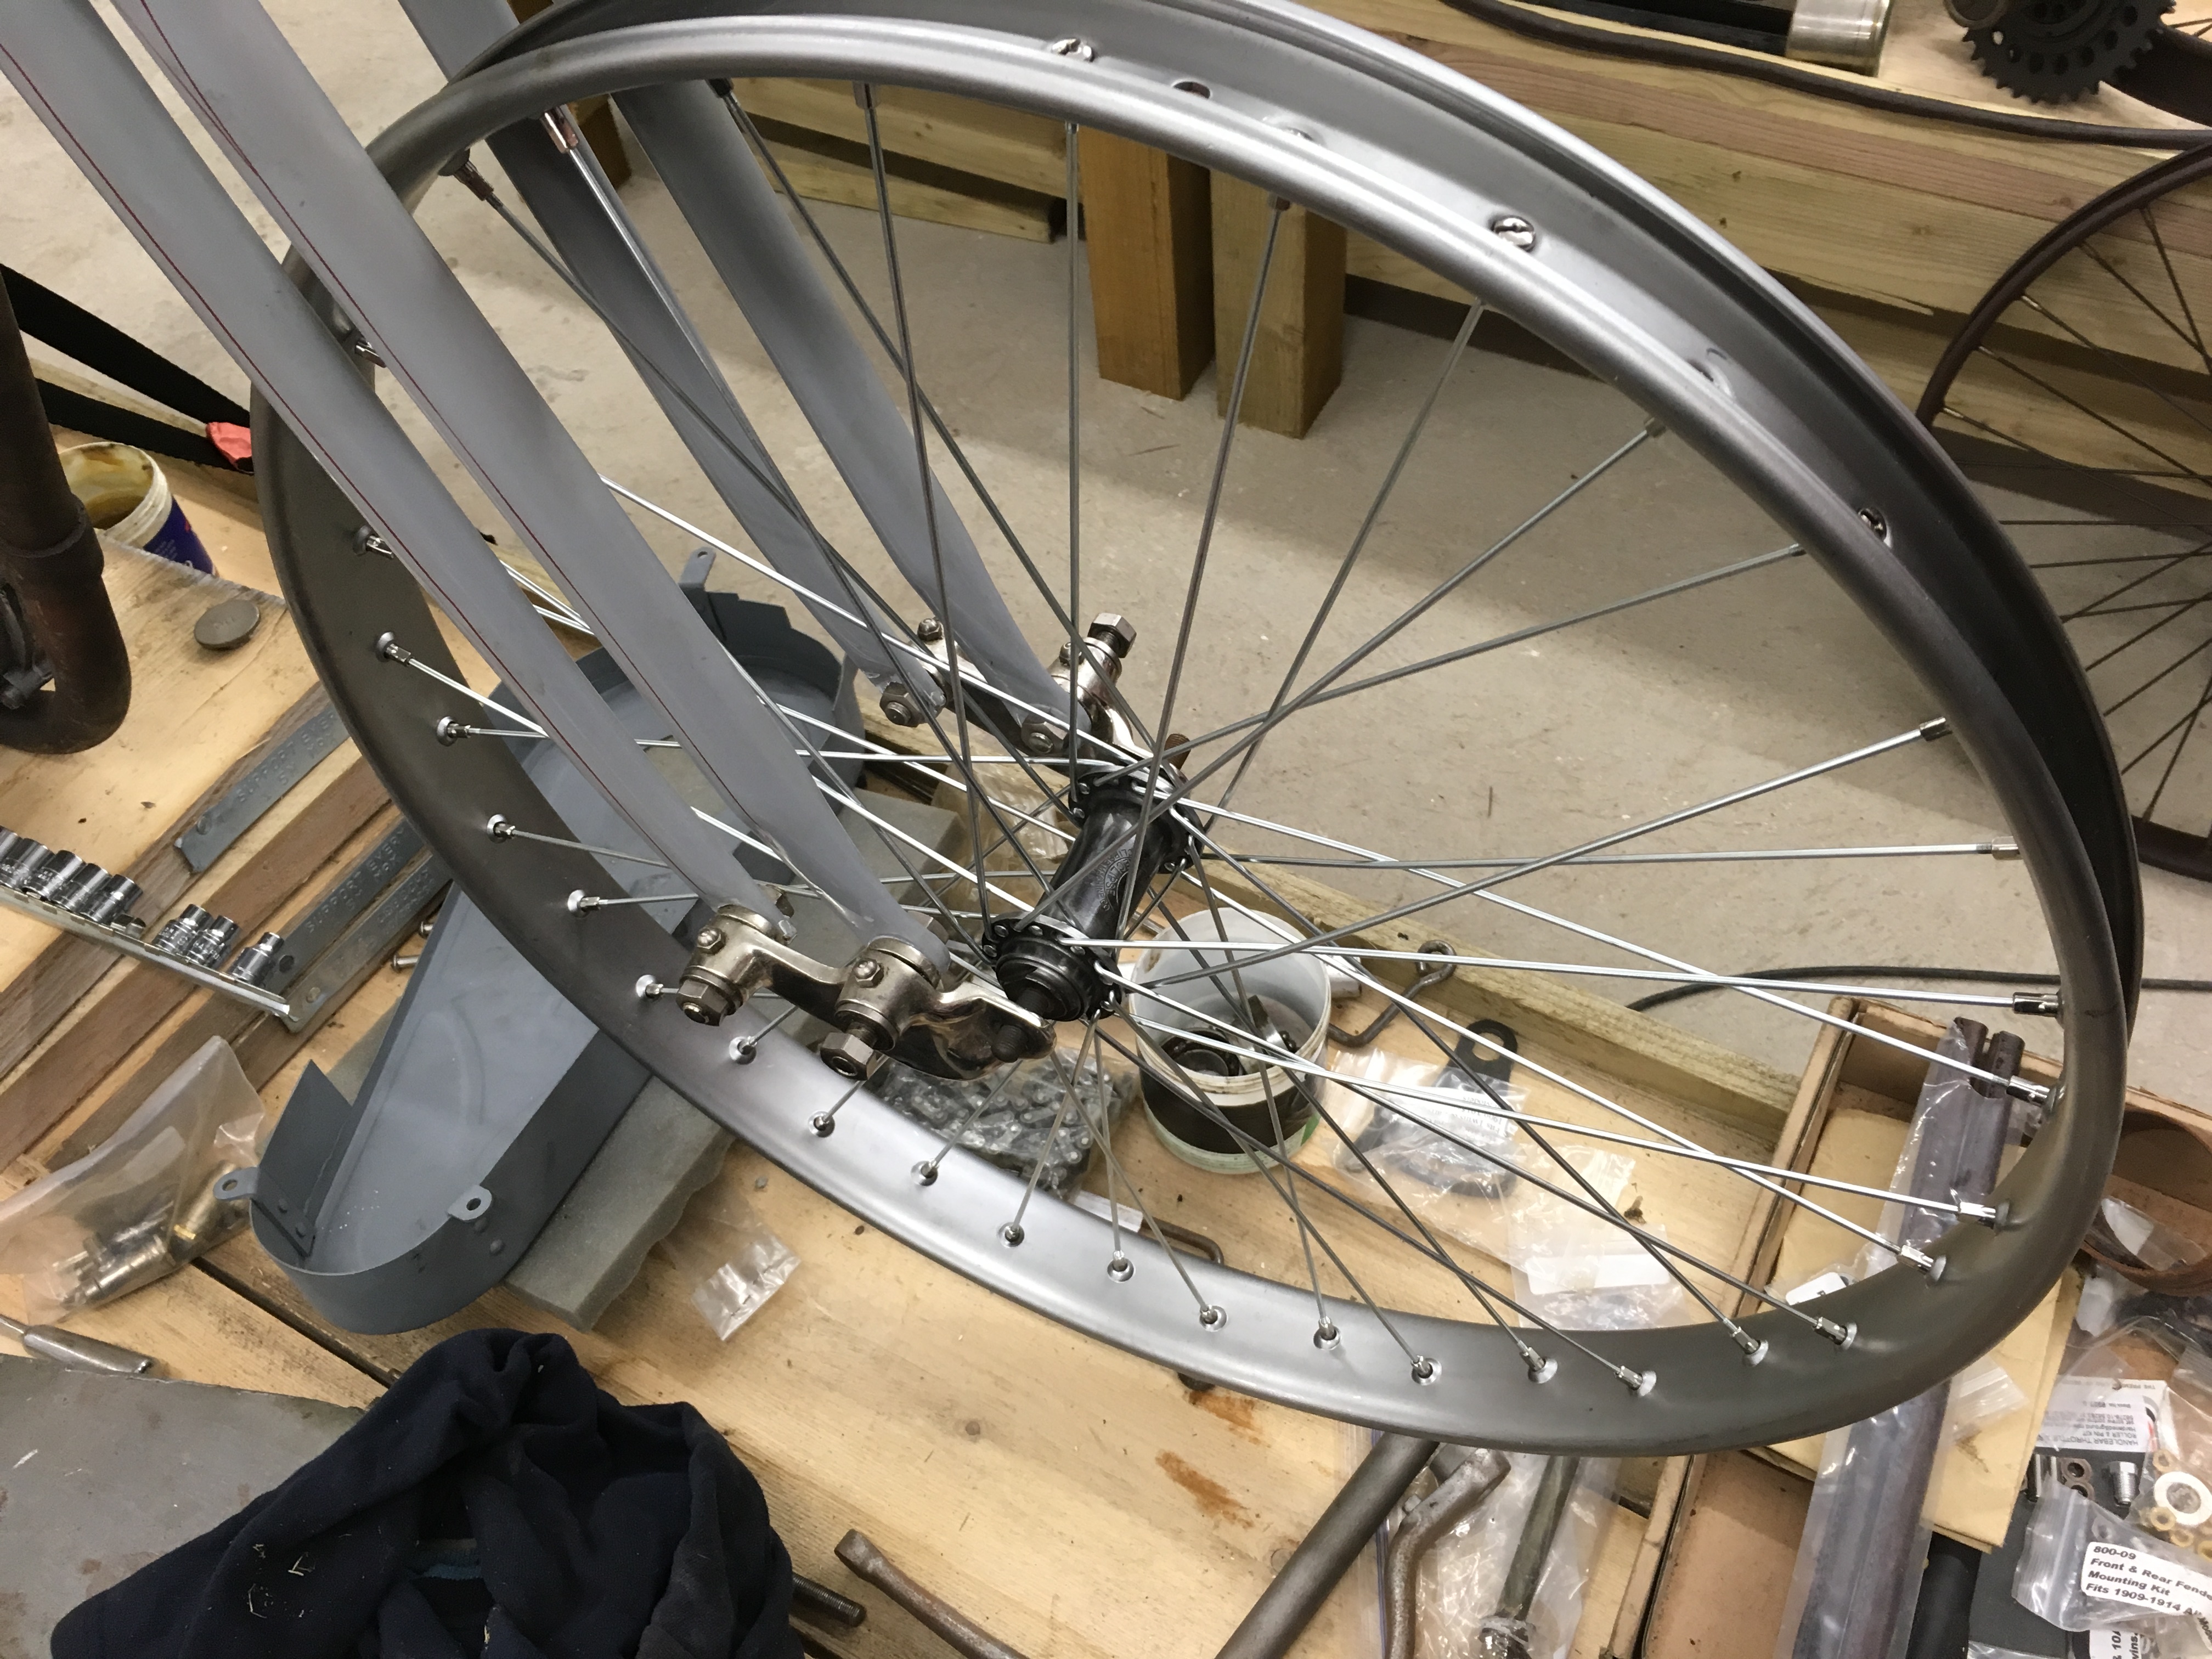
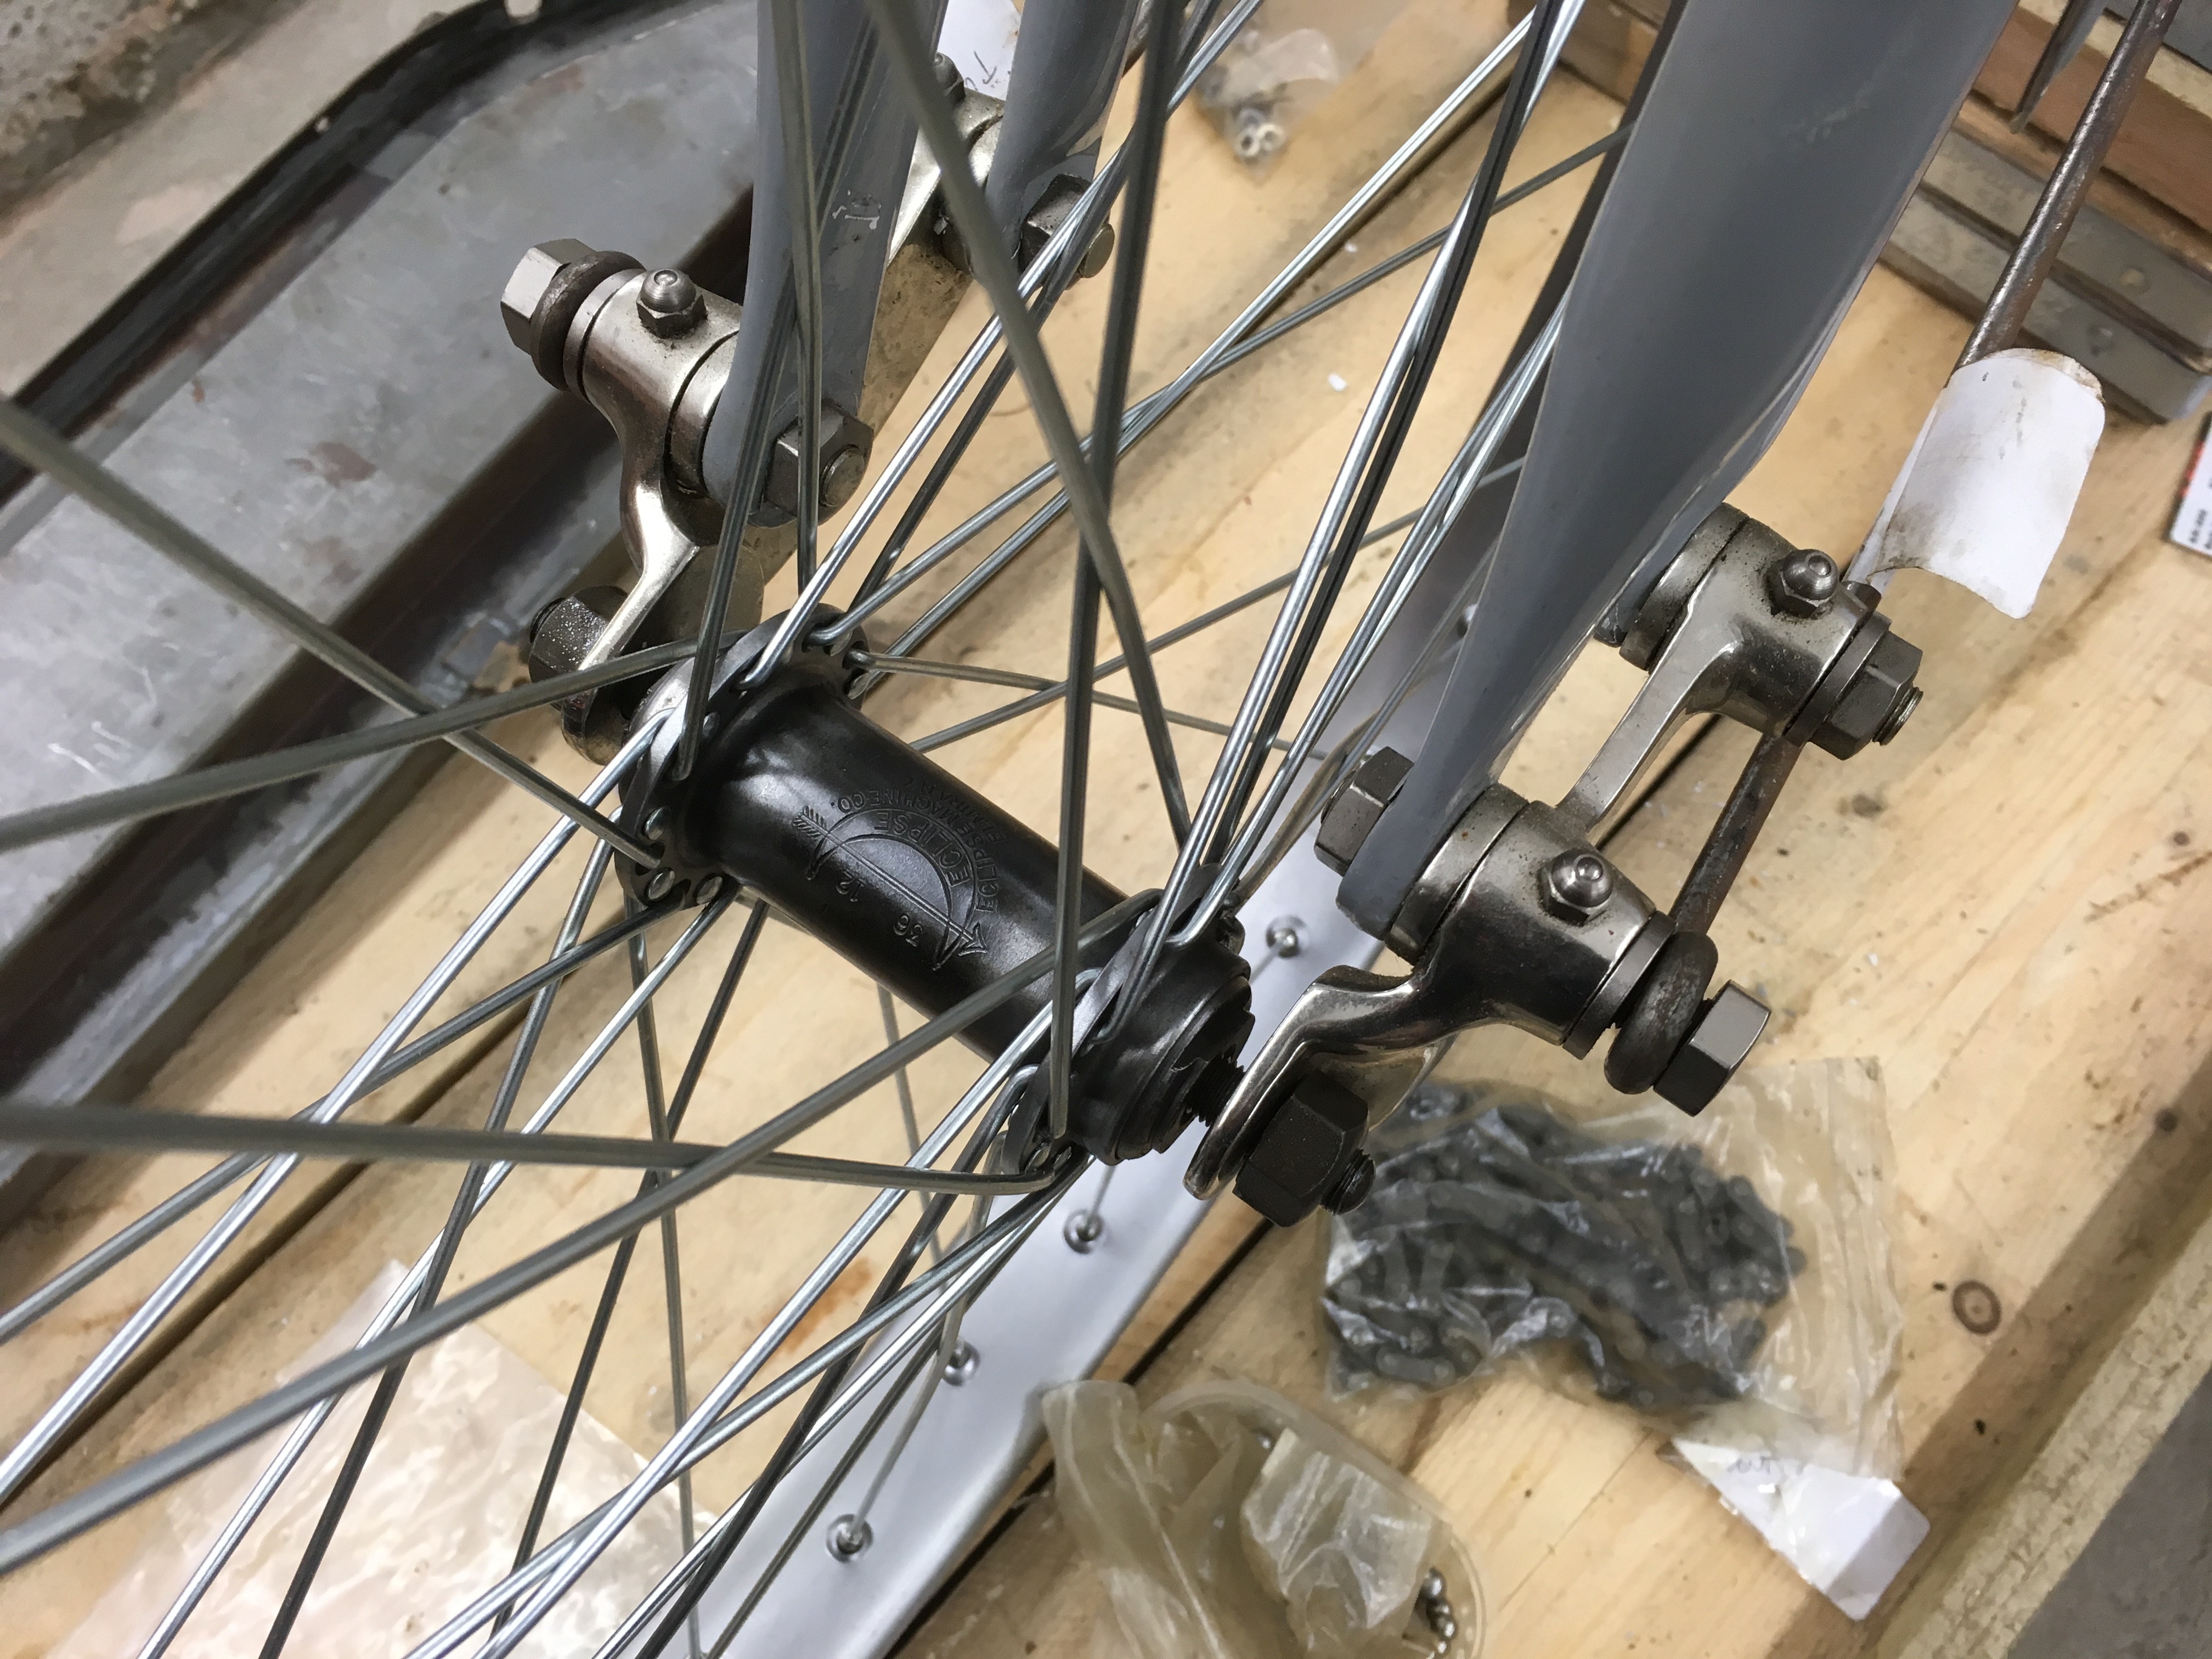
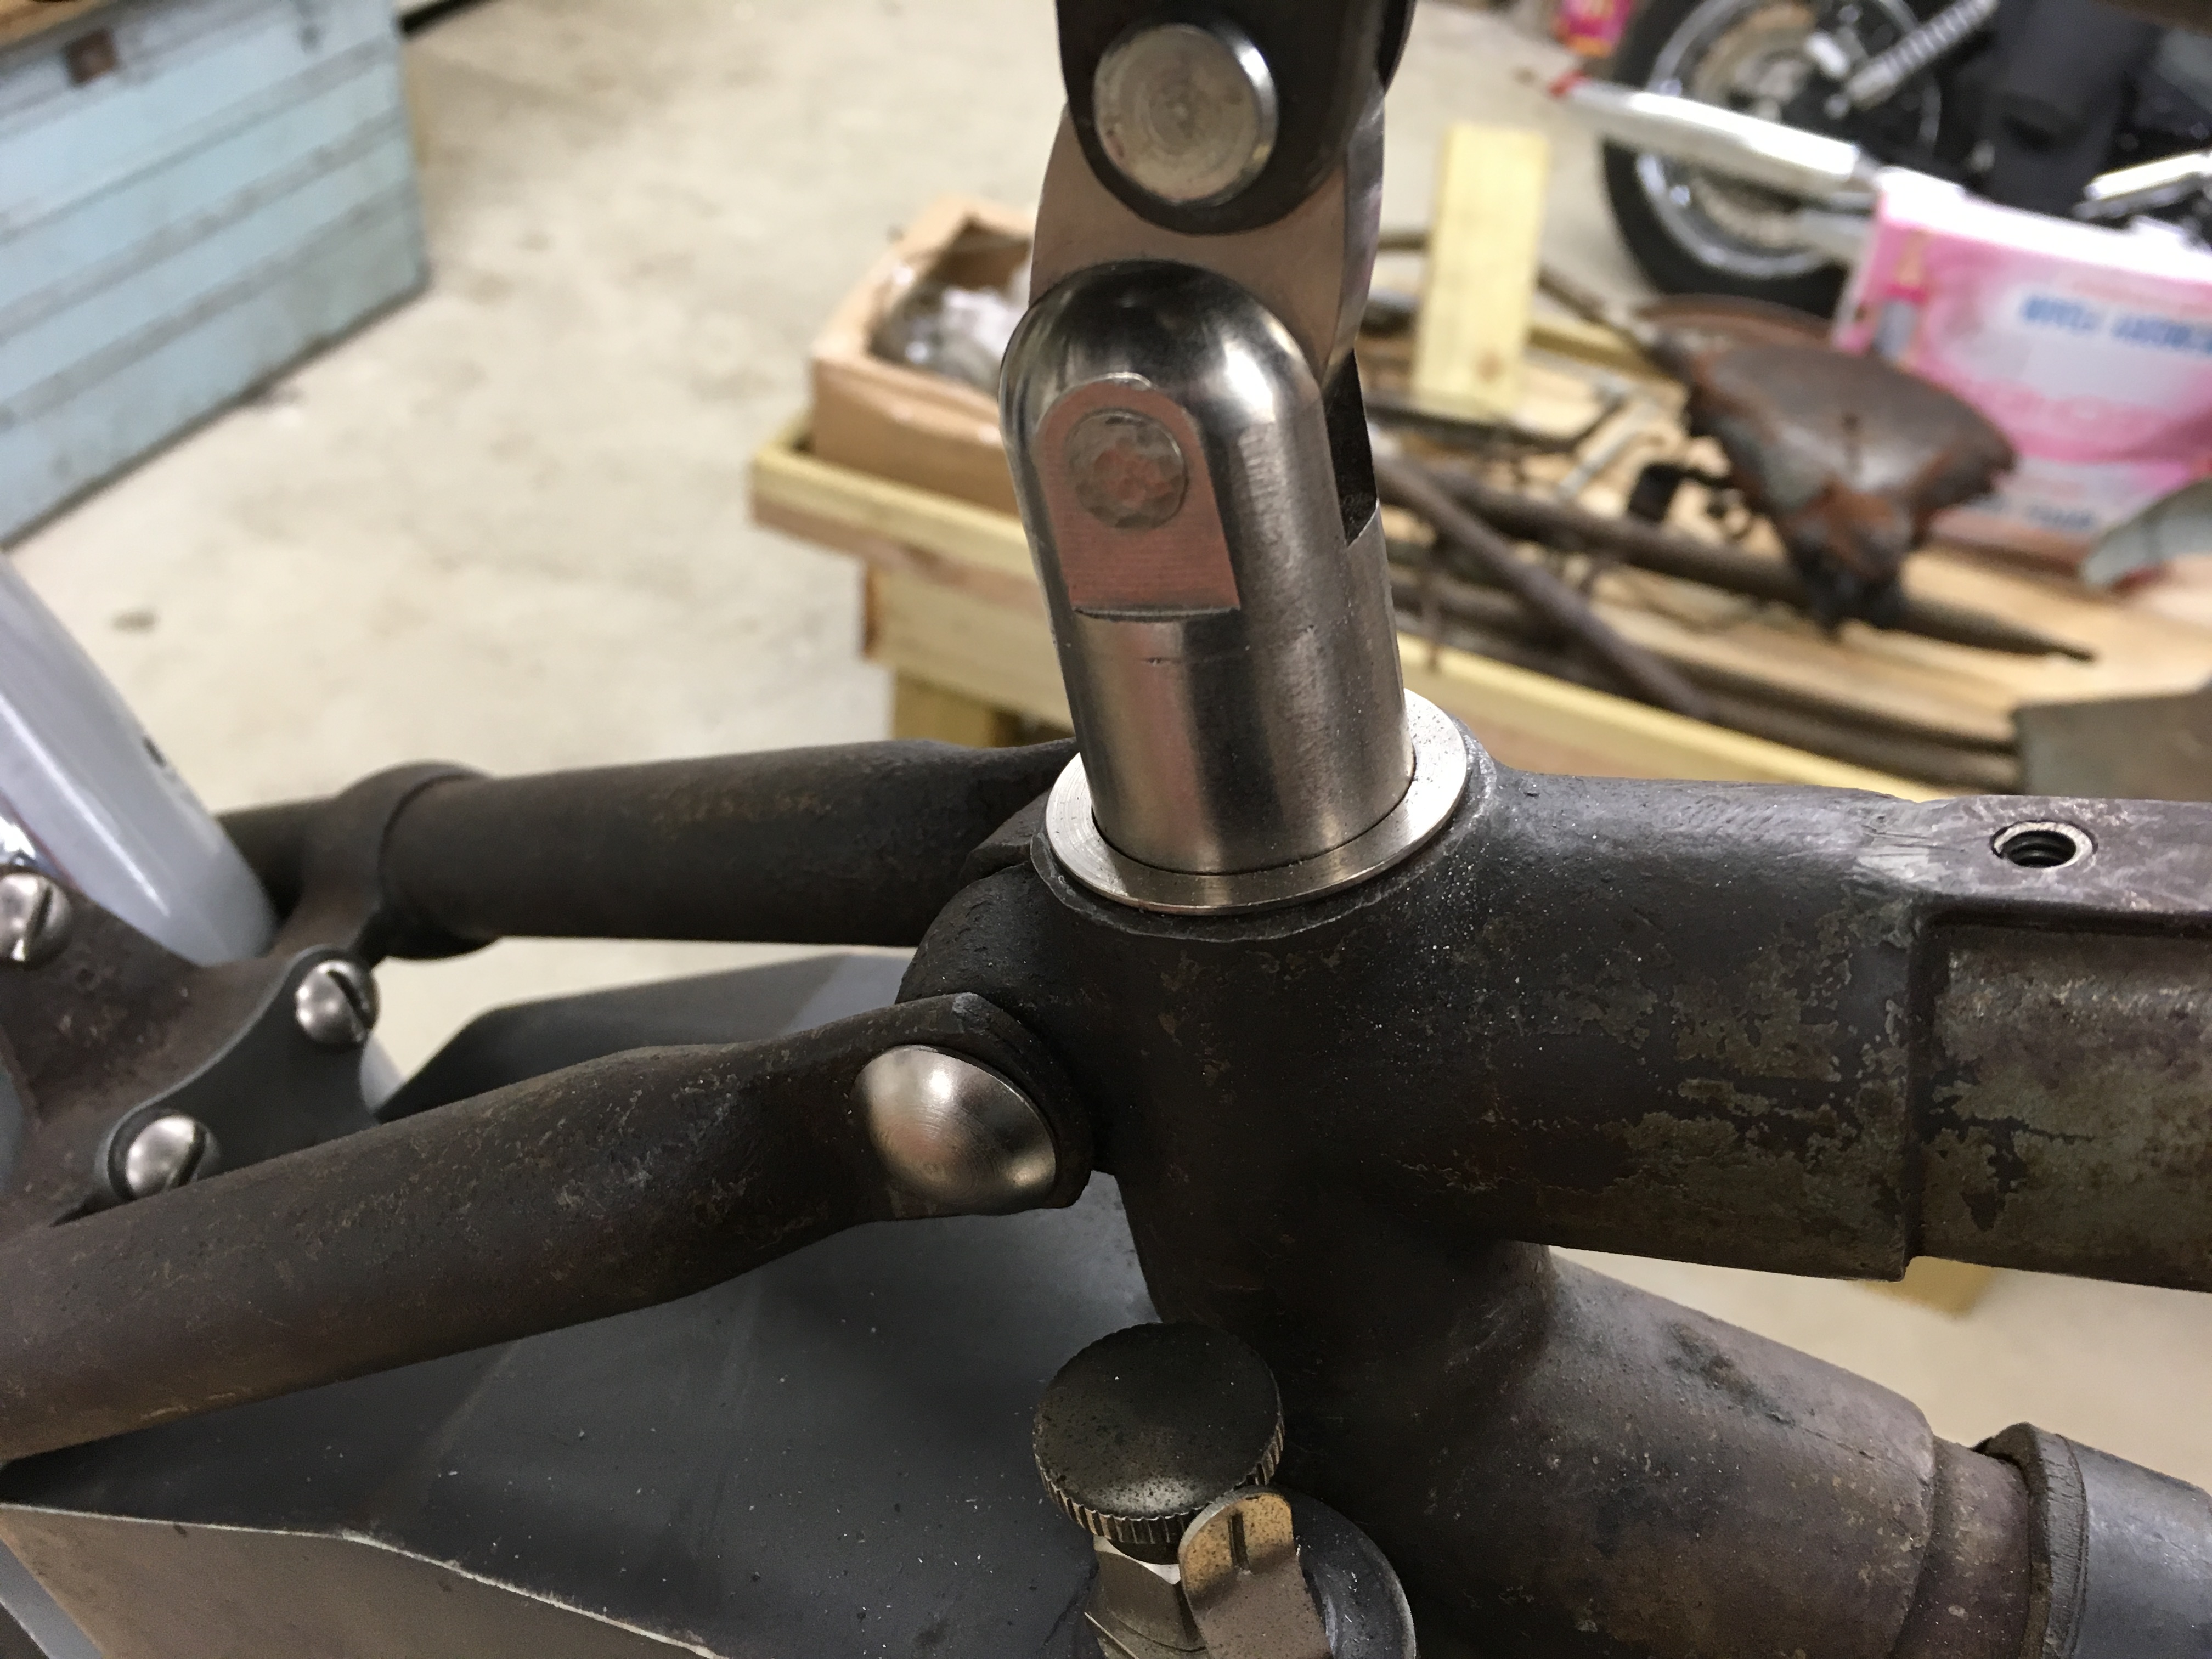
Kevin came over today and we fitted the wheels he has built up. The front has the correct Eclipse hub and the rear has a copy hub but with a mainly original clutch. The cover and most parts are HD but the missing parts came from Competition. The rims are from Al McPherson and we have used ‘mock up’ spokes and nipples to get the lengths and offsets correct. They will be rebuilt again in due course.
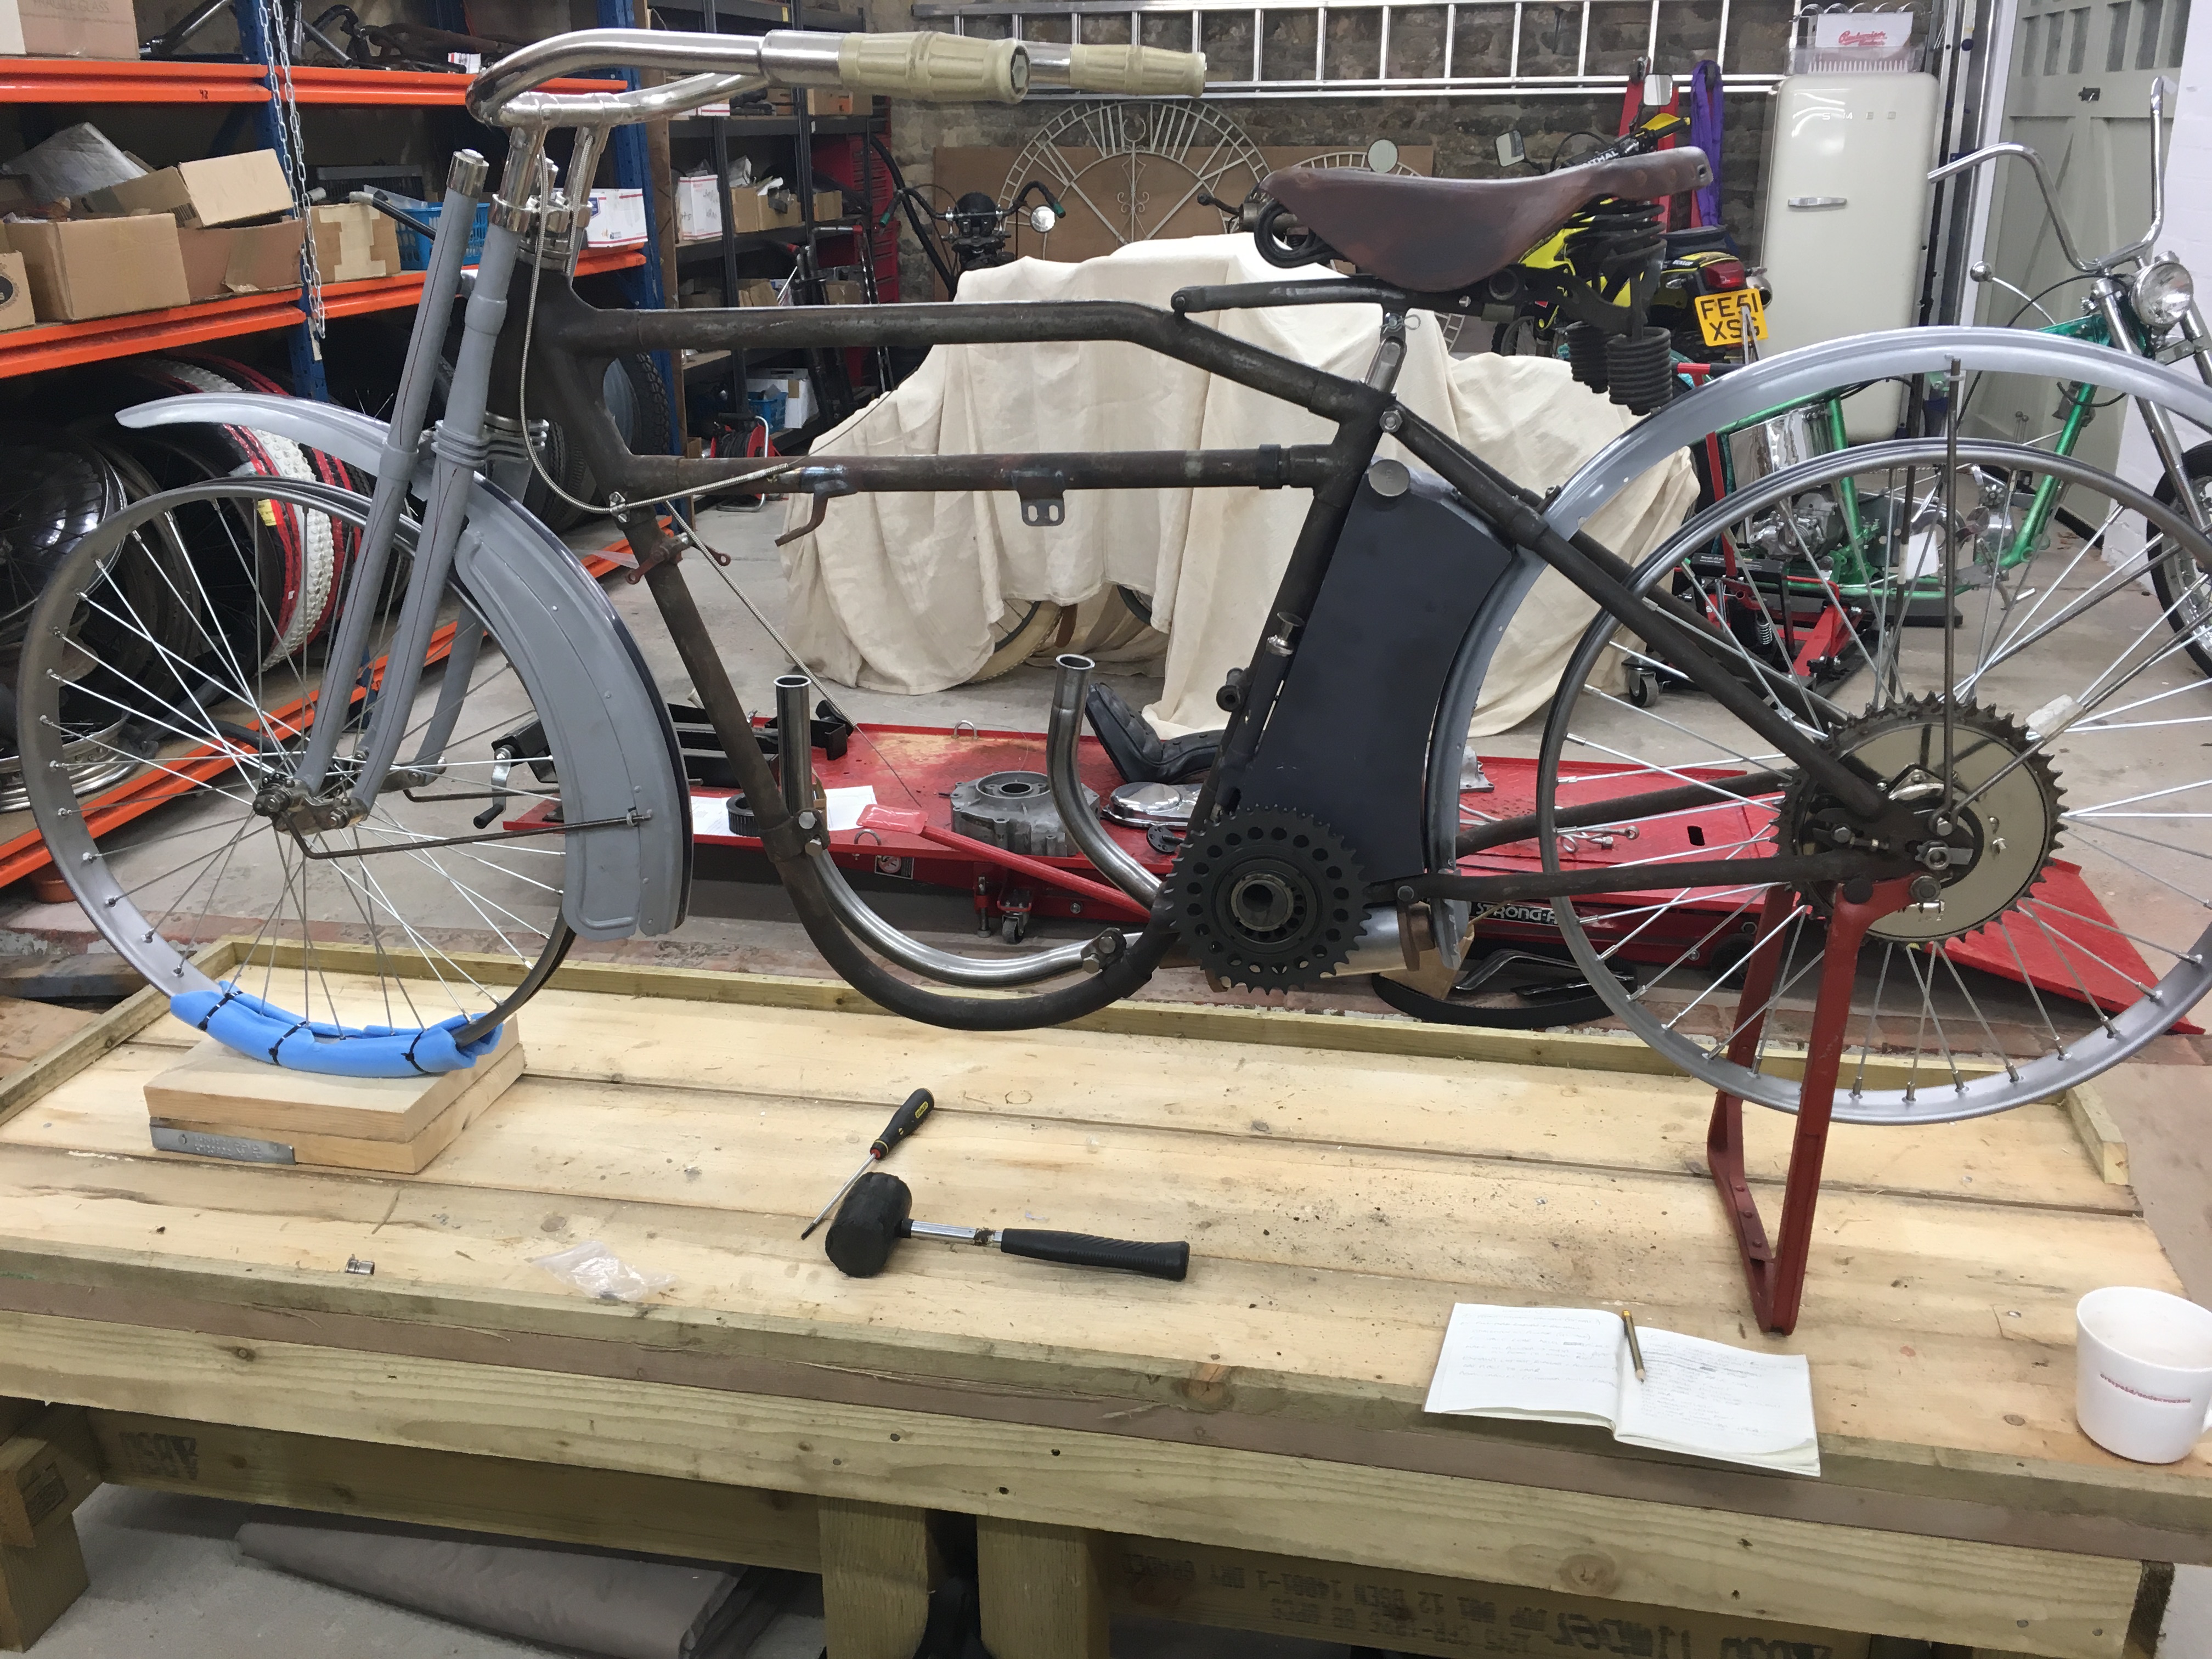
The dilemma is the old one though. Just for fun after lunch we put on the old gas tank, the handlebars and we balanced the old seat on the frame…… So now I’m wondering (again) whether this should be the ‘old parts’ bike or if I should use the restored parts on this build and keep searching for more old parts and put them on the belt drive. I just don’t want to repaint this old frame as part of the restoration.
08.01.2017
I’m now back to the original idea of using the newer parts for the E and the older parts for the D. That will give me more time to search out parts for the older bike and enable the build of the newer bike to get started. The parts for the E will still in the main be correct original parts but with the addition of replacement parts where needed.

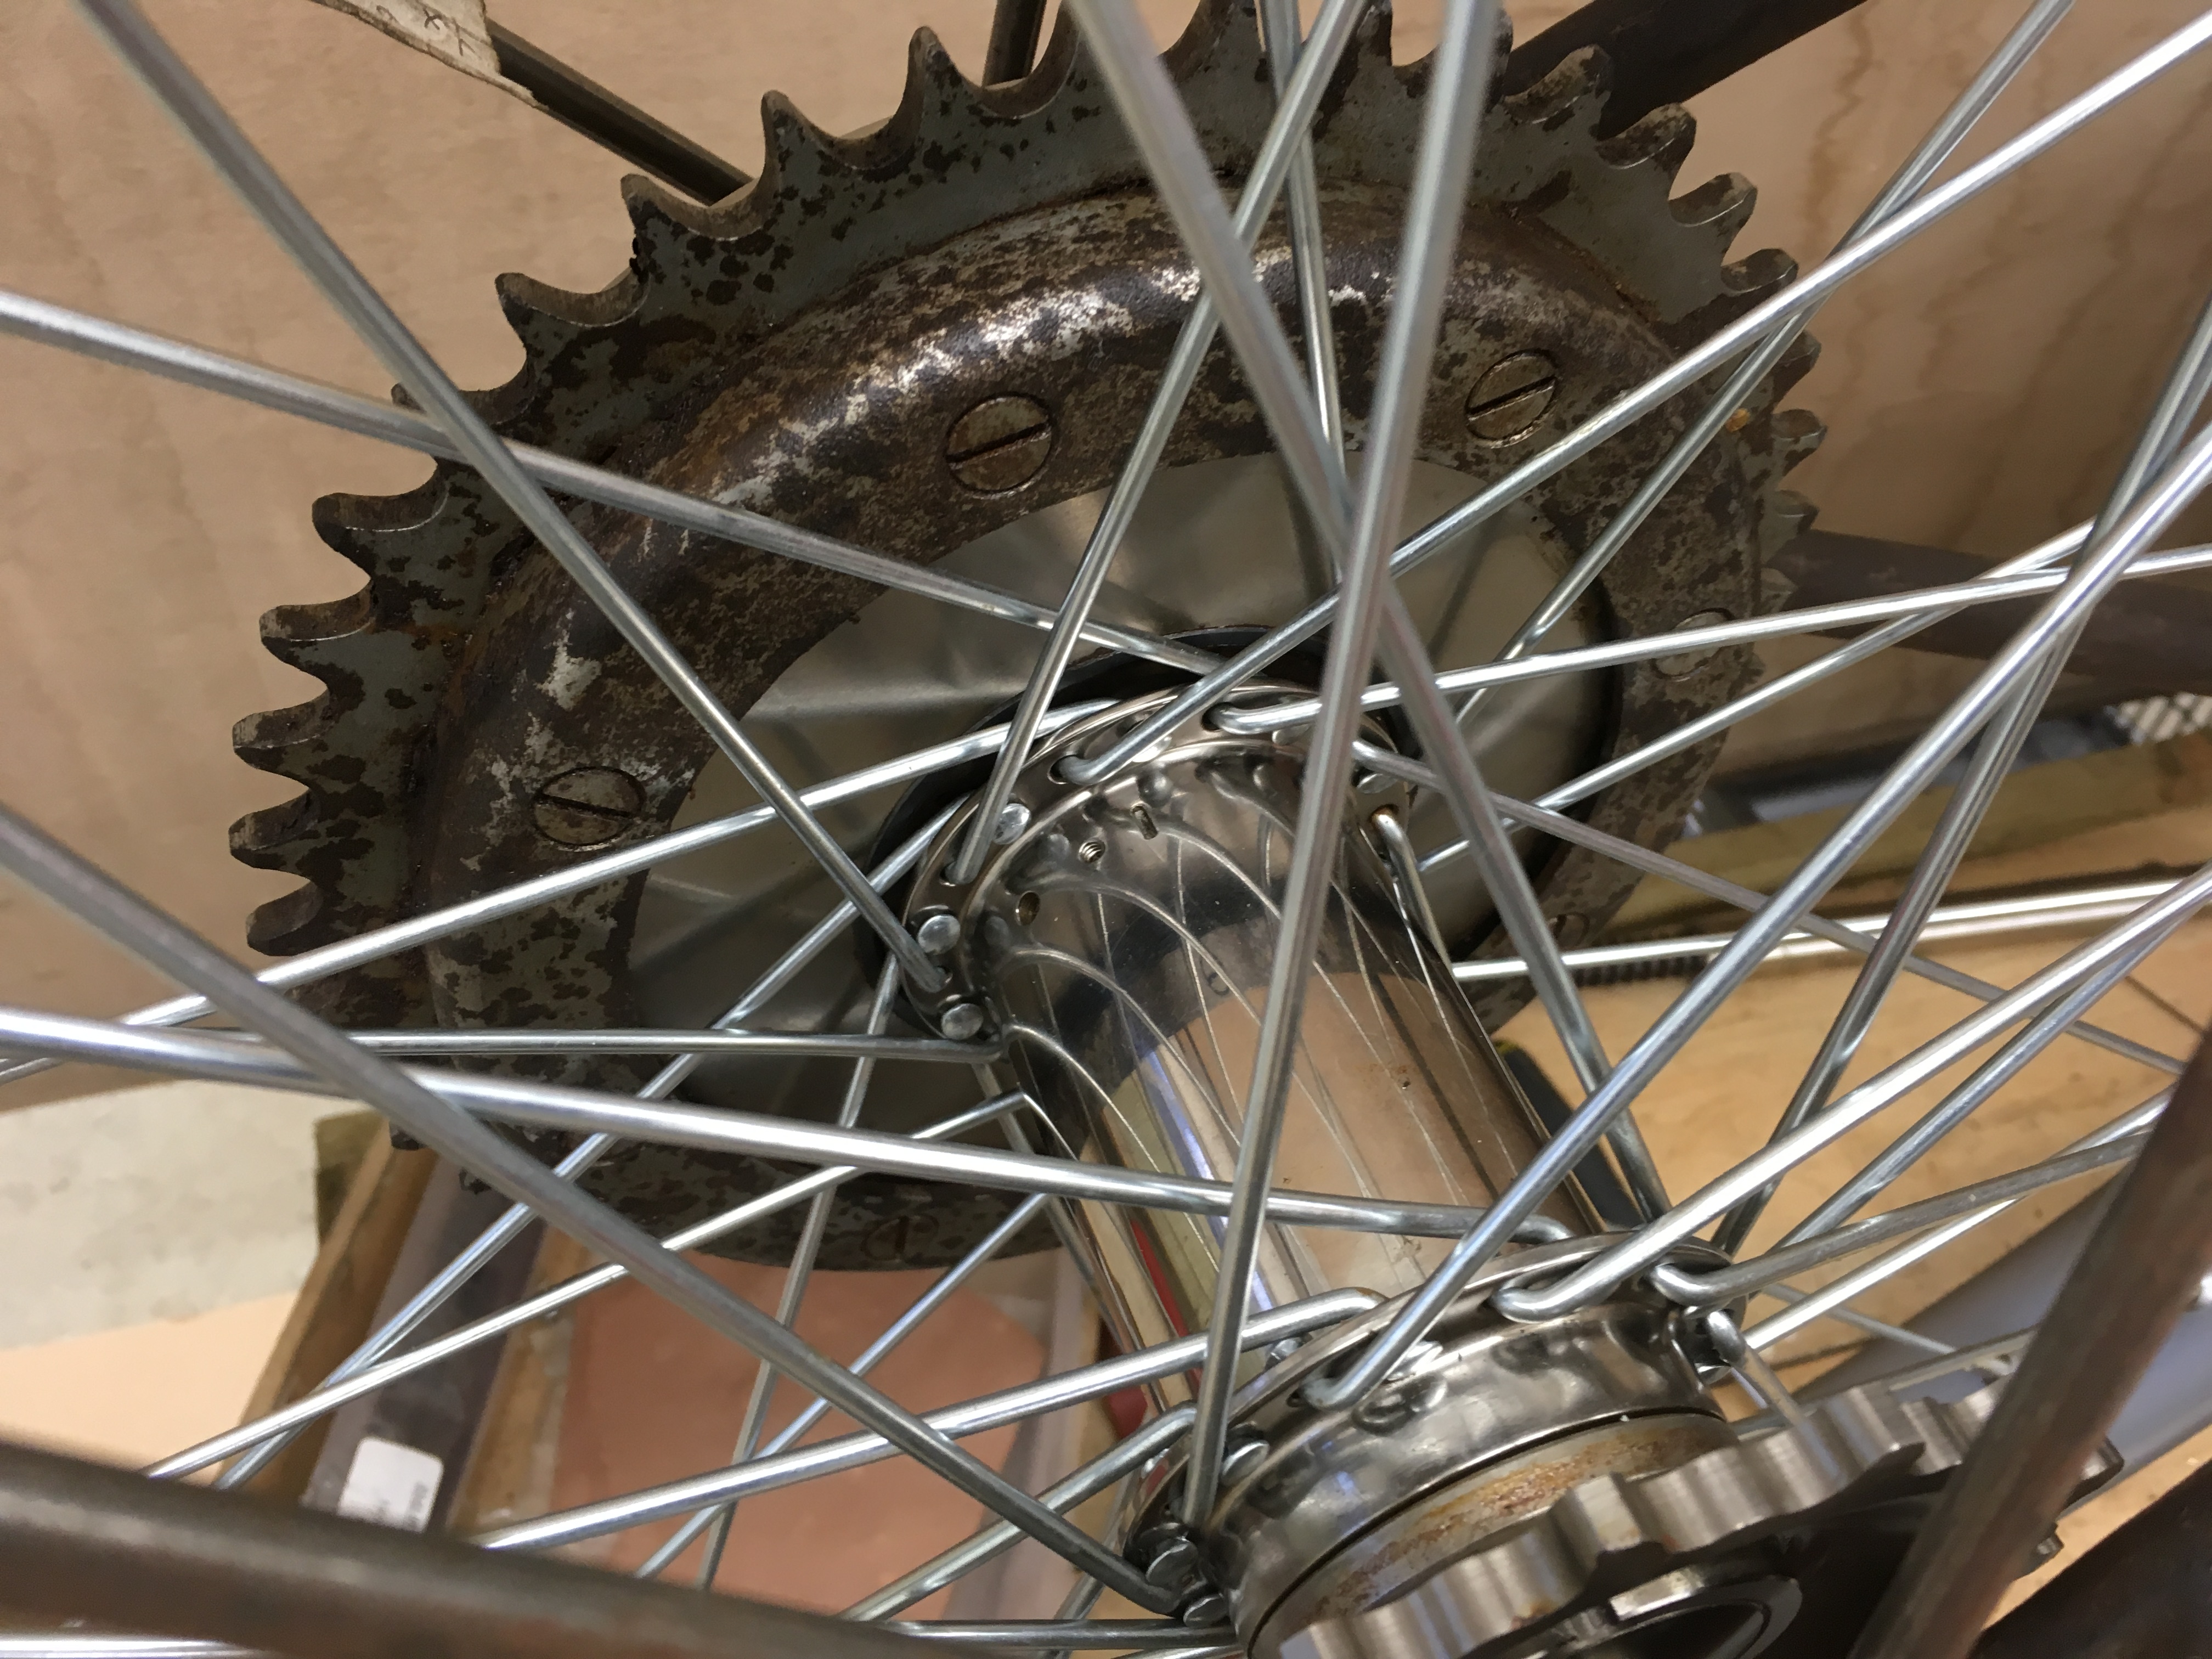
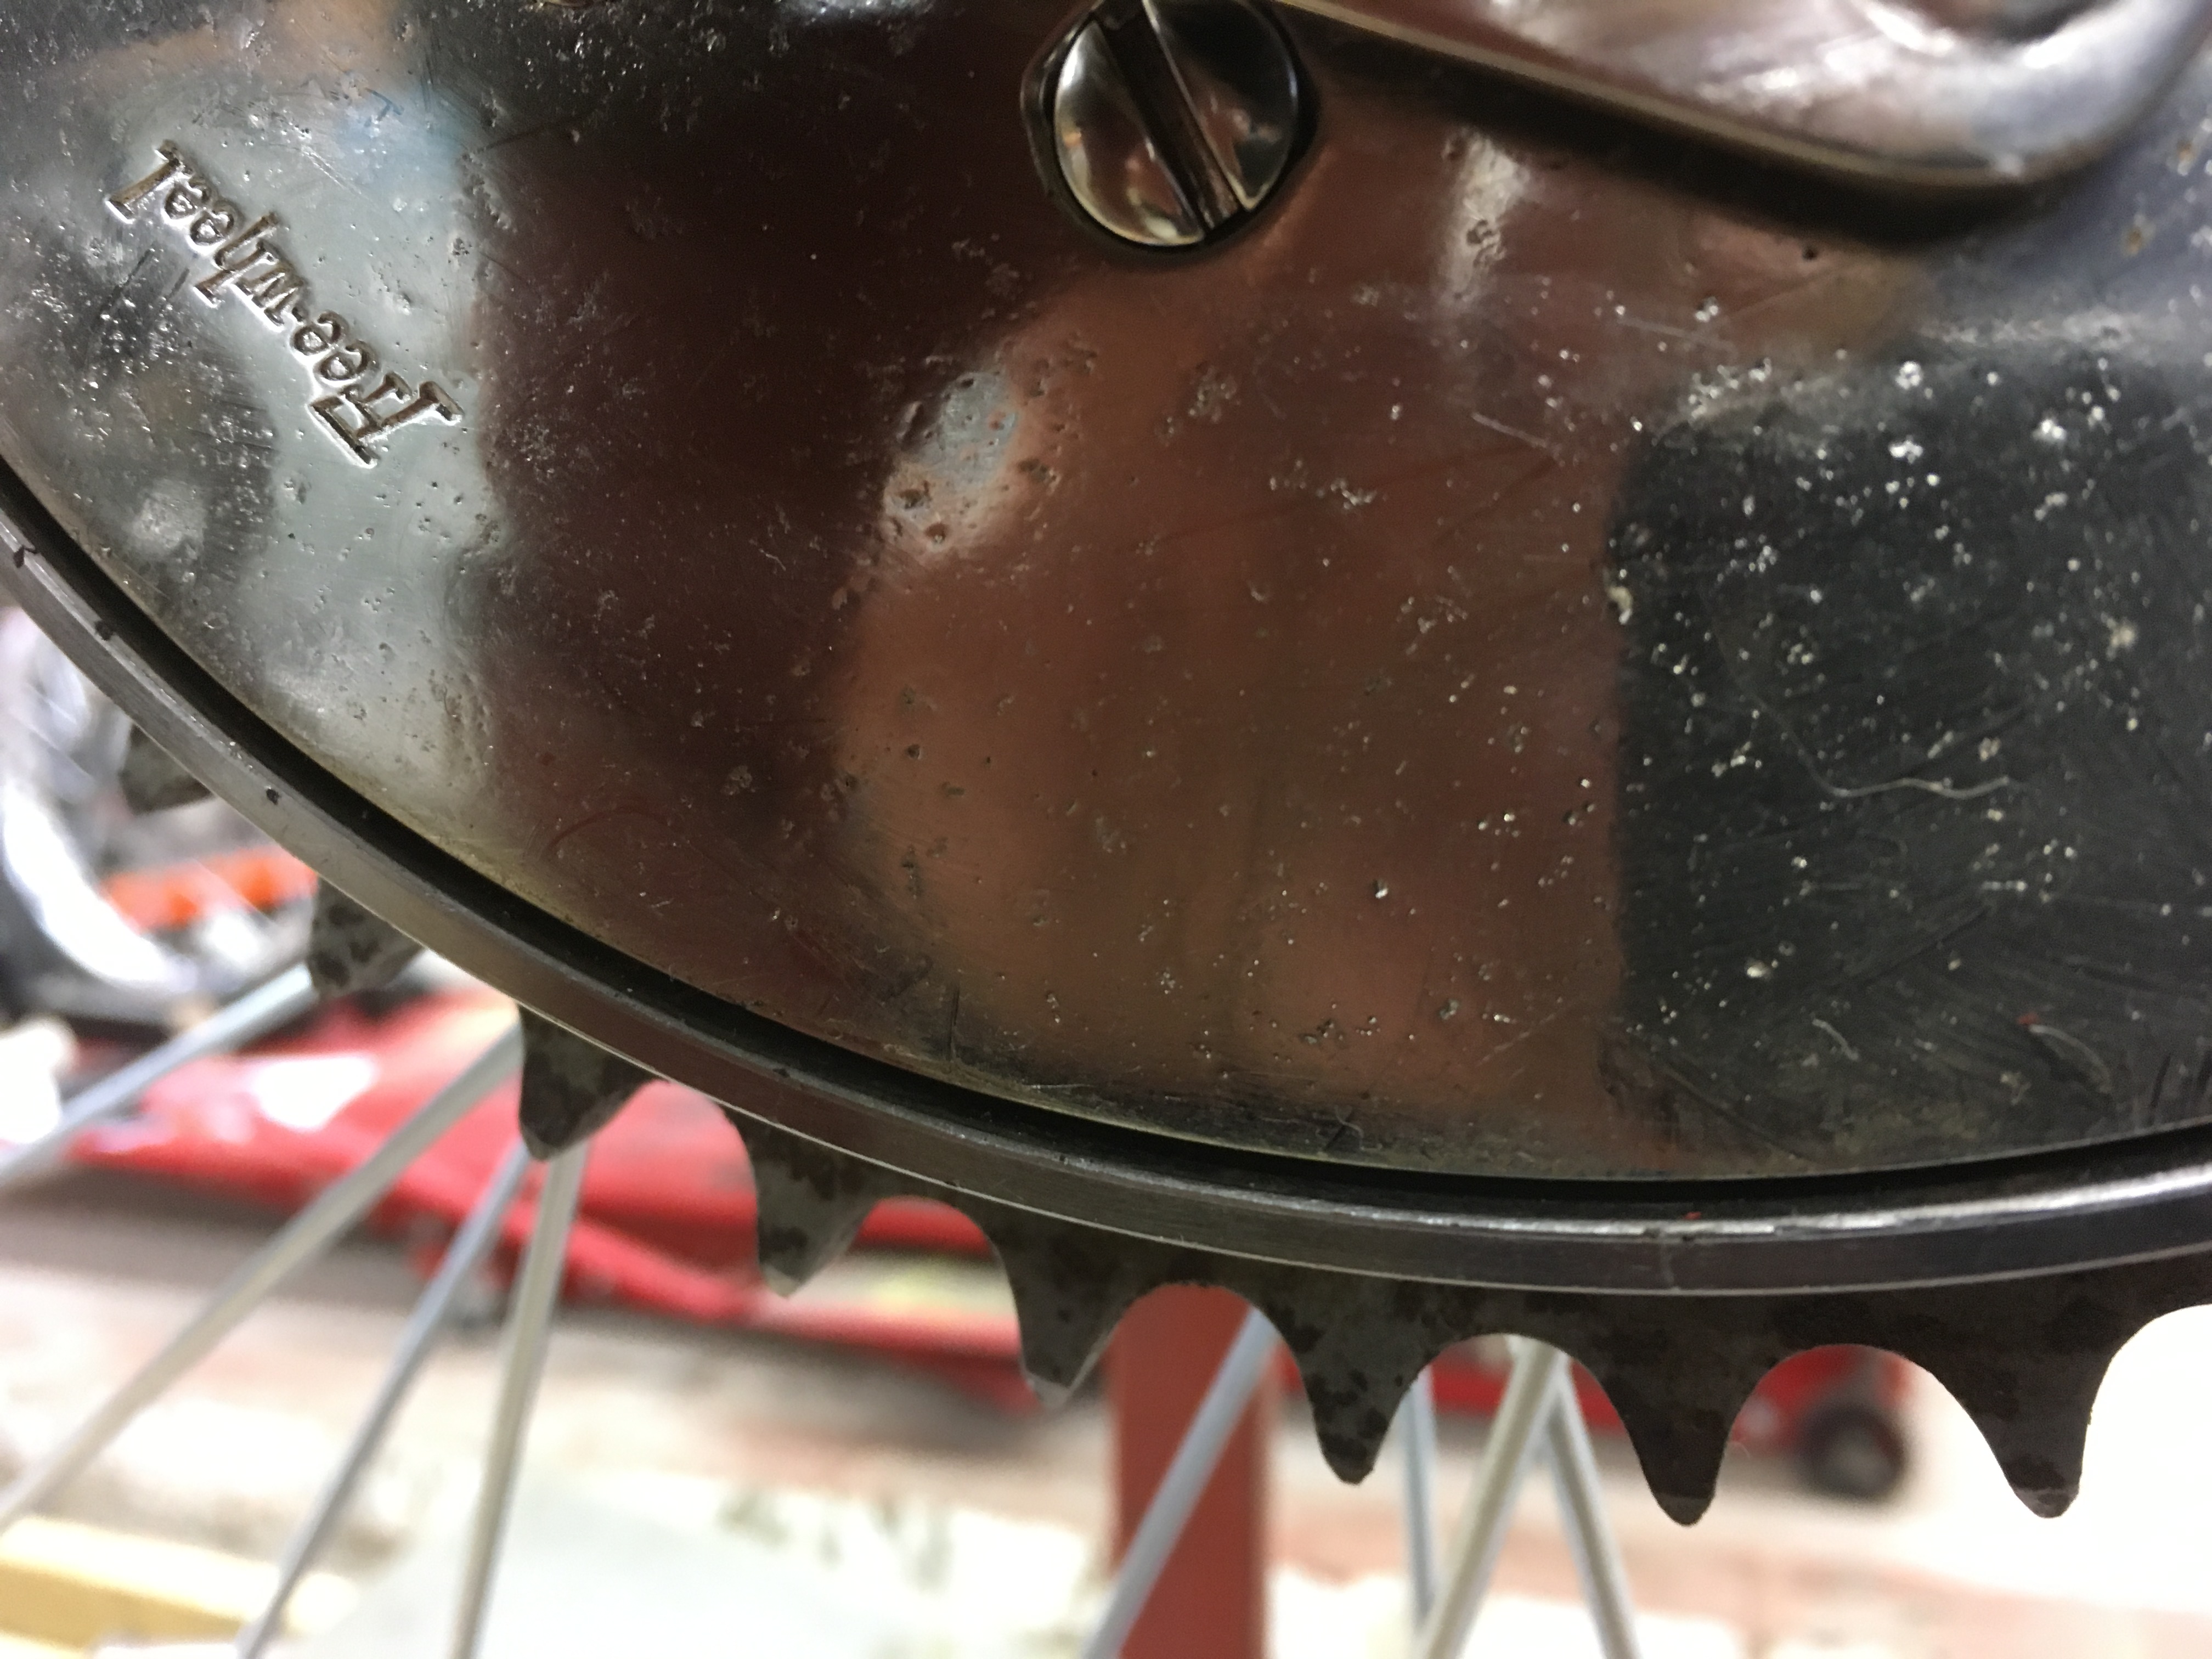
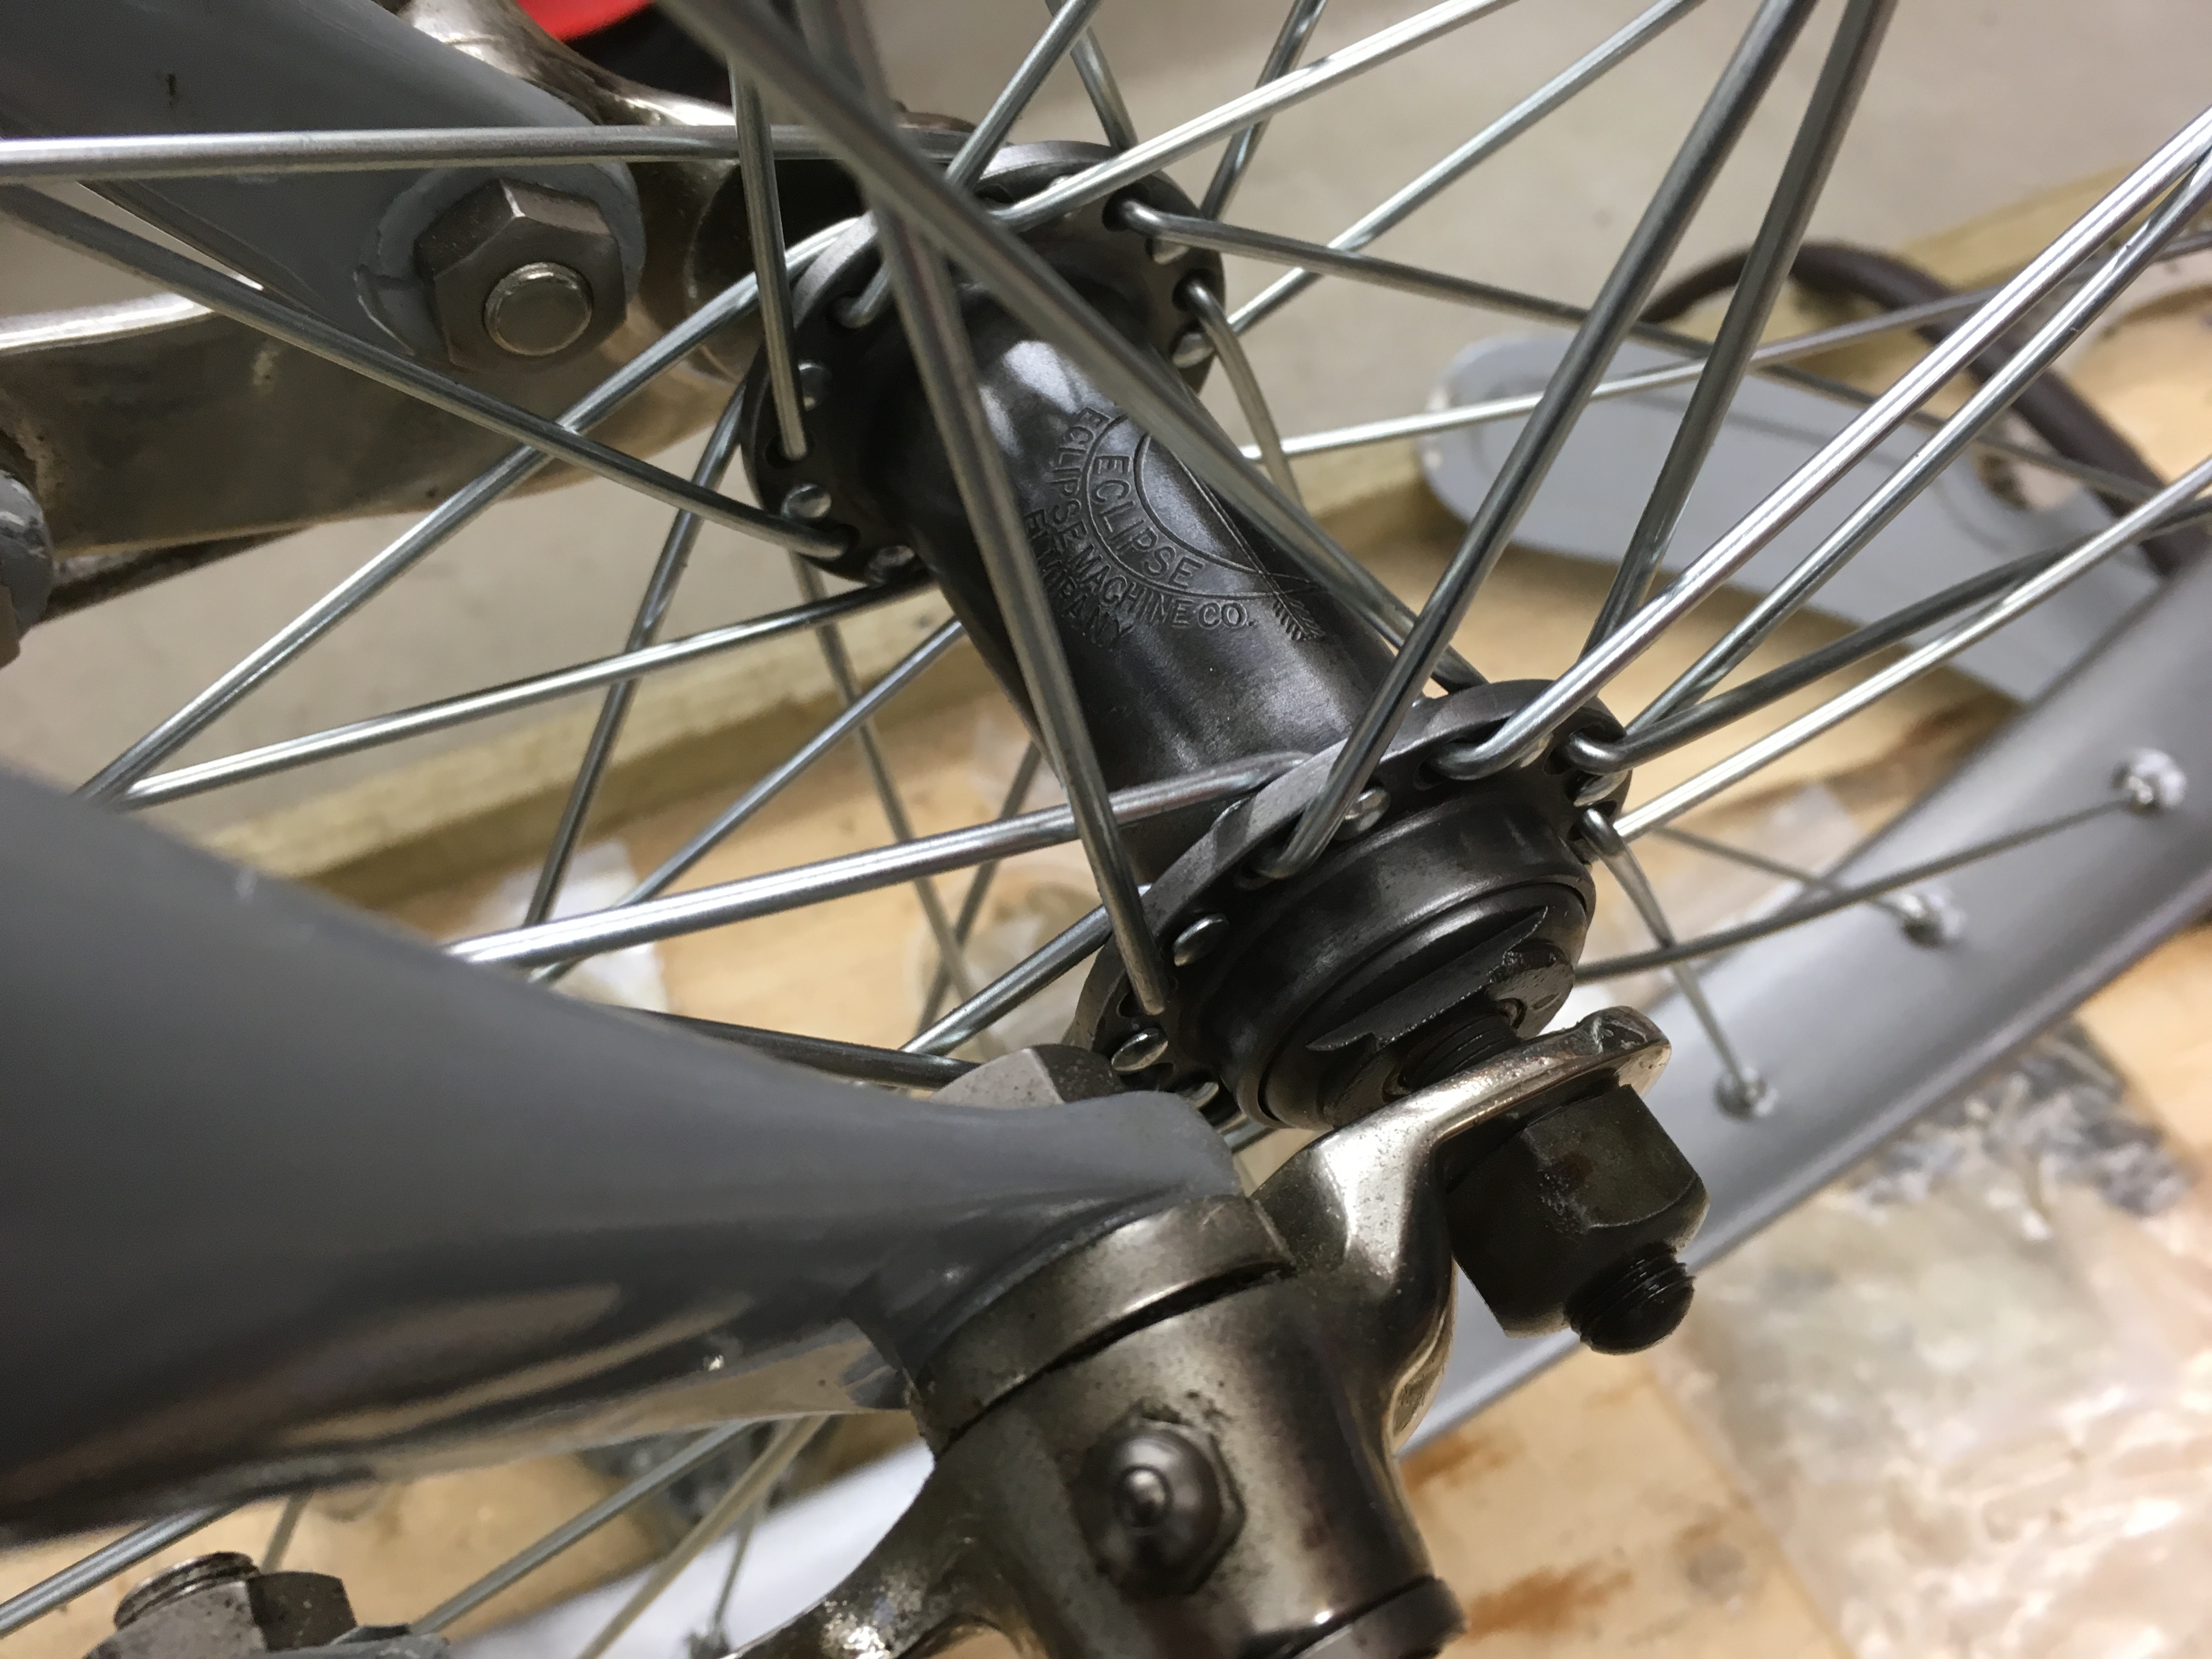
The rear hub is part original and part new. The clutch is original including all the actuation parts; it came from a 12 single and had already been plated. The cover bears the pitting of age but this could be polished out if need be, and then re-plated. The front hub is original NOS from Mark Masa. I have seen replacement copies of this hub but the logo on them is really poor (and they are €400). The spokes will be replaced on the final build.

28.01.2017
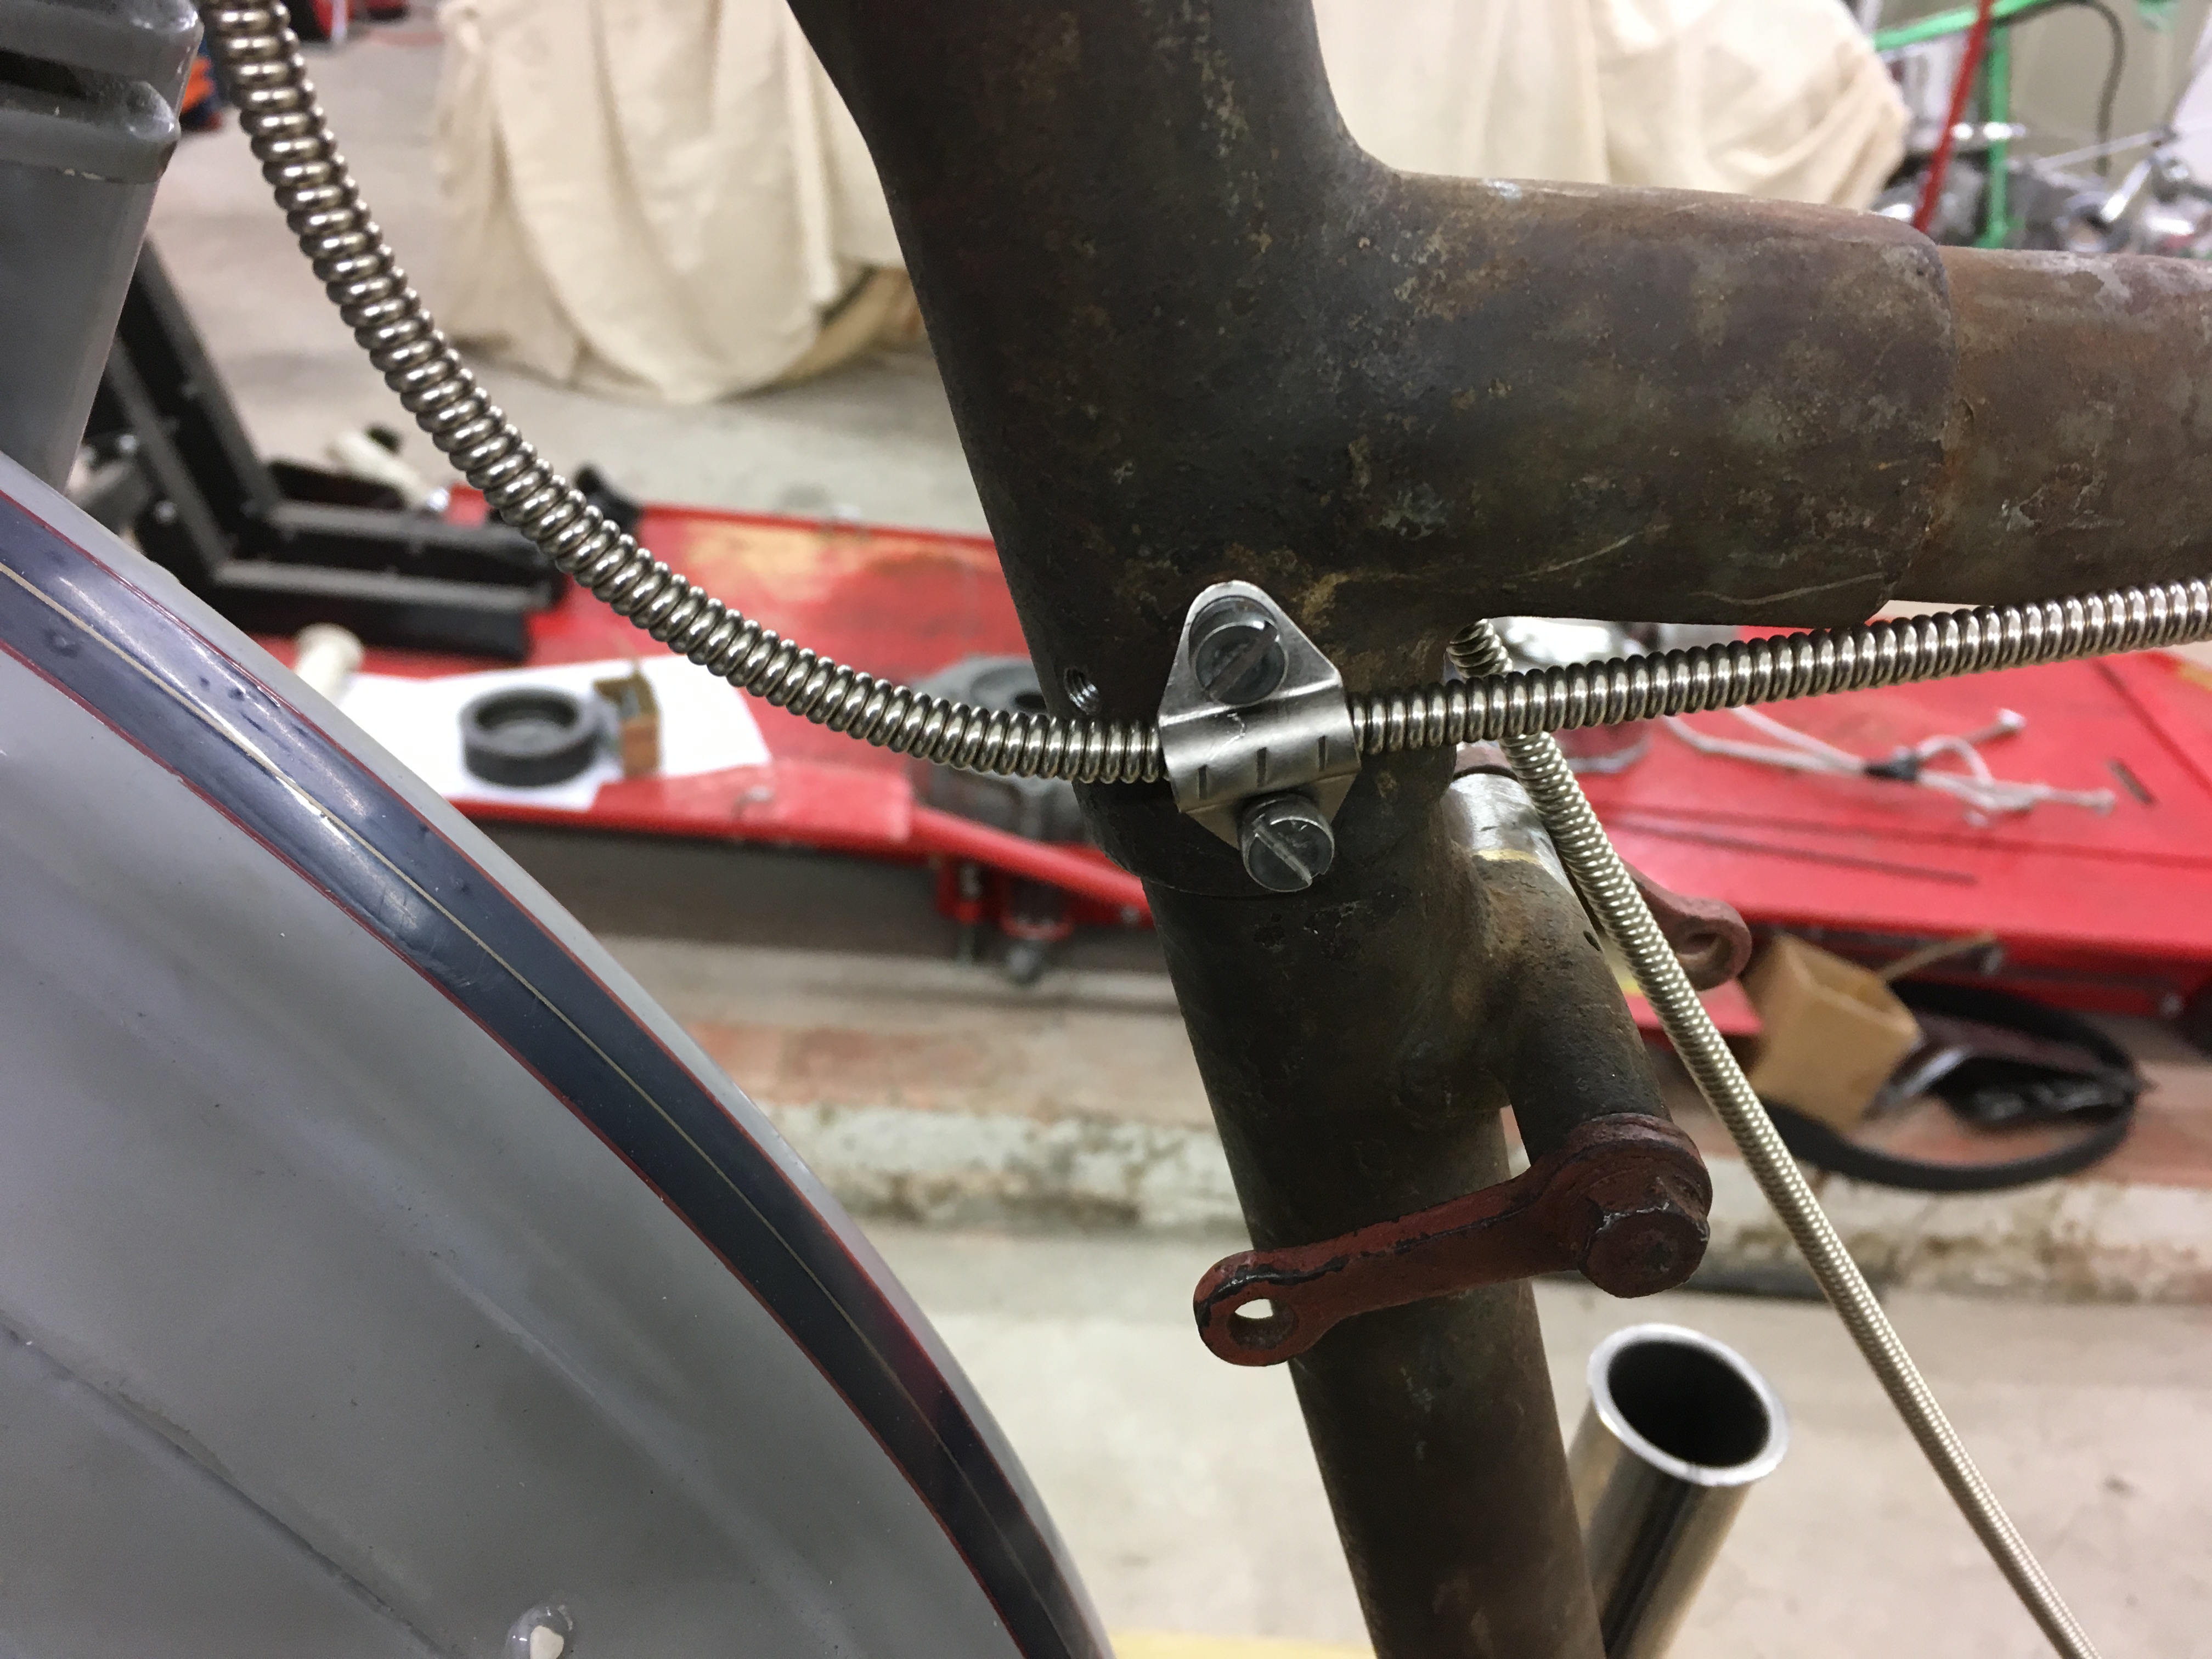
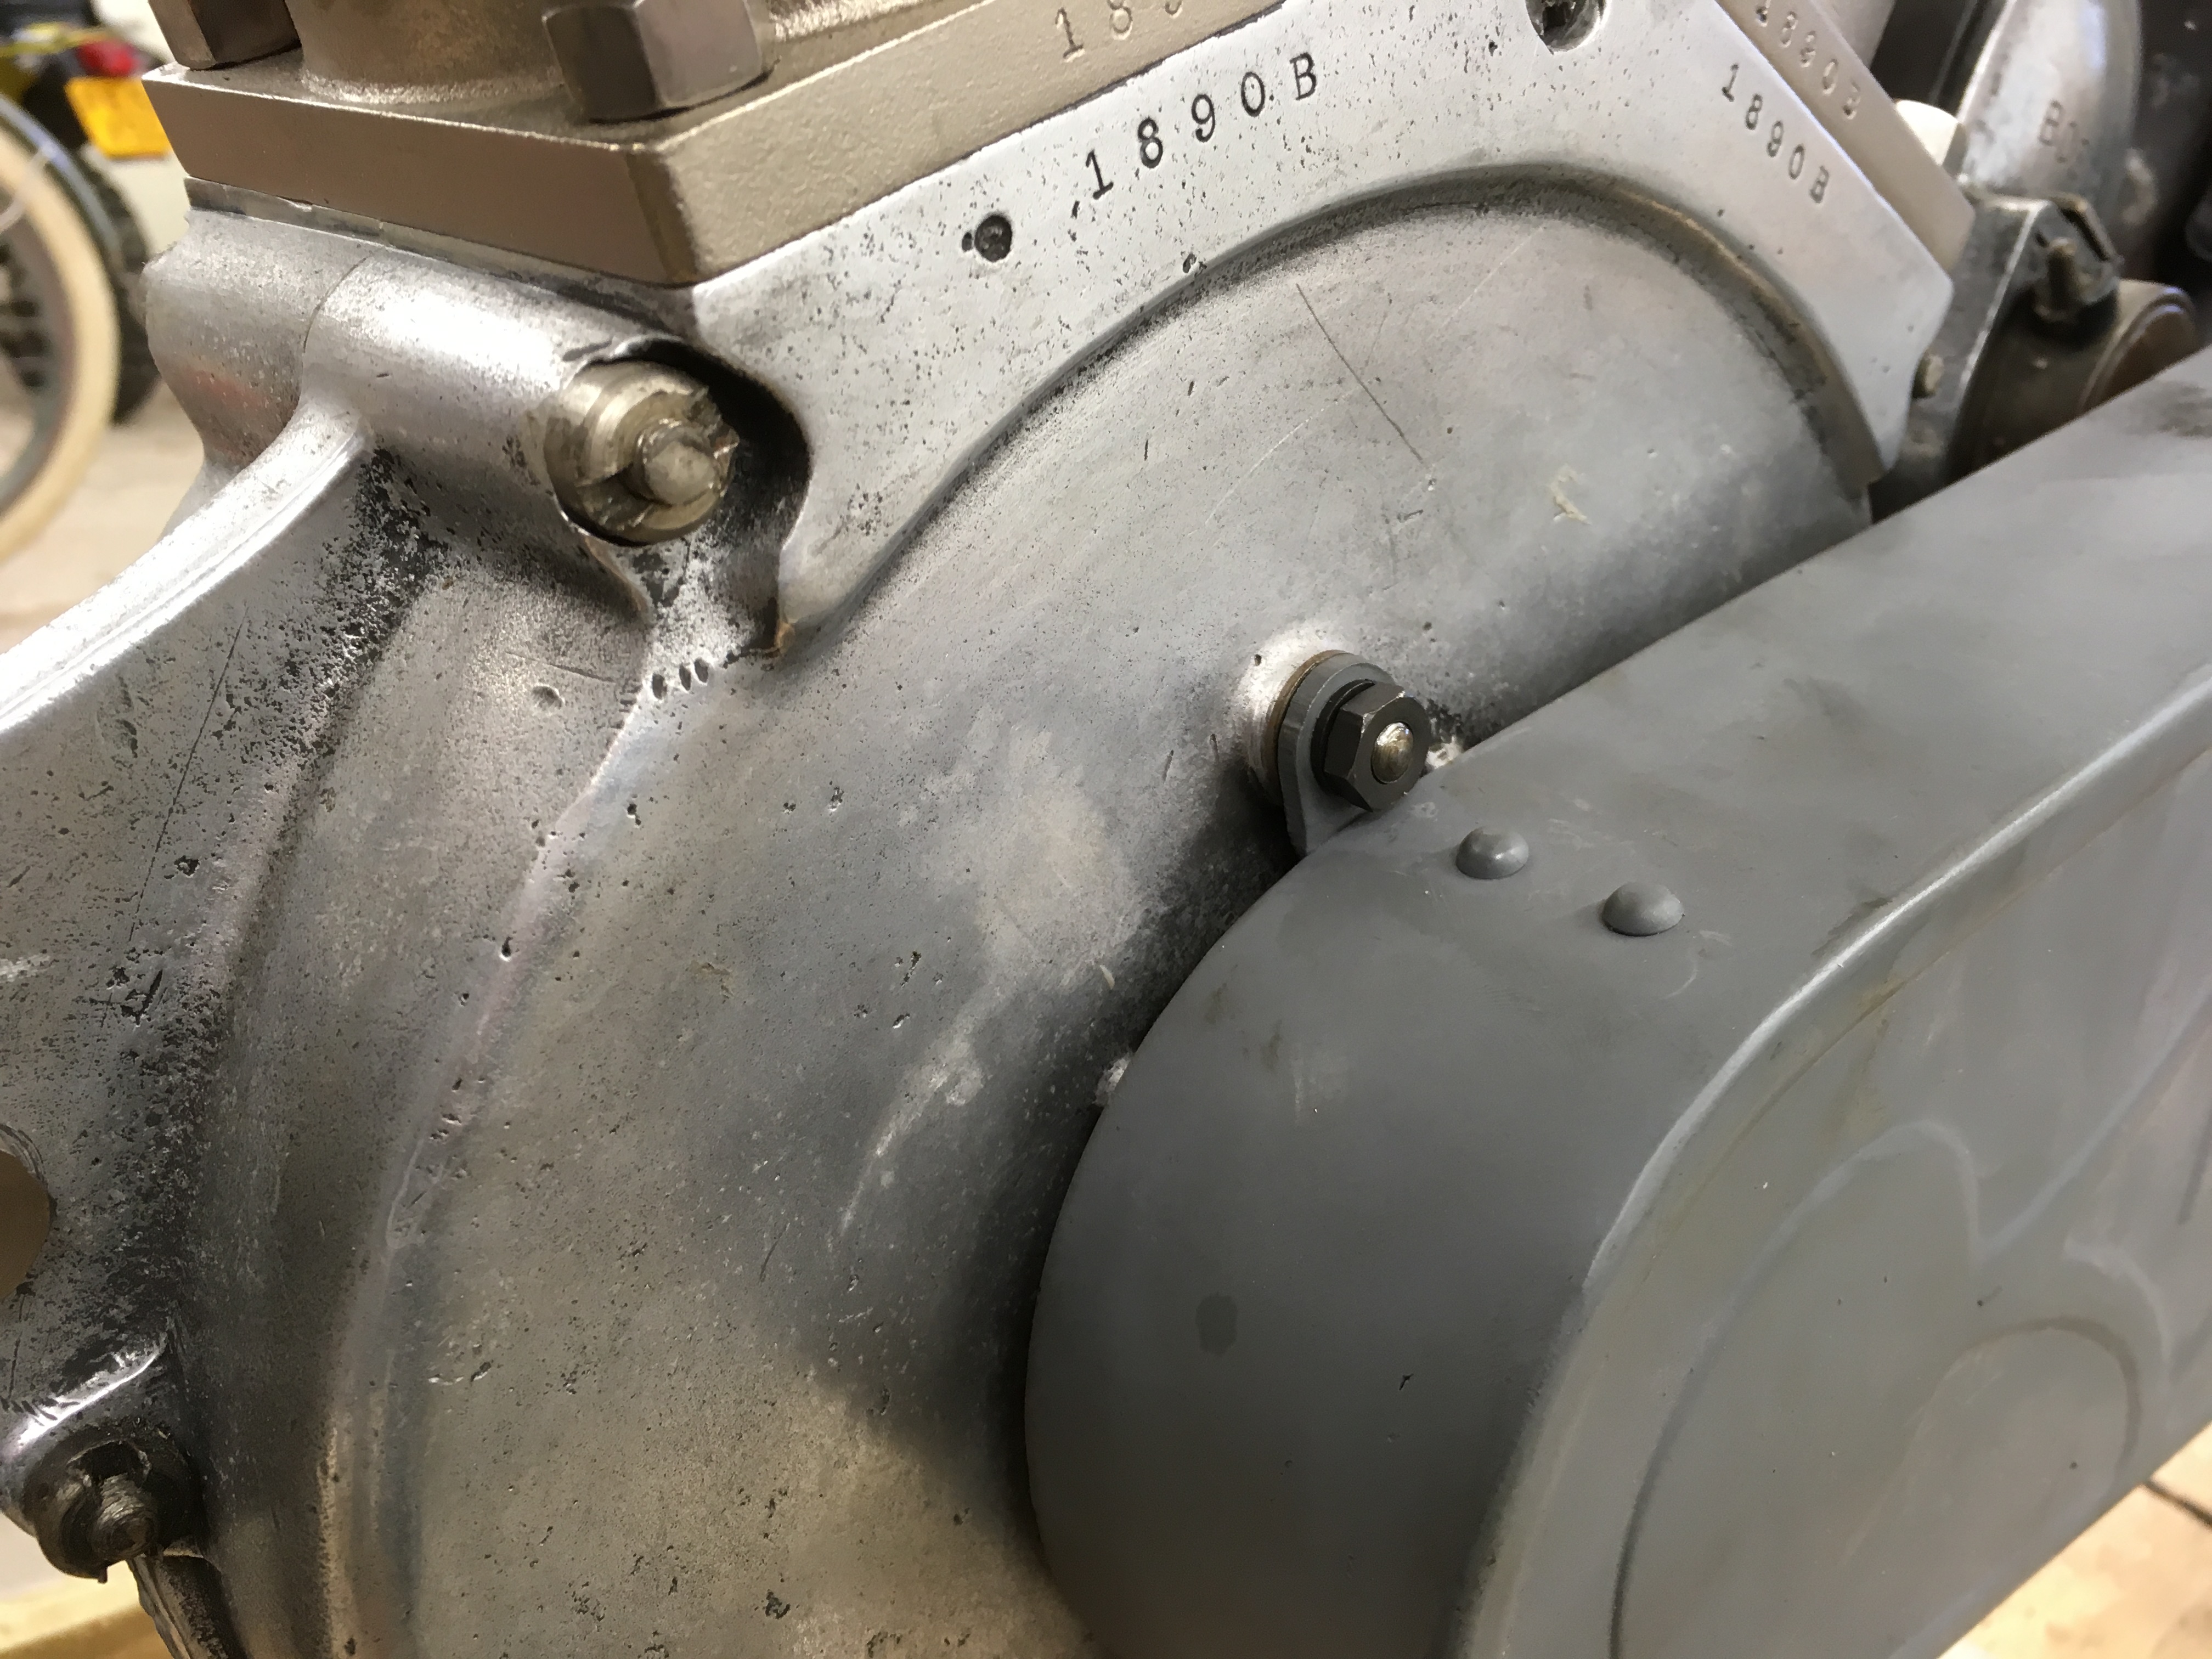
I spent some time this afternoon tidying up some of the smaller jobs that I have been putting off. I made the spacers for the front wheel hub and did the threads for the carb and timing cable clamps. On the magneto side the threads were over-size and had been taken up to 5 mm. On the carb side two were standard size and the others were again 5 mm so I upped them all to 5 mm. Interestingly, on the carb side the frame was drilled in two places suggesting that the cable has been secured in different places during the bike’s 100+ year life. Original photos show both versions with the higher clamp position being on the earlier models. In that instance the cable is carried again under the tank on its way to the carb, in a similar way to the 10s and 11s. That is the route I will use.
I also went through all the parts in the handlebars and installed new cables. Again the old ones work well and look great on an original bike but rather than clean and re-nickle the old ones I’d rather save them for later and install new ones for this build.

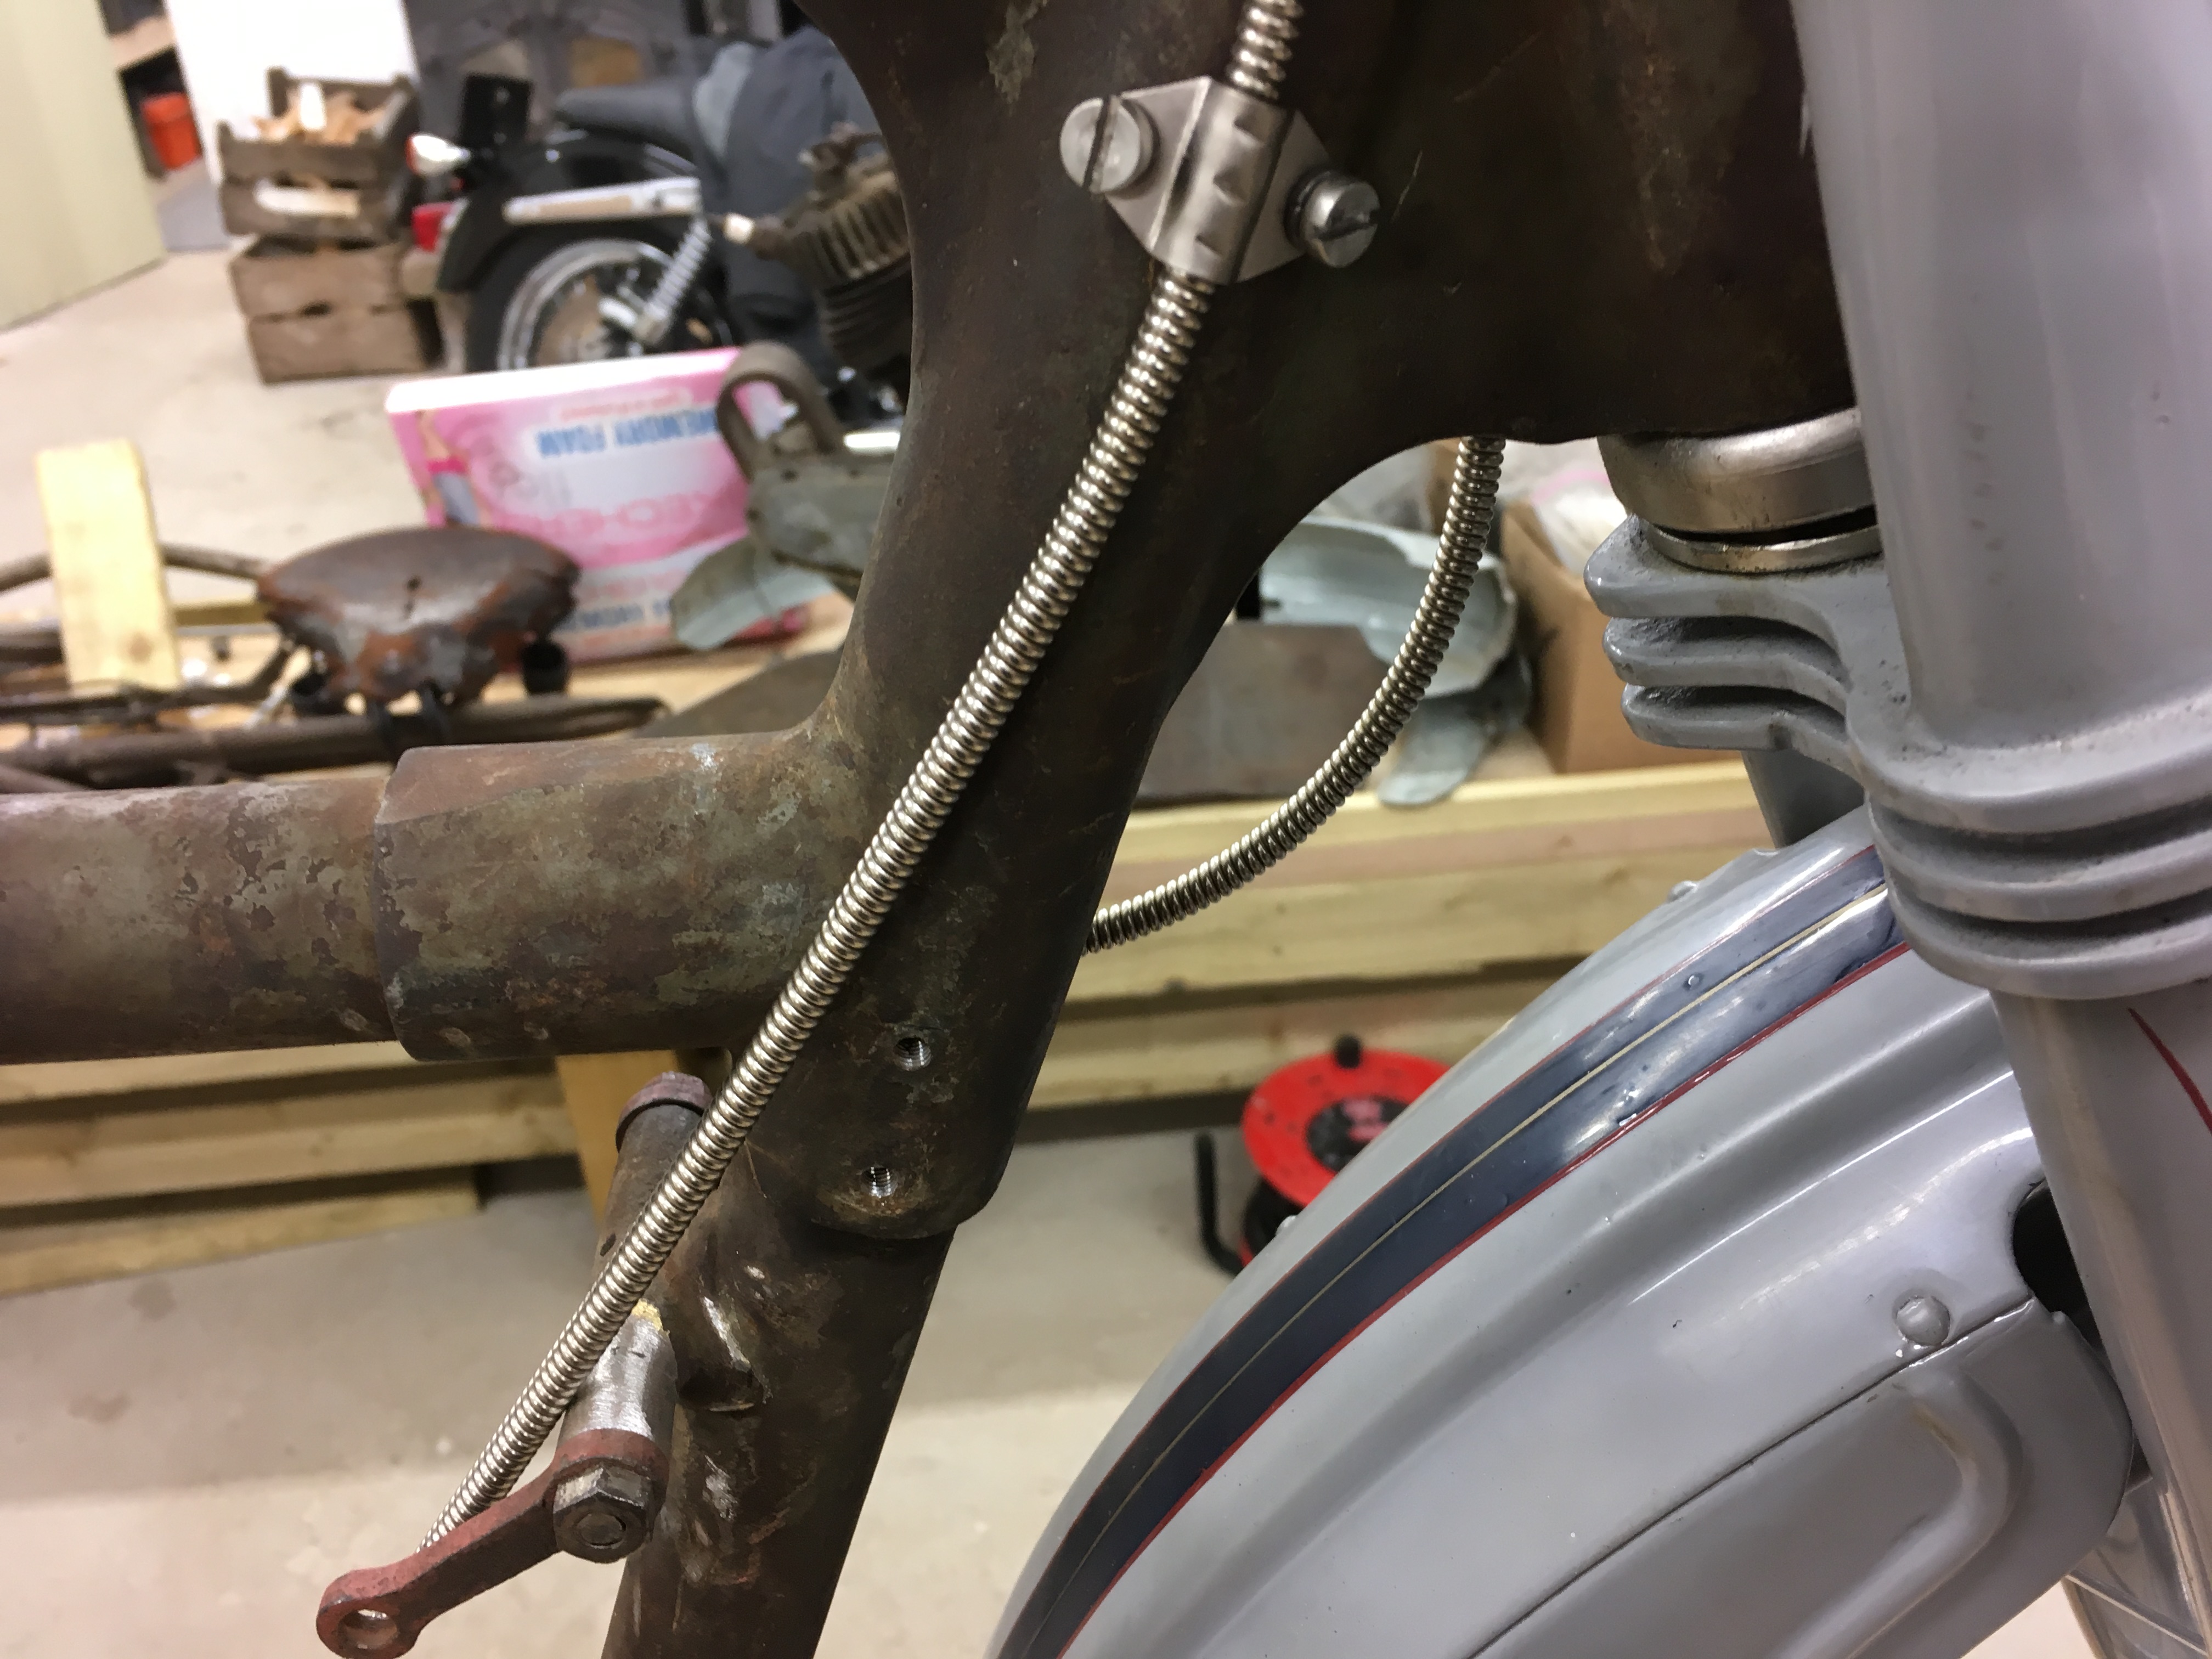
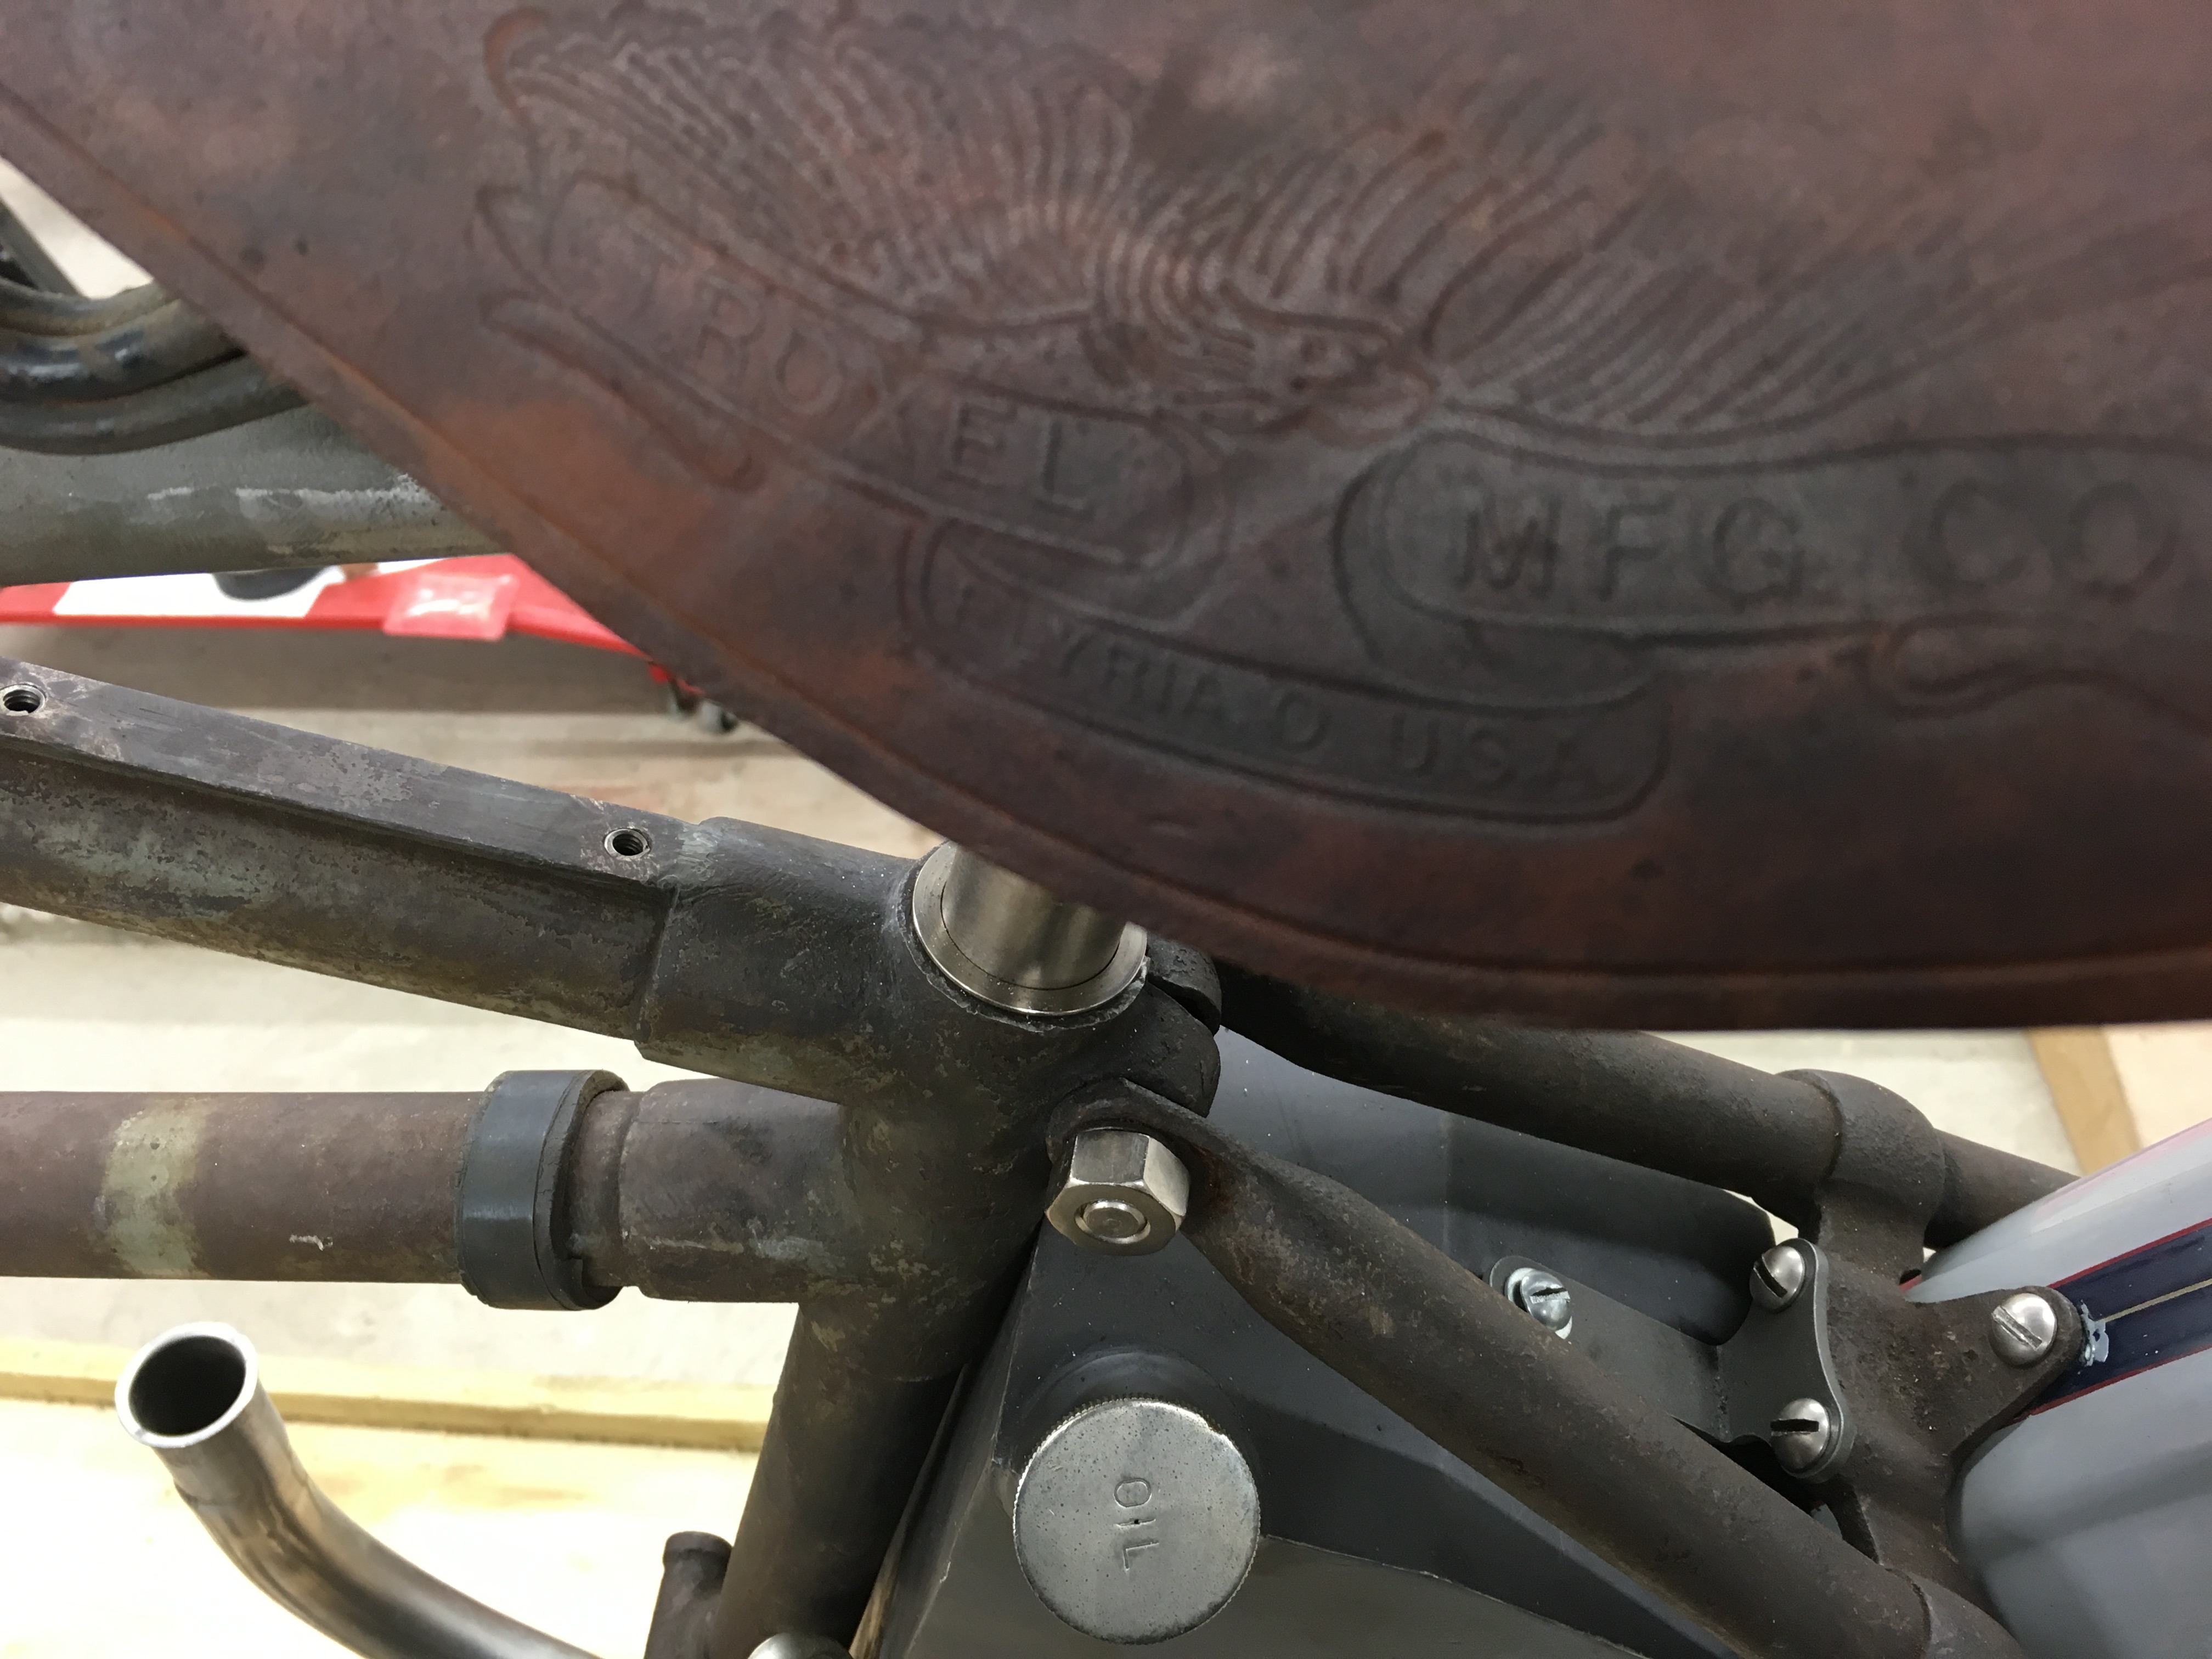
I installed the seat post and put in a new seat post pinch bolt. I have originals of both but I think these will look and work better (the bike will be ridden). The recovering of original seat was done by Jethro Smith.
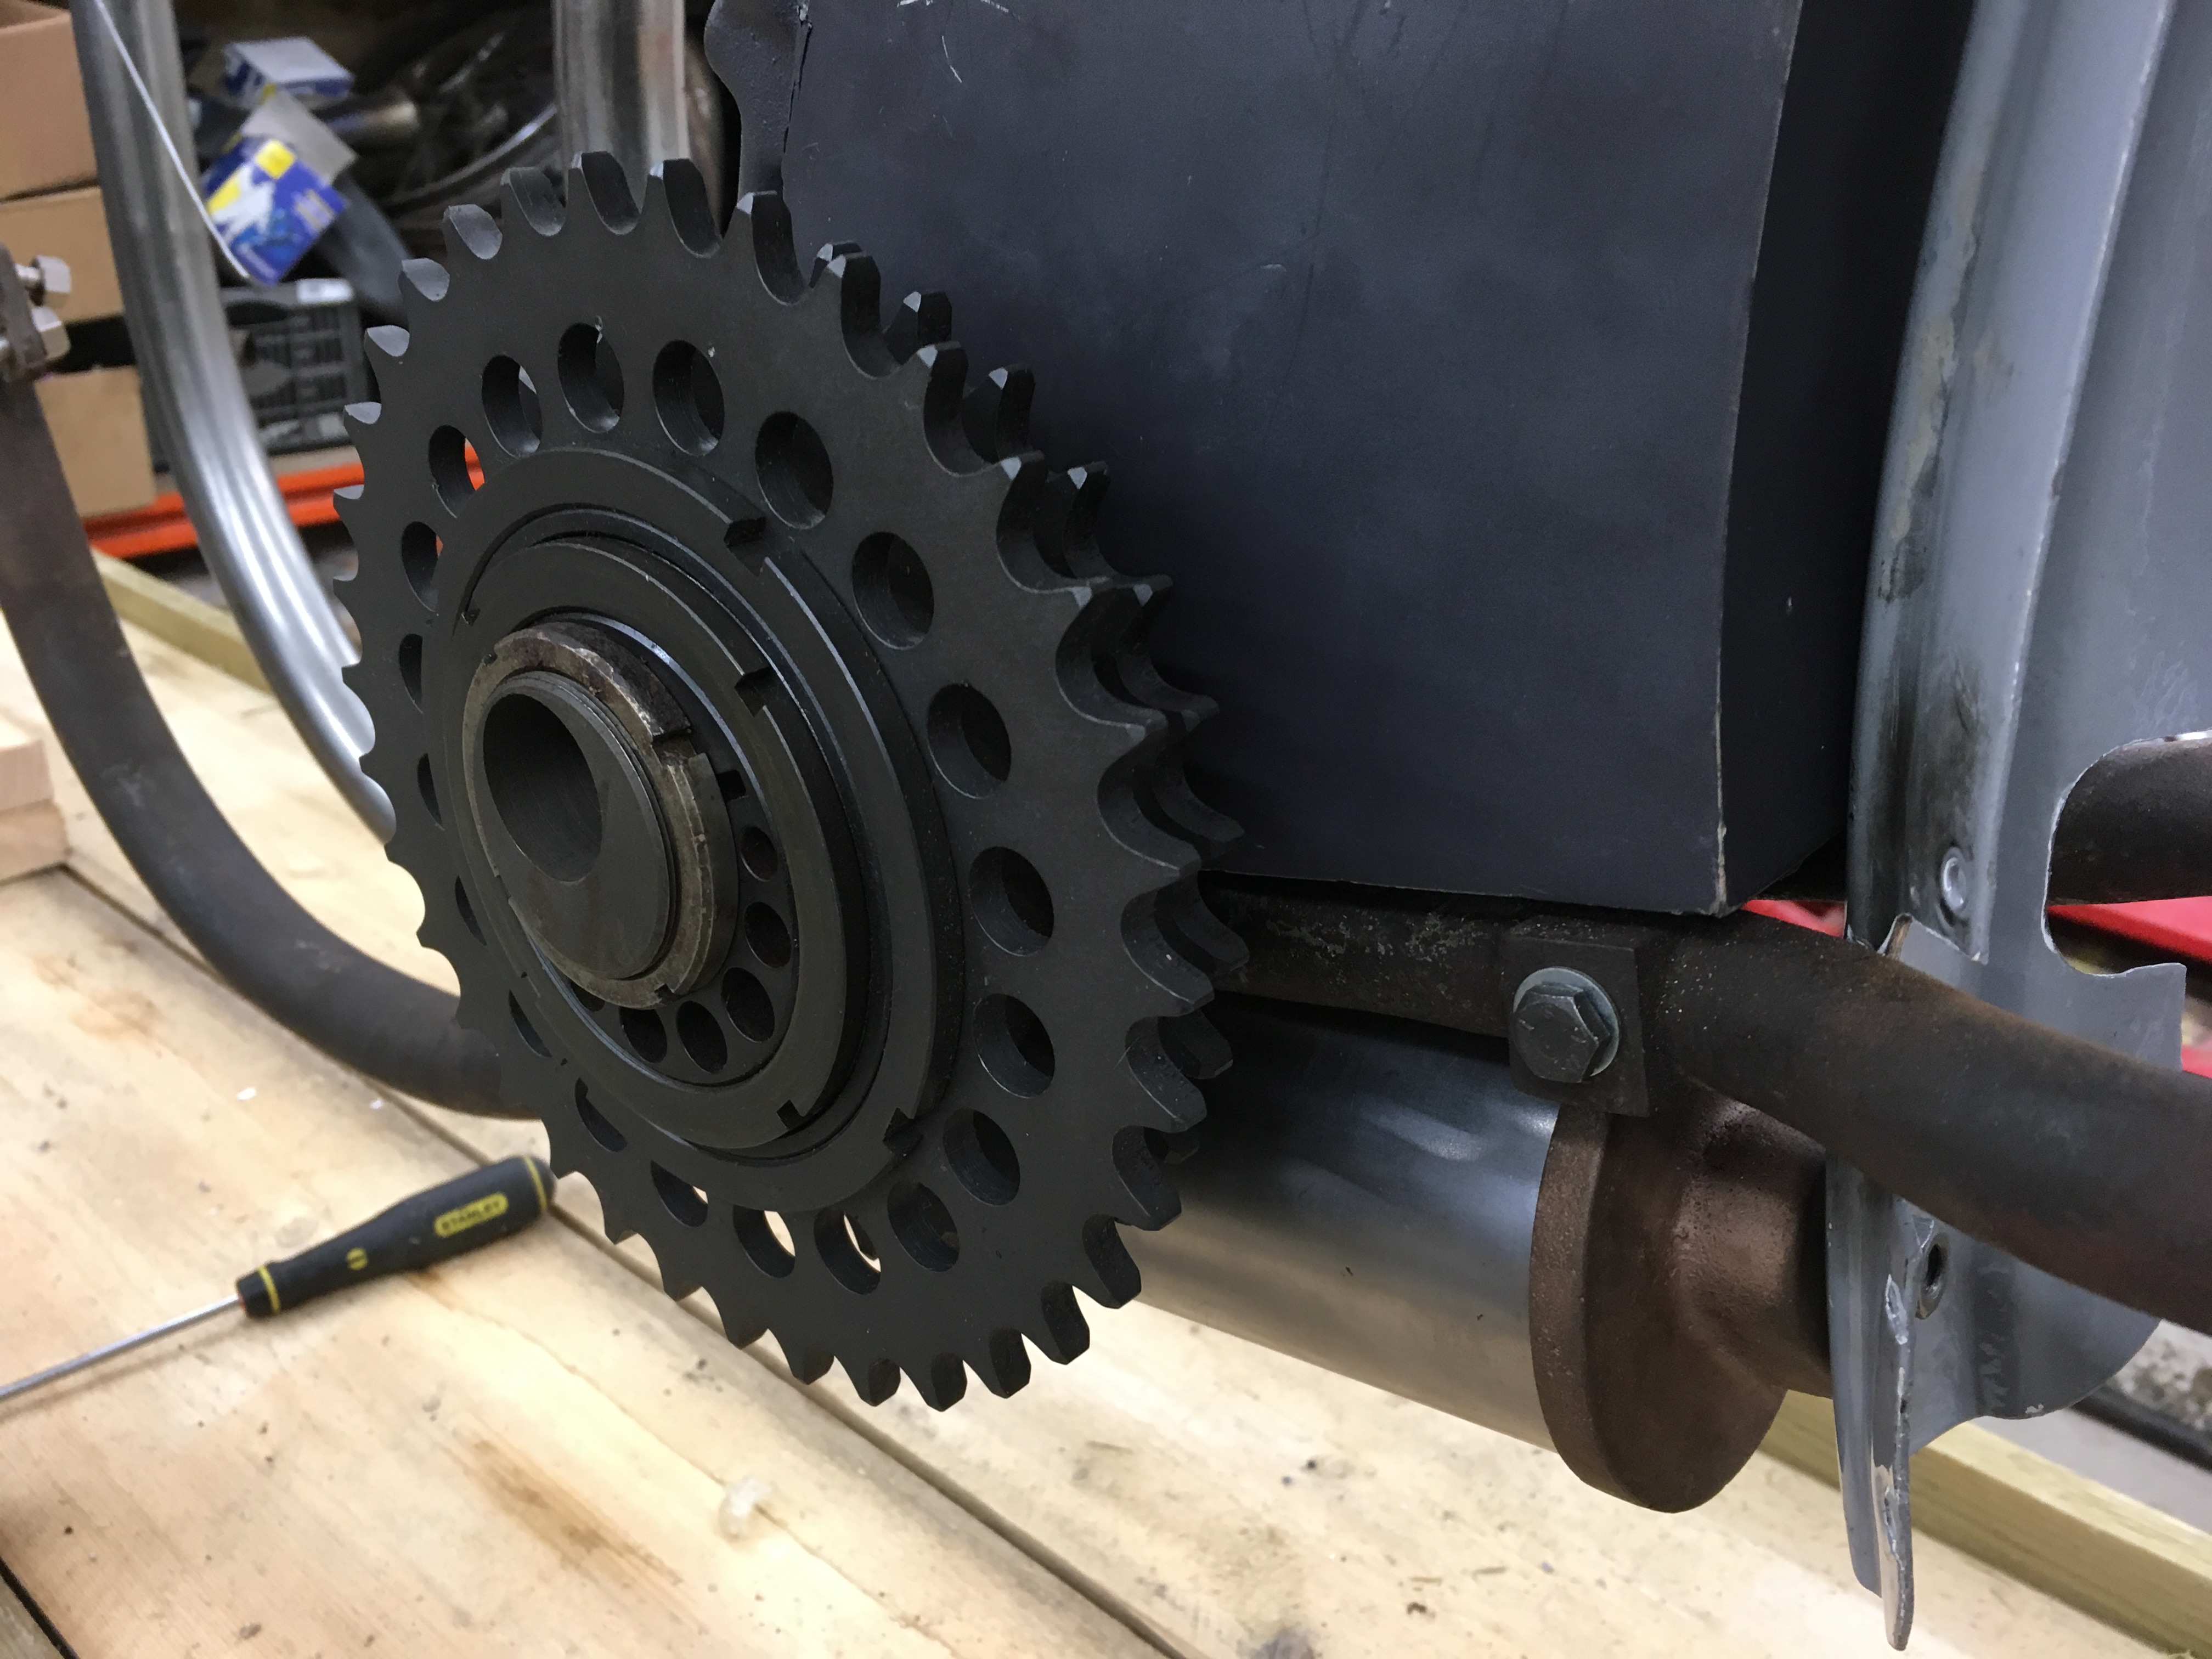
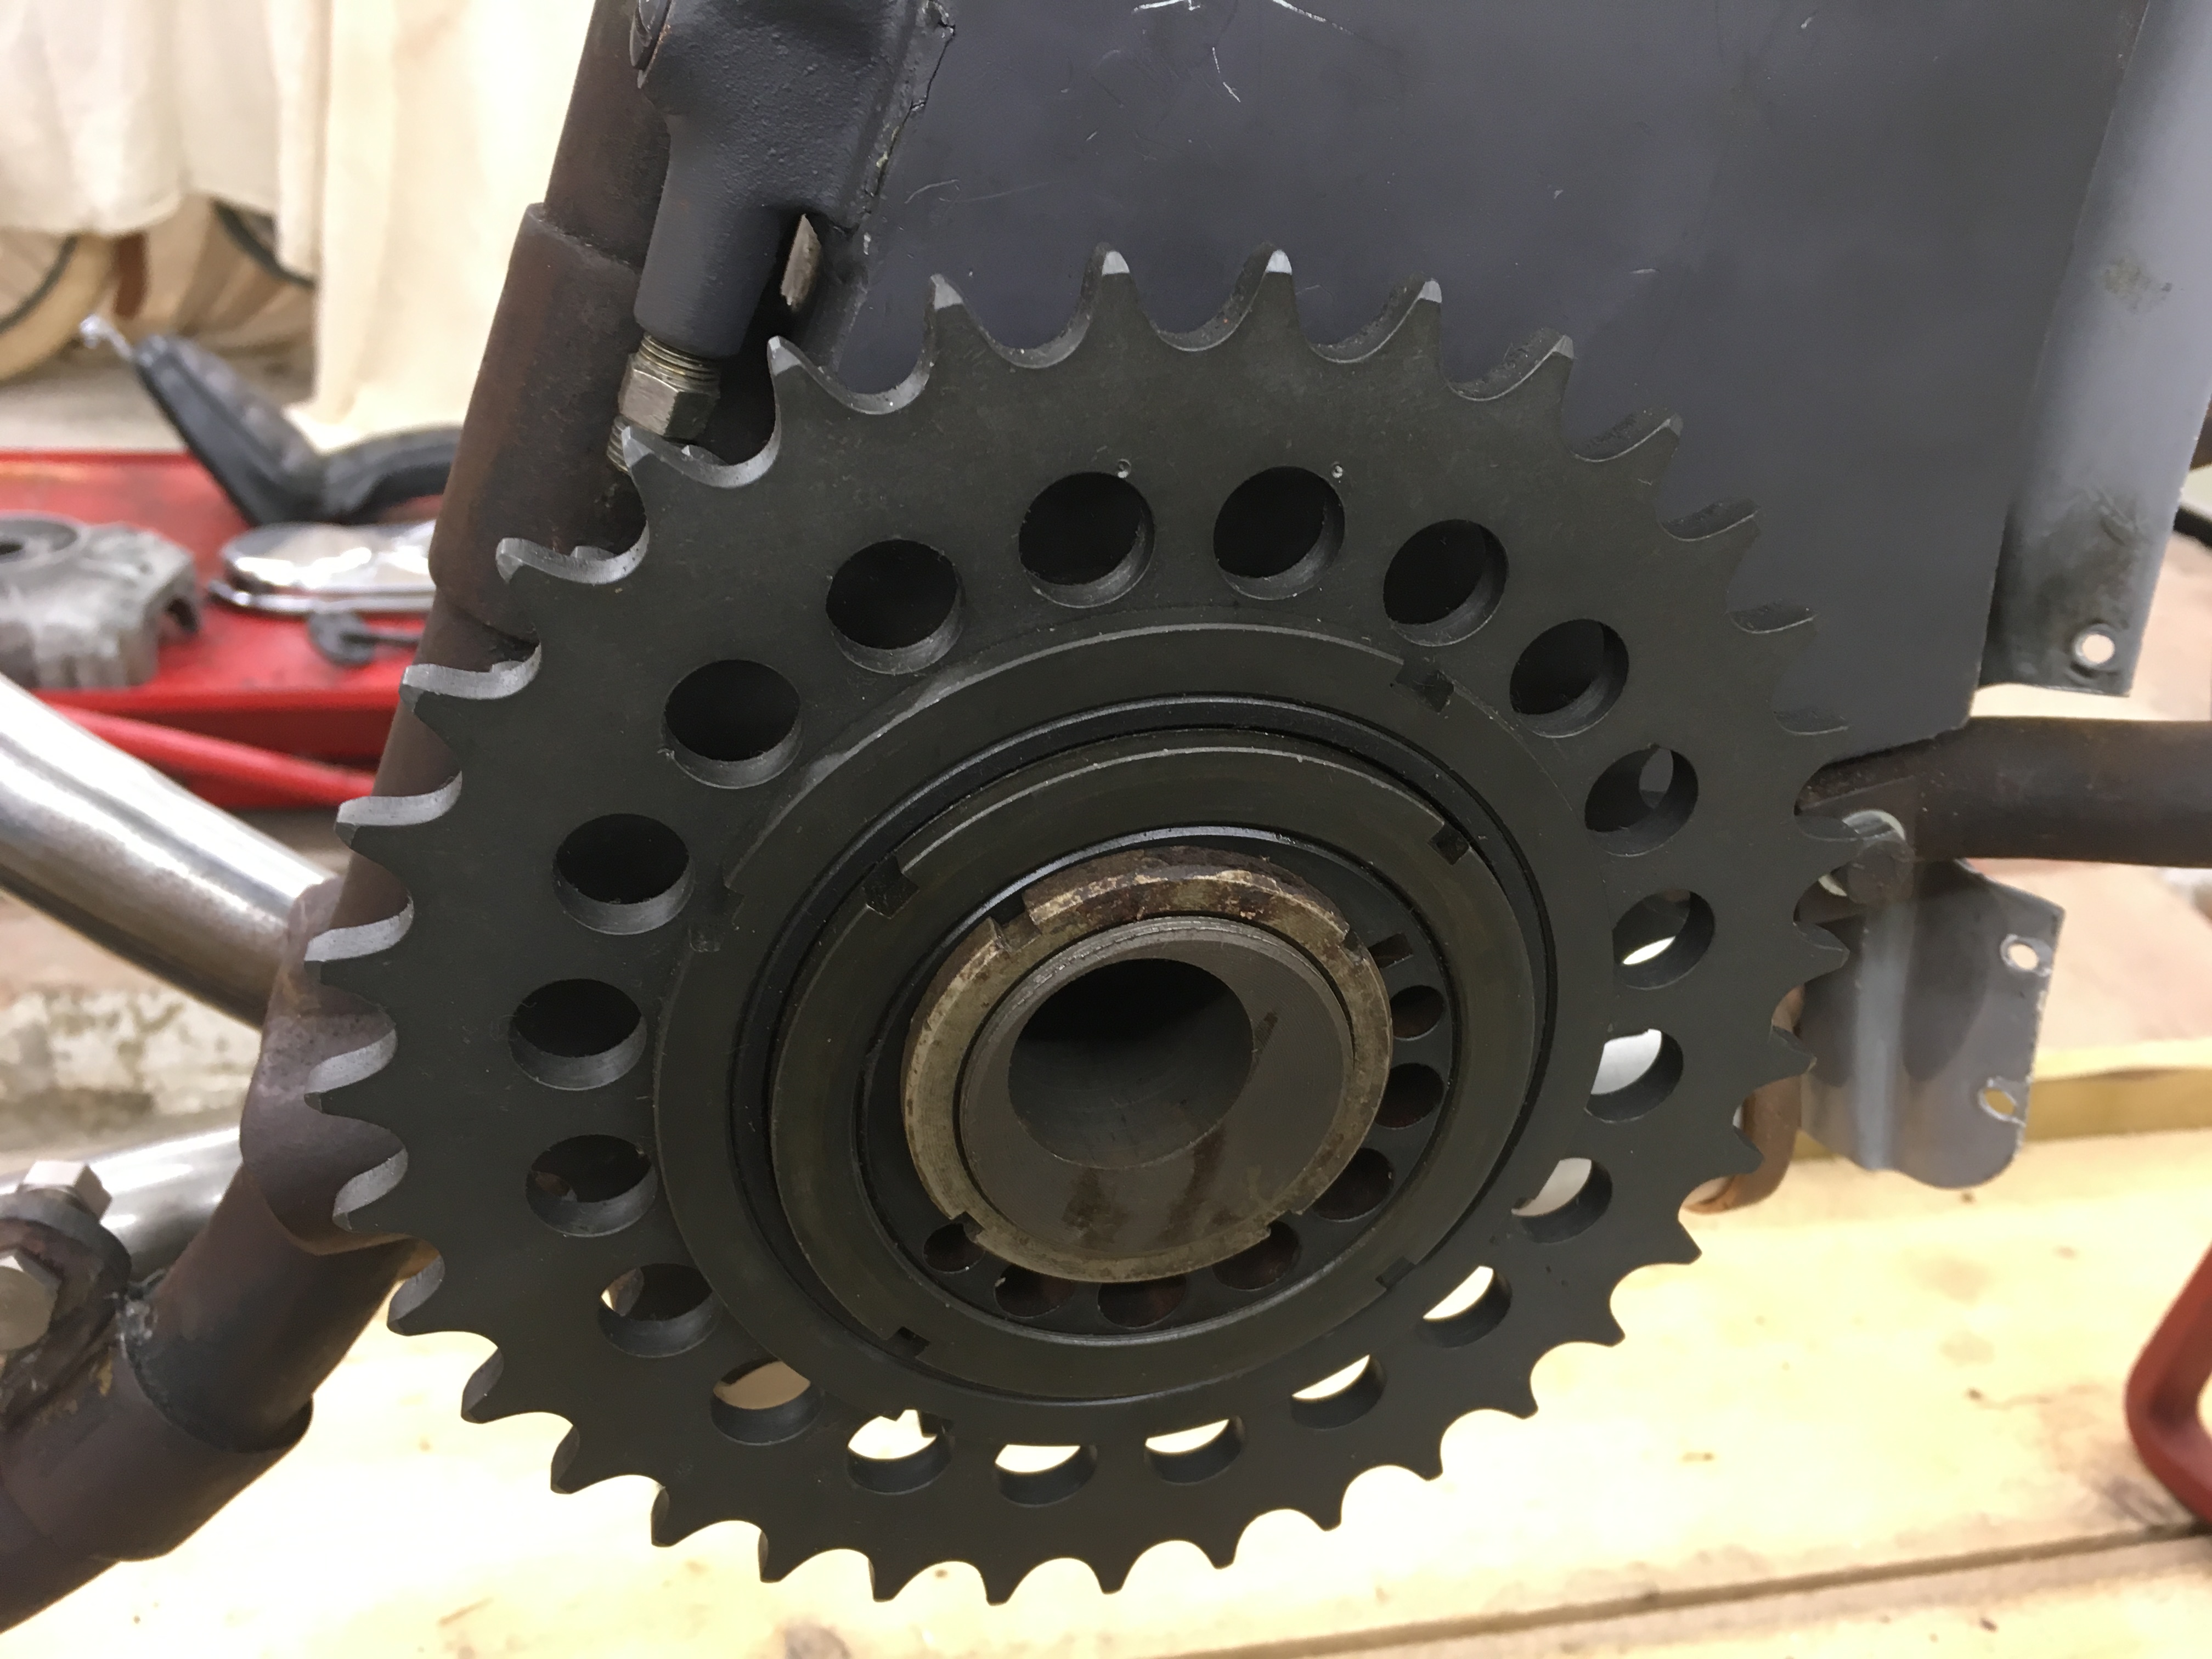
The new compensator sprocket came from Competition and the lock ring I had on the shelf.
08.02.2017
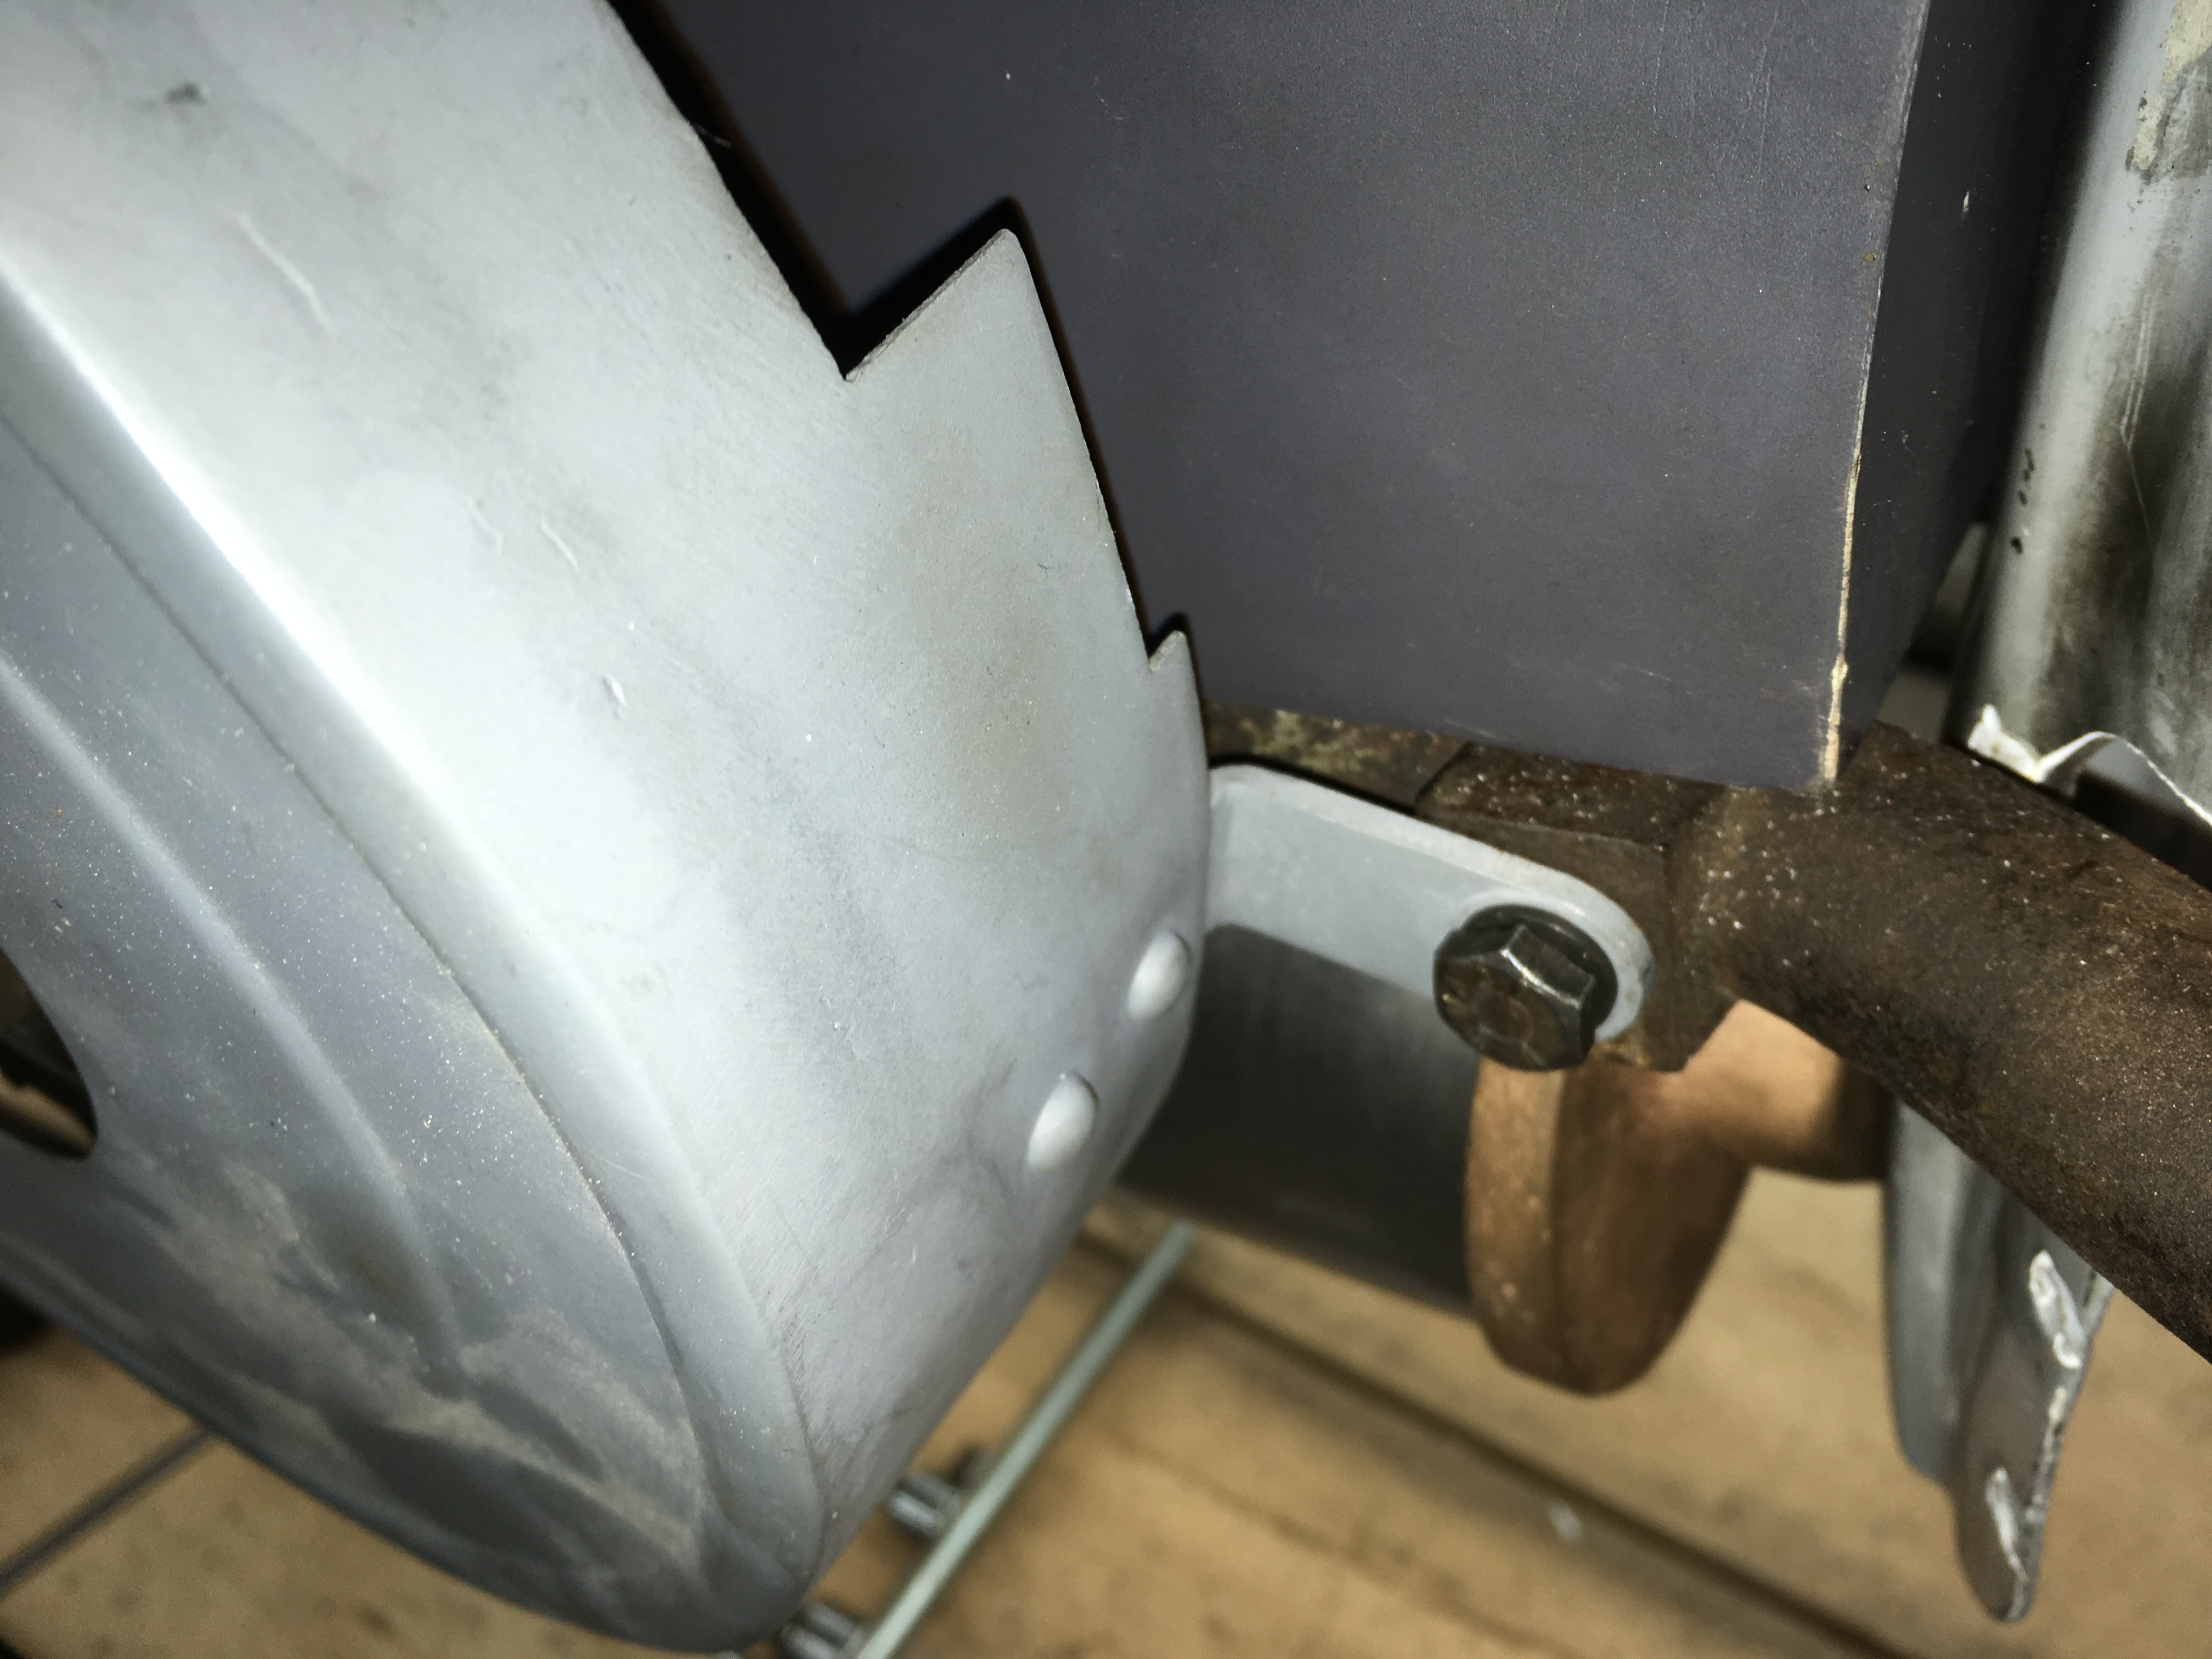
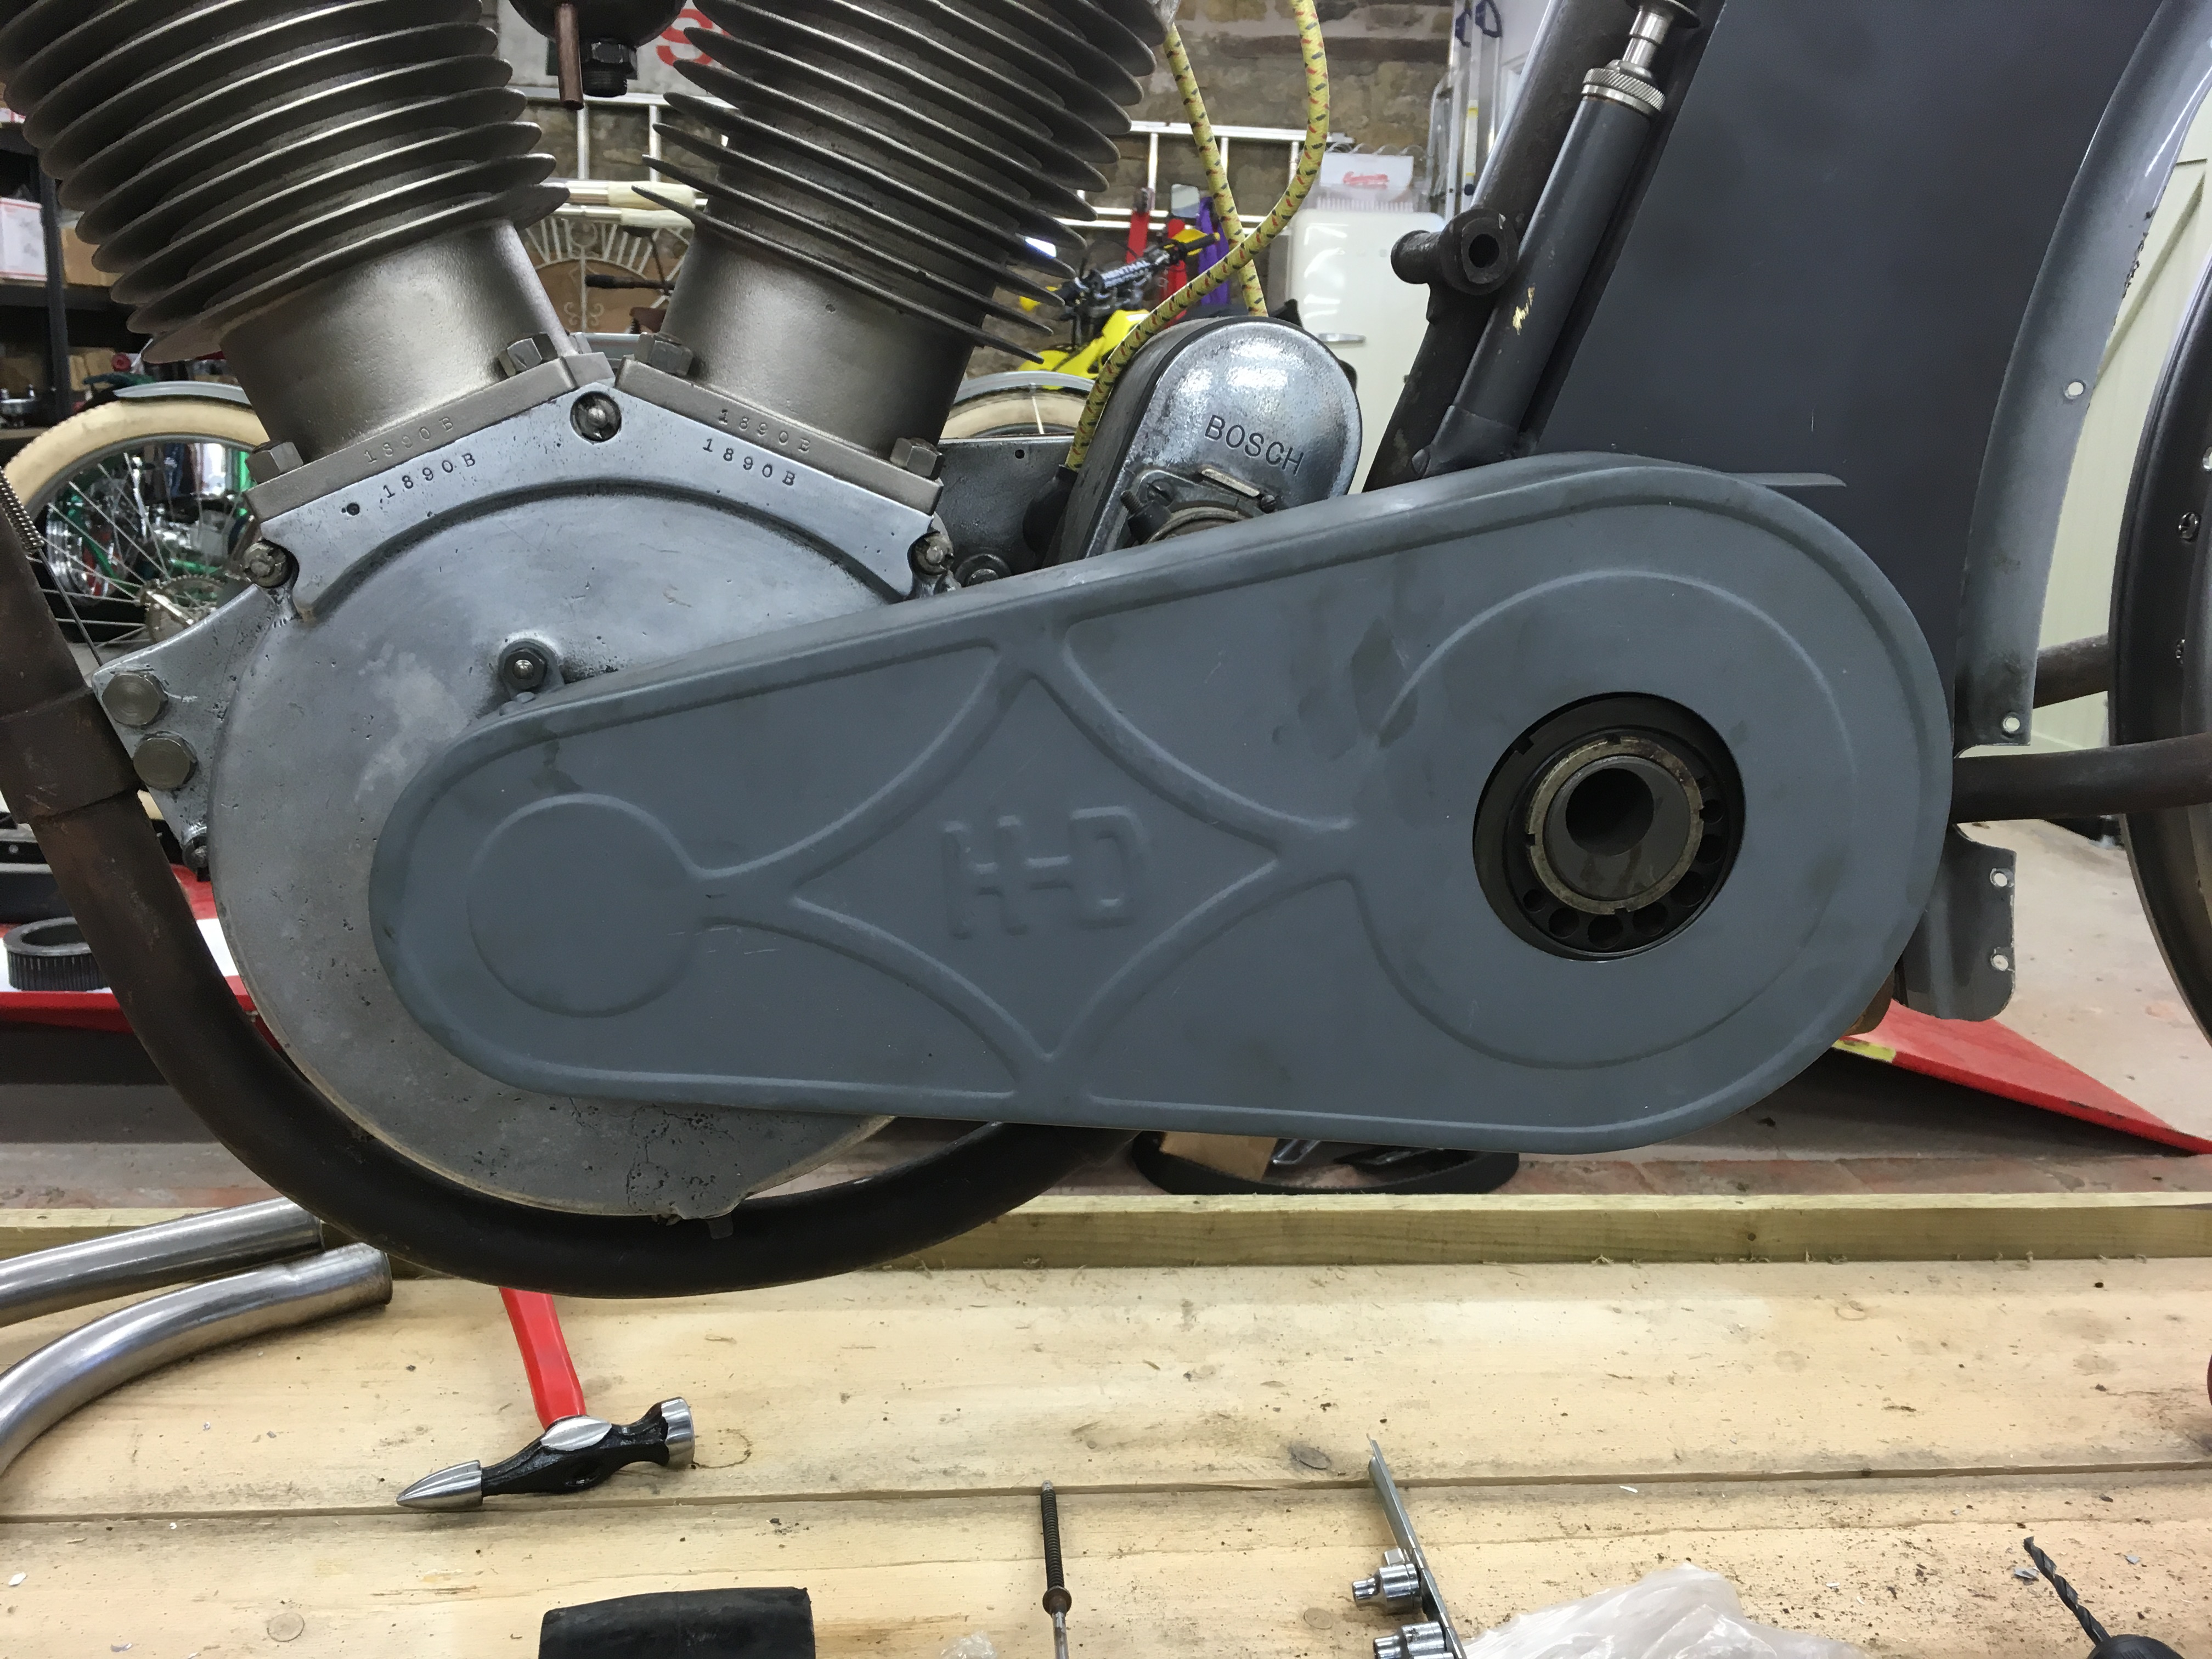
I picked up a pack of 1/4″ x 24 tpi nuts so managed to mount the primary cover and the front fender stays. I need some more for the rears. The primary cover came from Dewey Rice and it fitted perfectly without any adjustment needed.
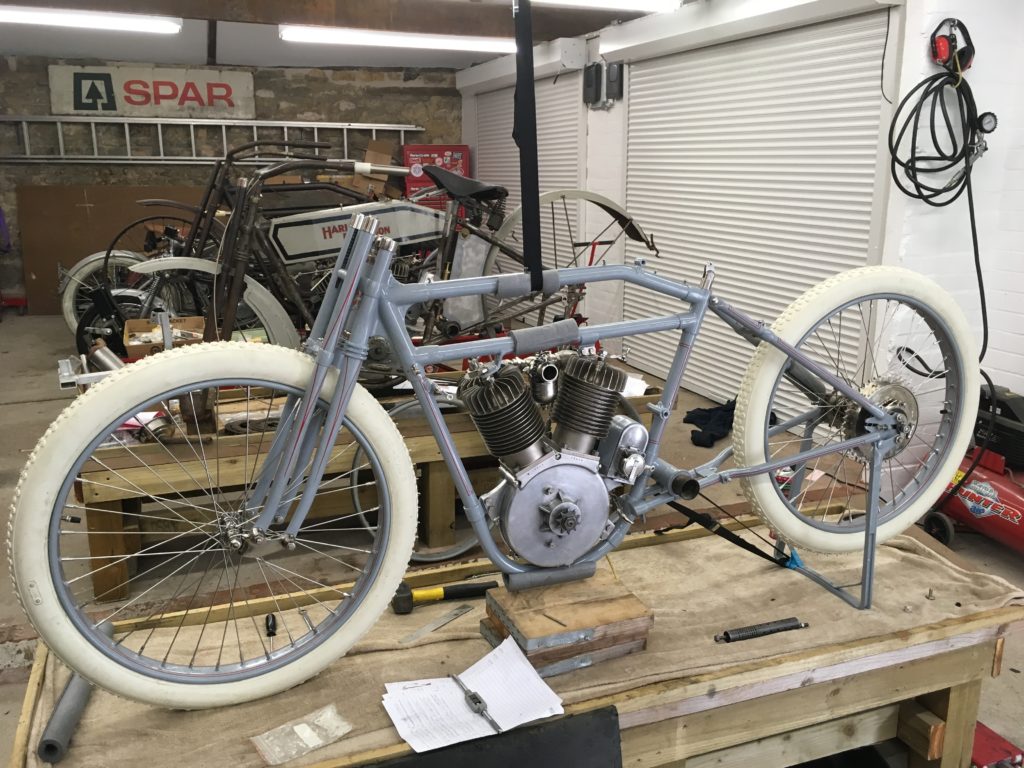
The dry build is pretty much finished now but there is still plenty to do. The wheels need taking apart and then will be re-built with the correct spokes. I am having some issues with the sizes. The oil tank needs lifting some and the front fender sits poorly at present. There are plenty of small things that need looking at before paint and plating but she is mostly done. So far so good.

13.09.18
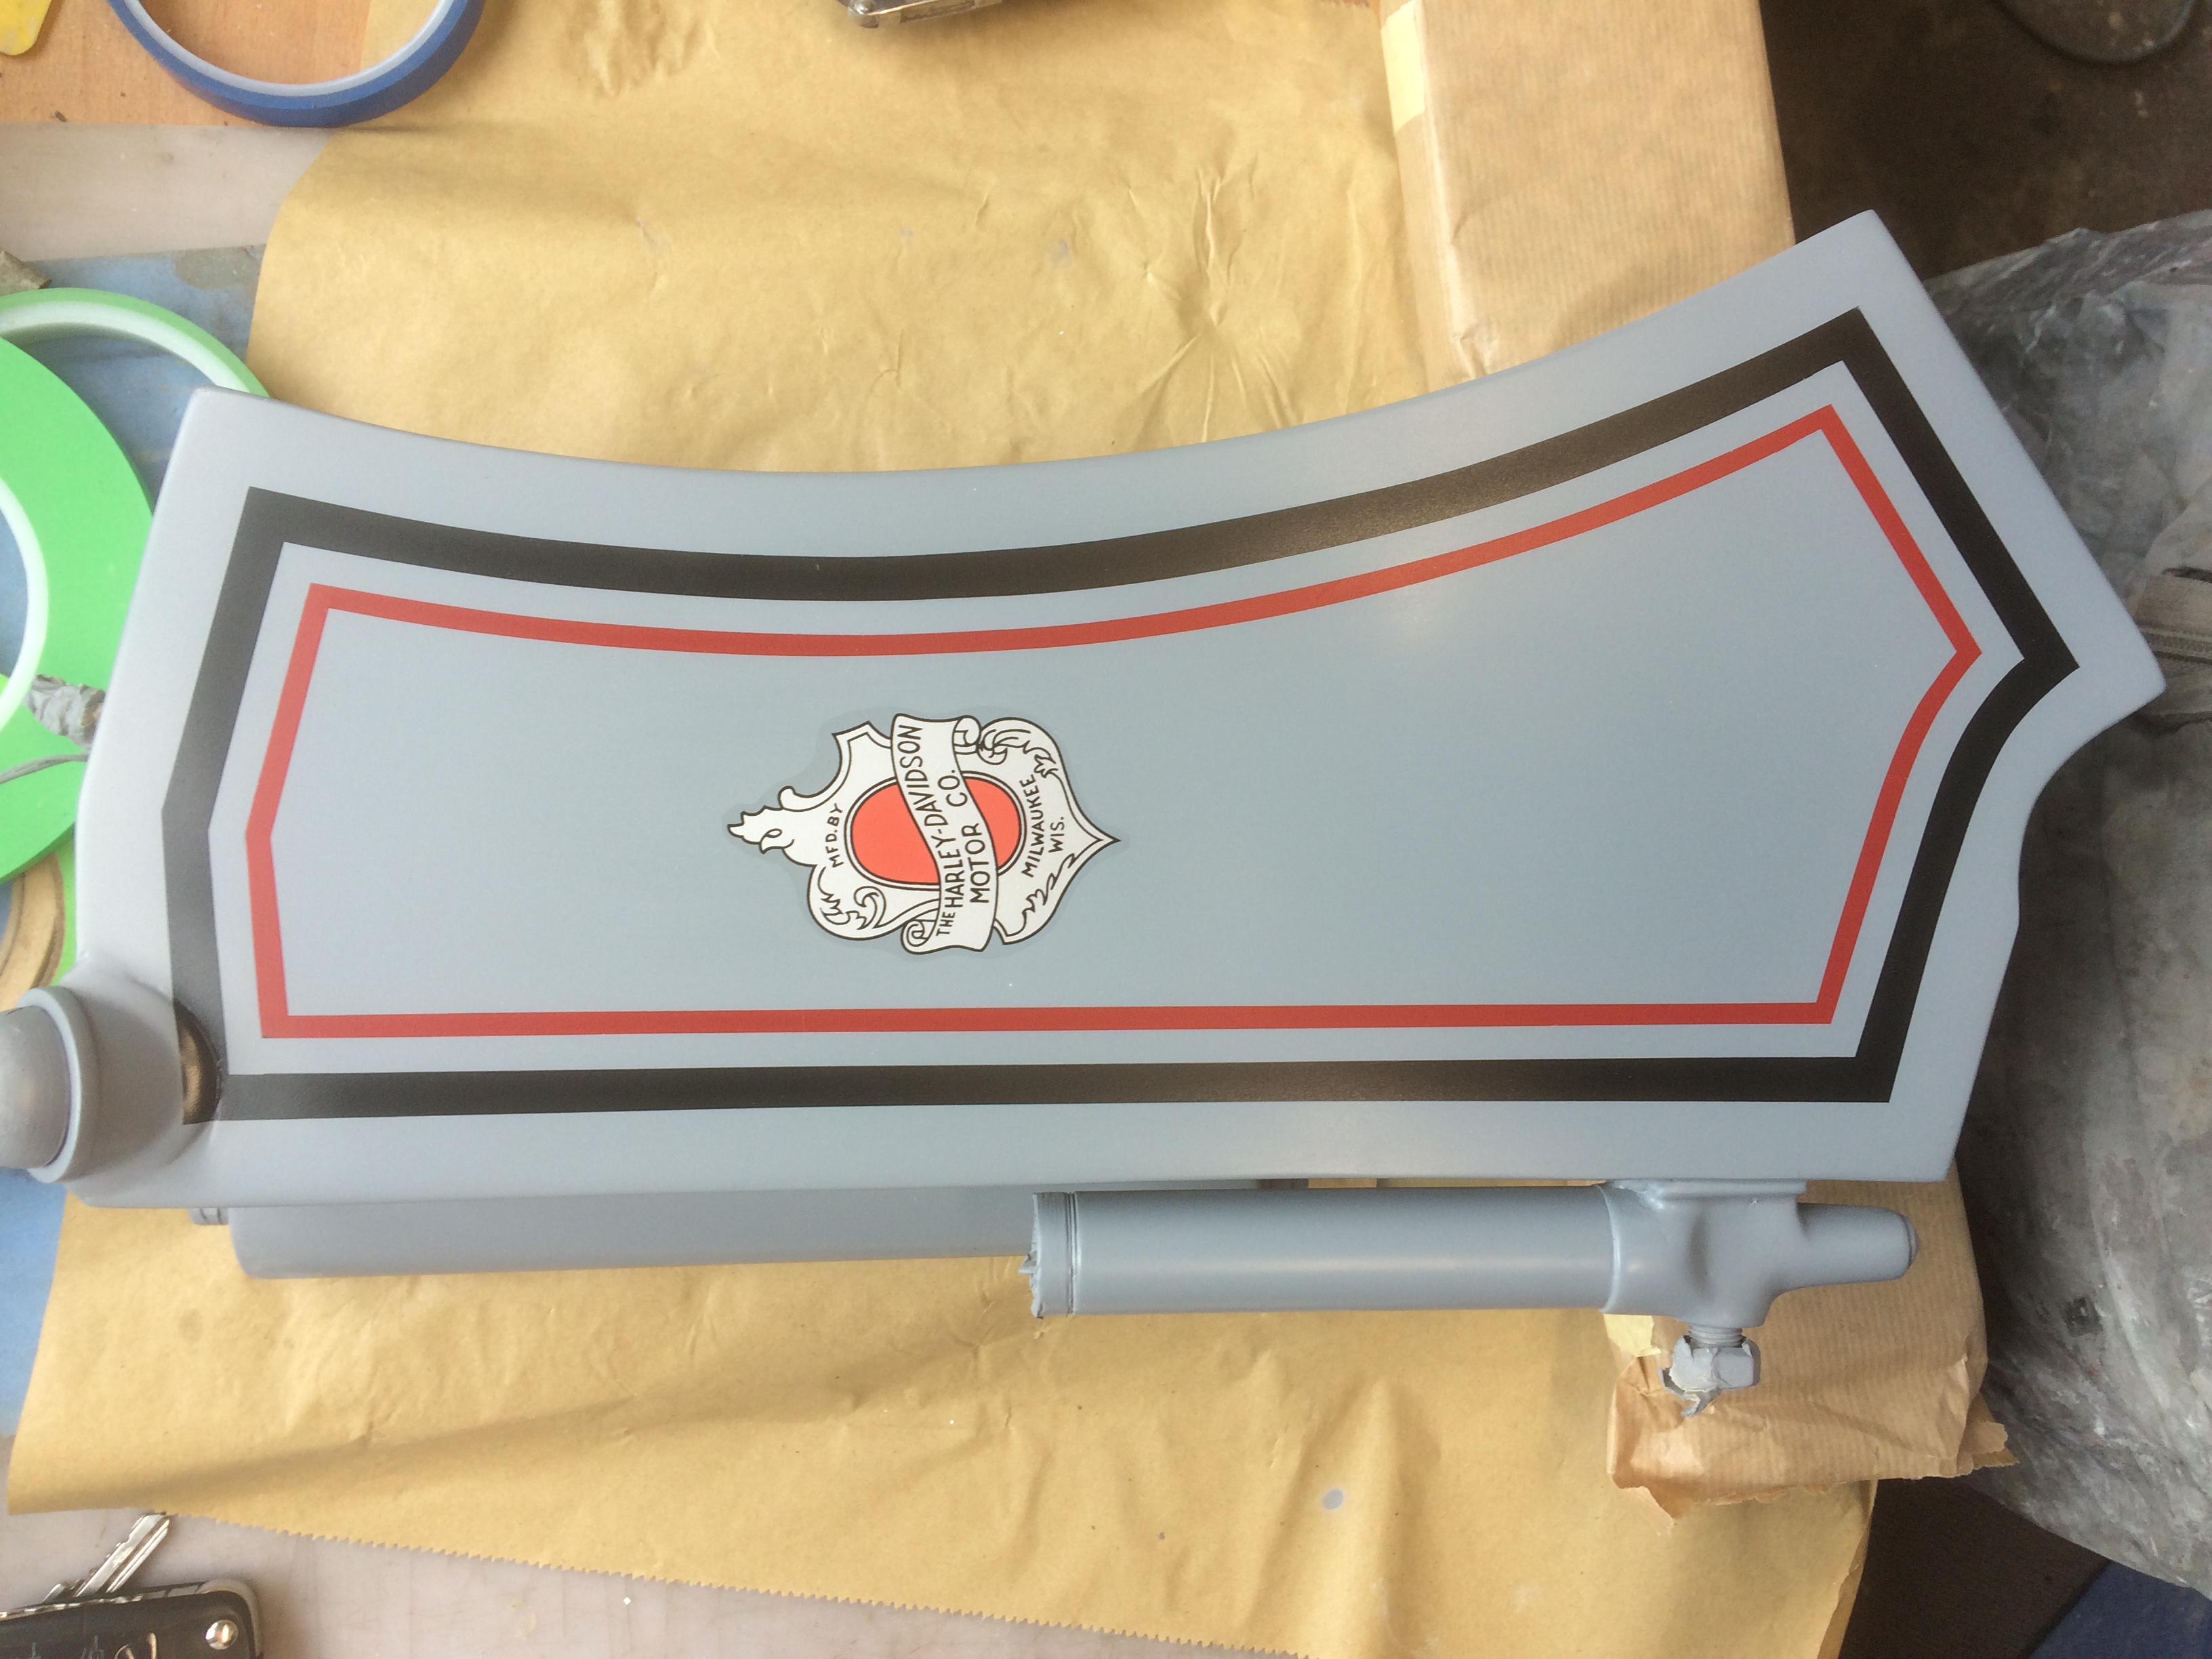
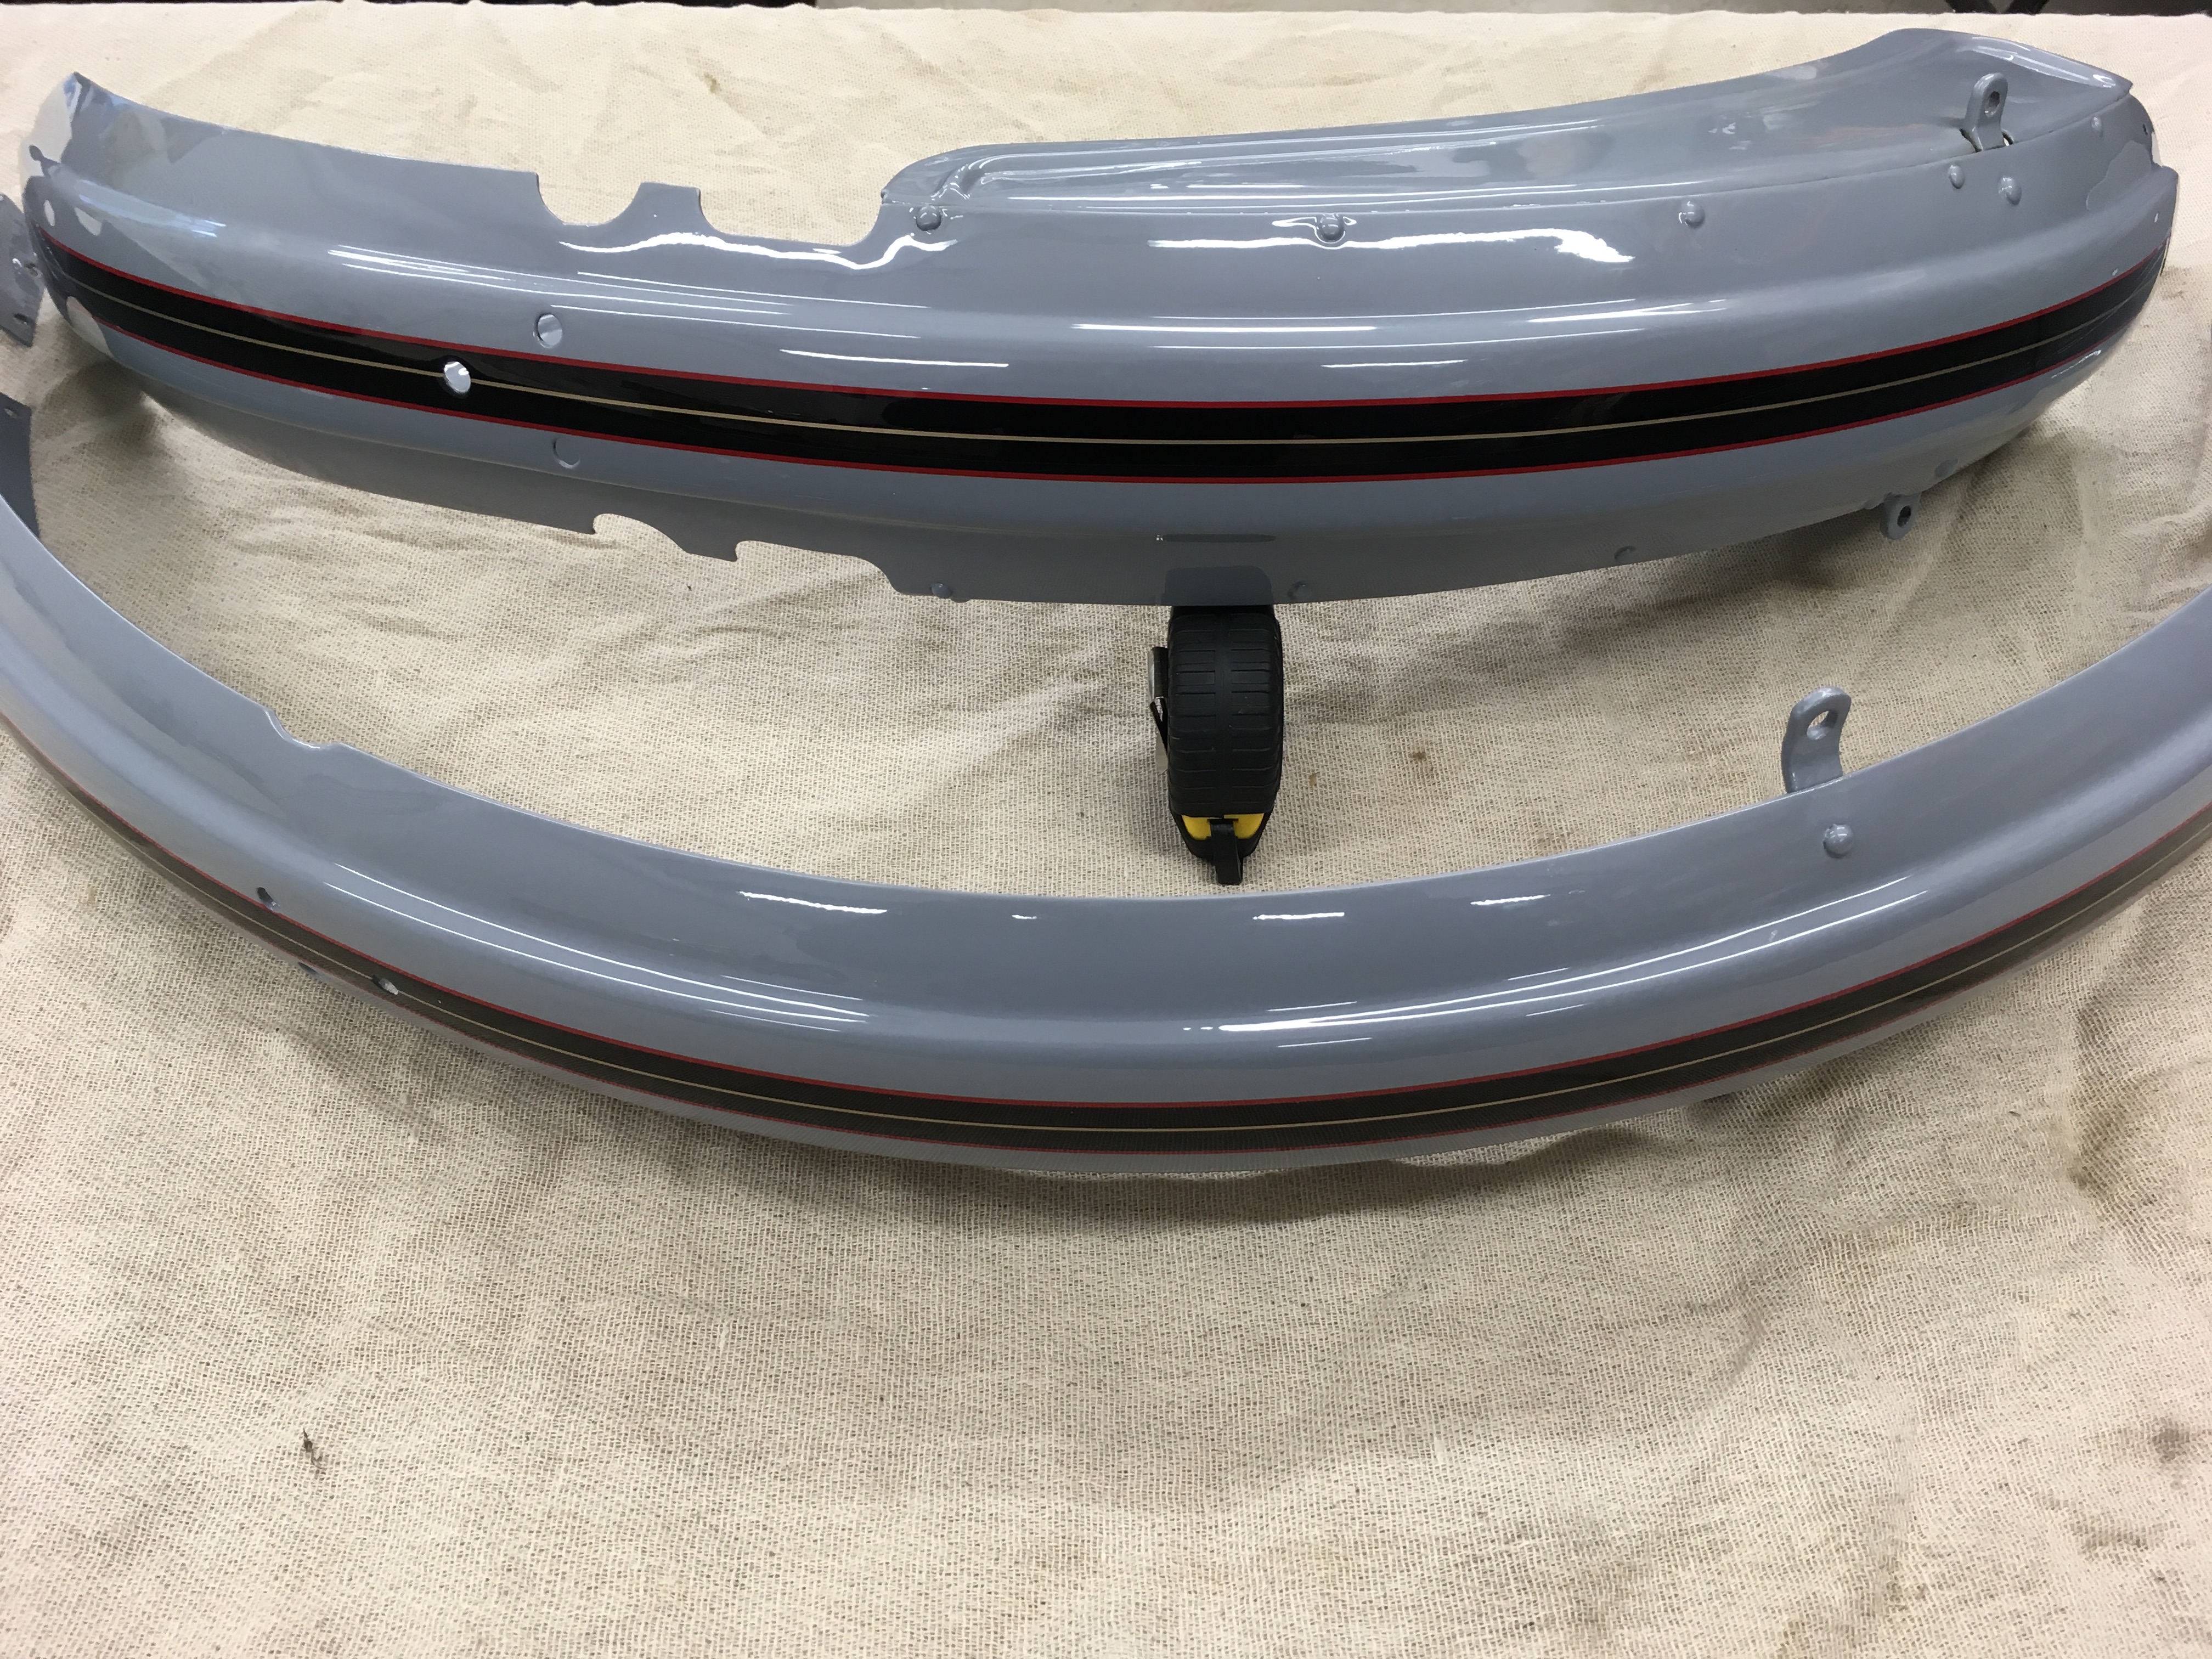
Well the summer is near over now and I was hoping to have had all the painted and plated parts back by now so I could start the build on the 8XE.
The paint went off some six months ago but when the painter applied the lacquer to the decals everything blistered and they had to be removed. I ordered more decals from Rick Simpson, who is extremely knowledgeable and always offers great service, and they hit the UK within the week. I am now waiting for an update from the painter.
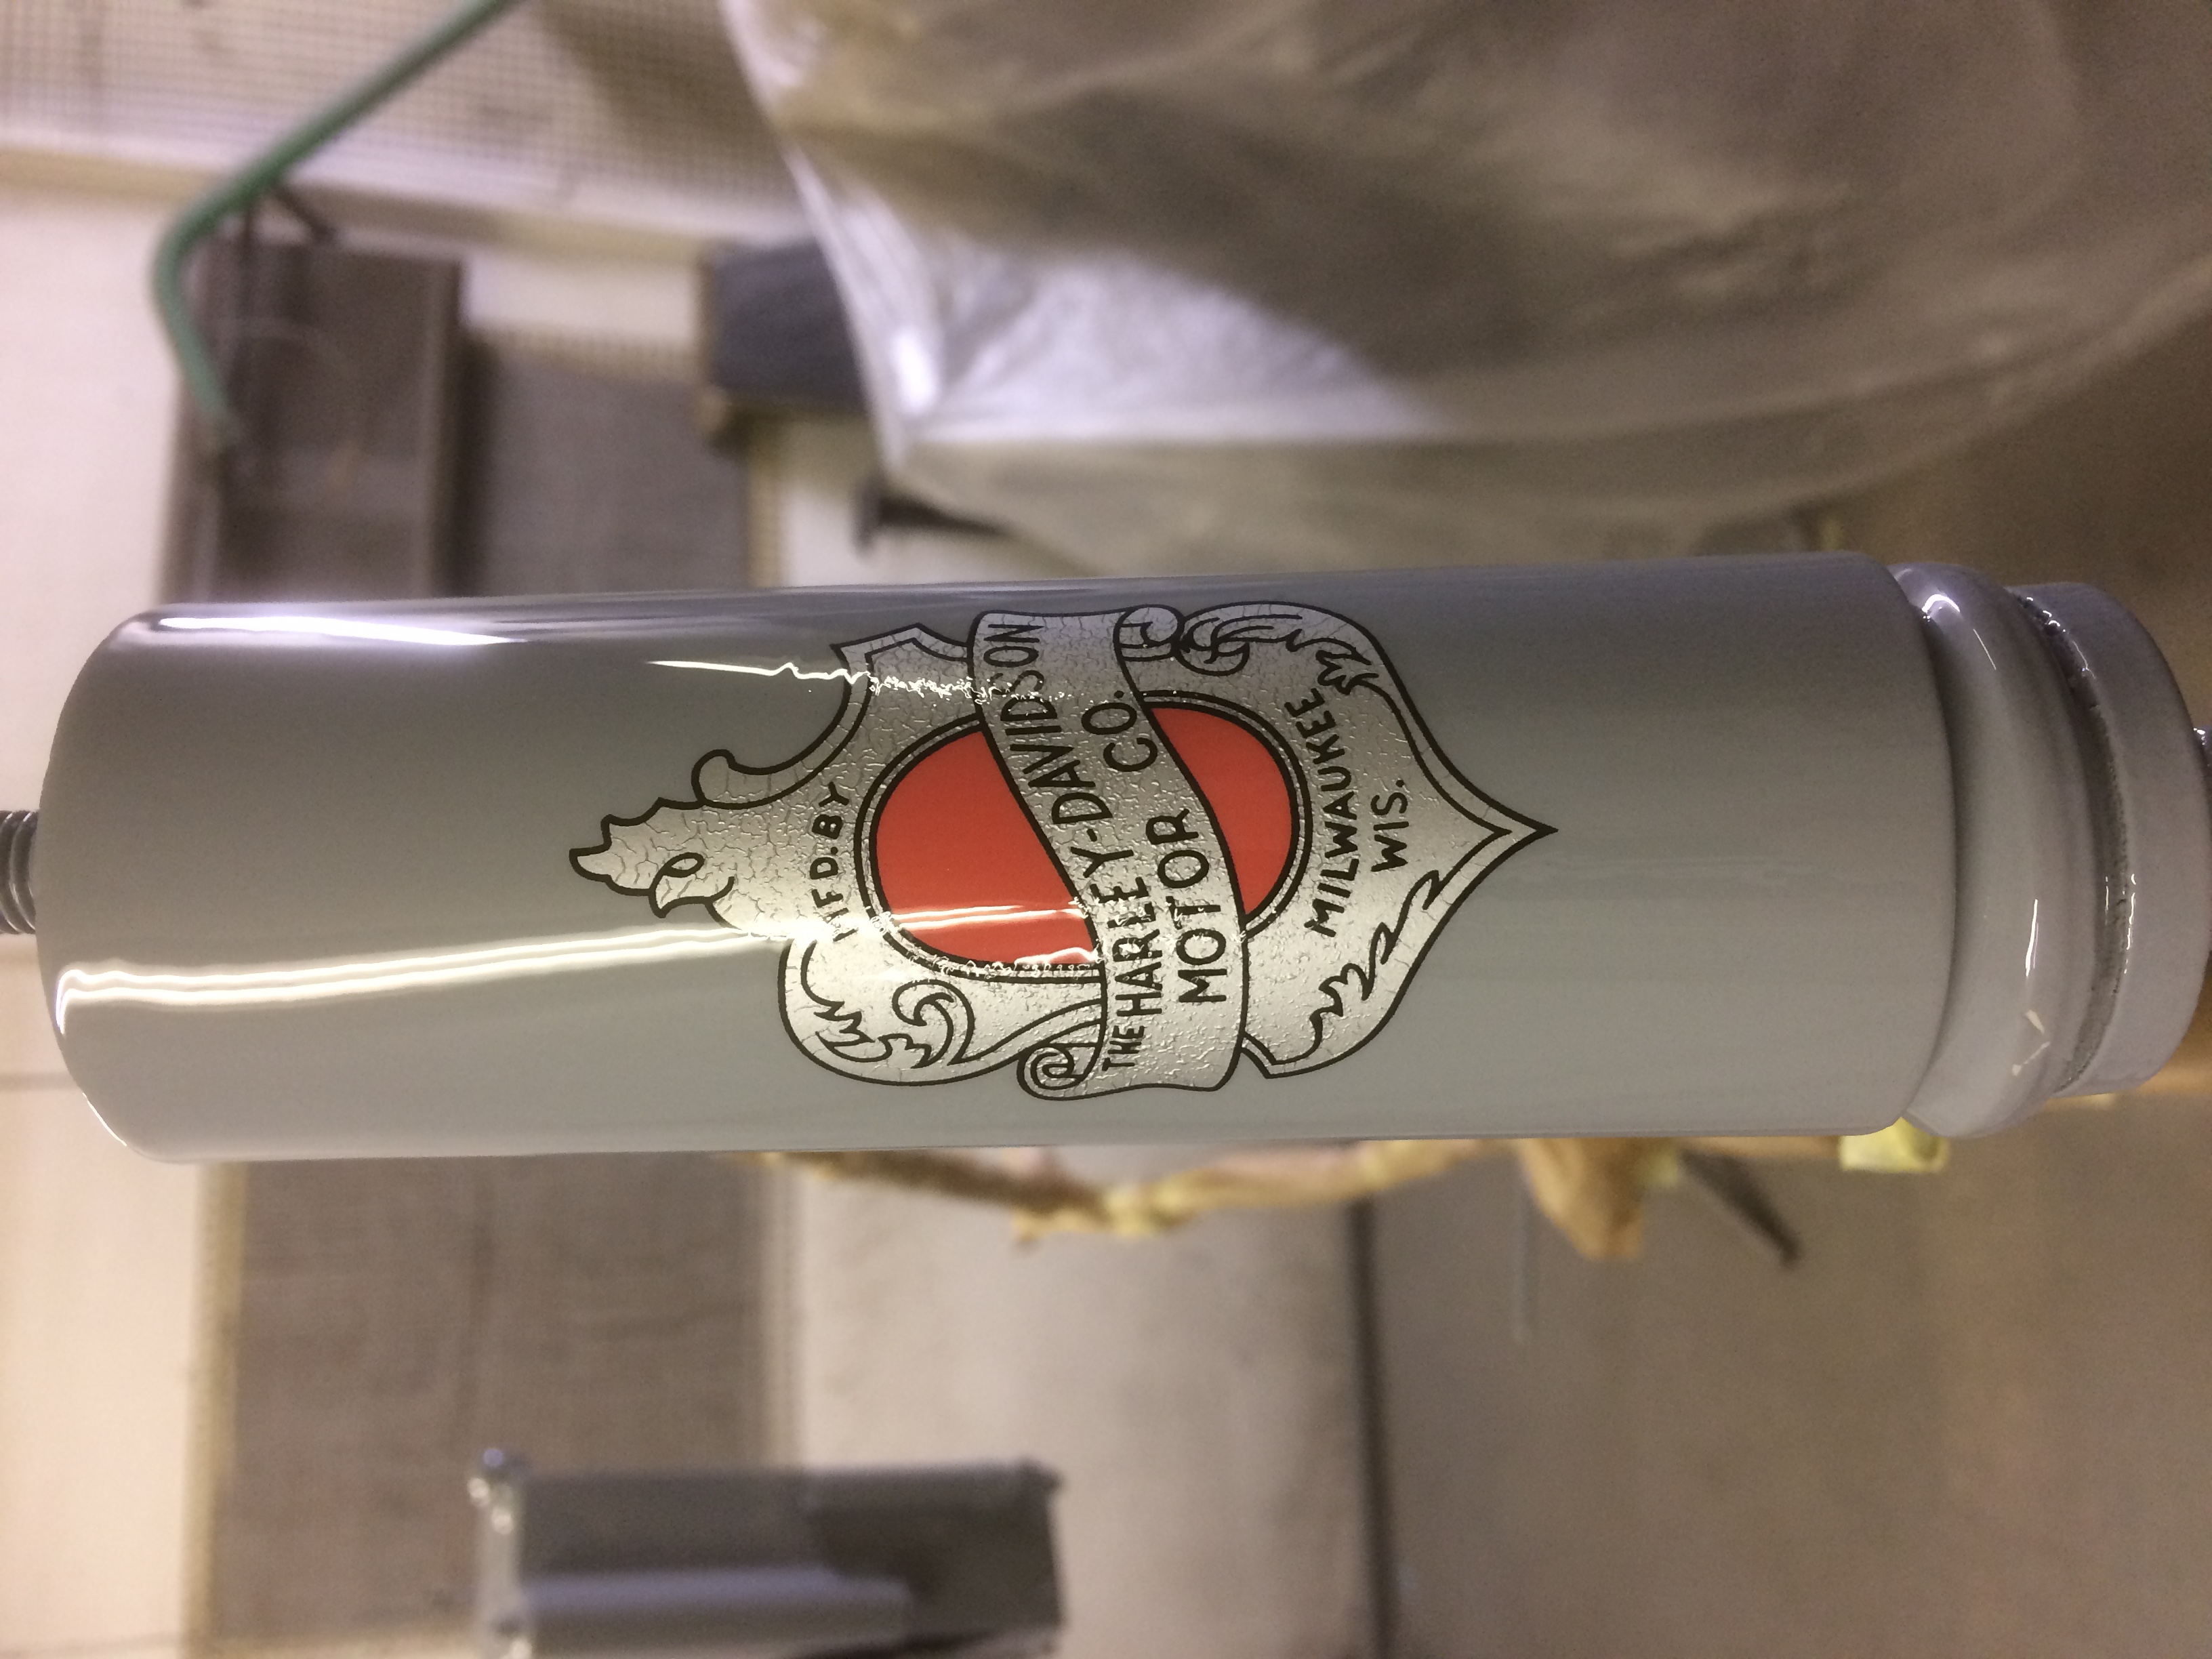
If you click on the image you can see the blistering. The two images below are before the lacquer was applied.
13.09.18
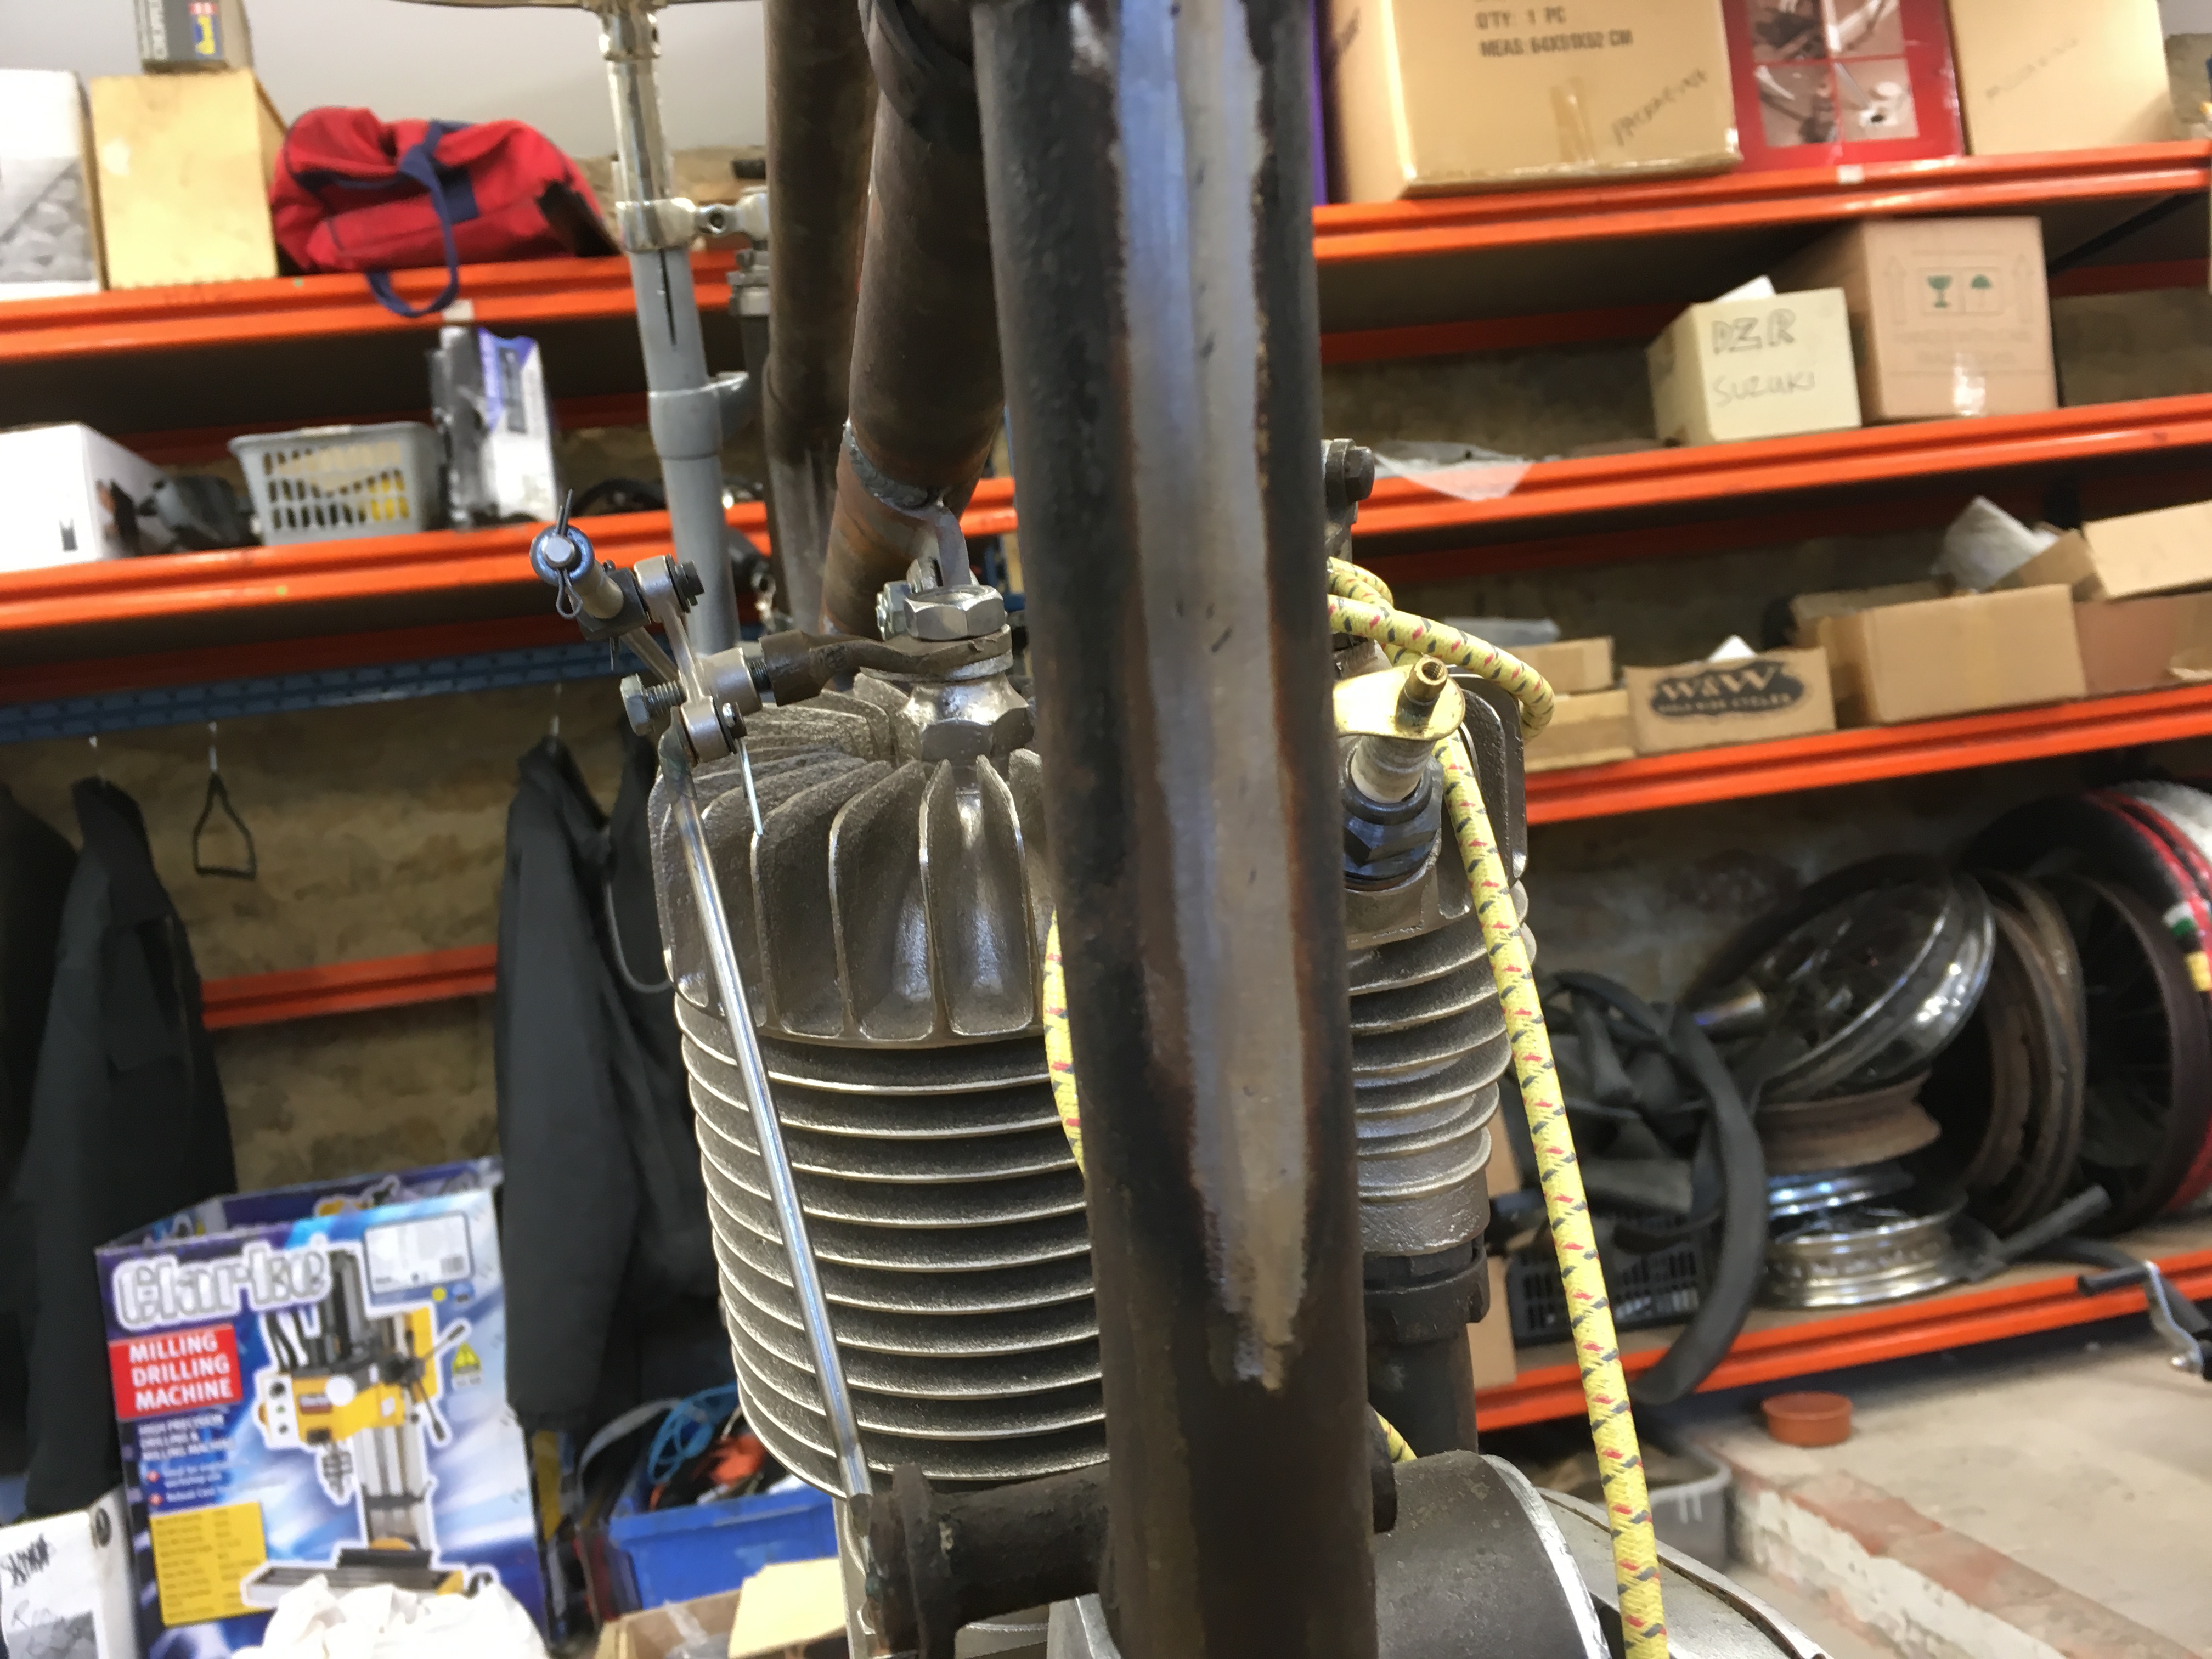
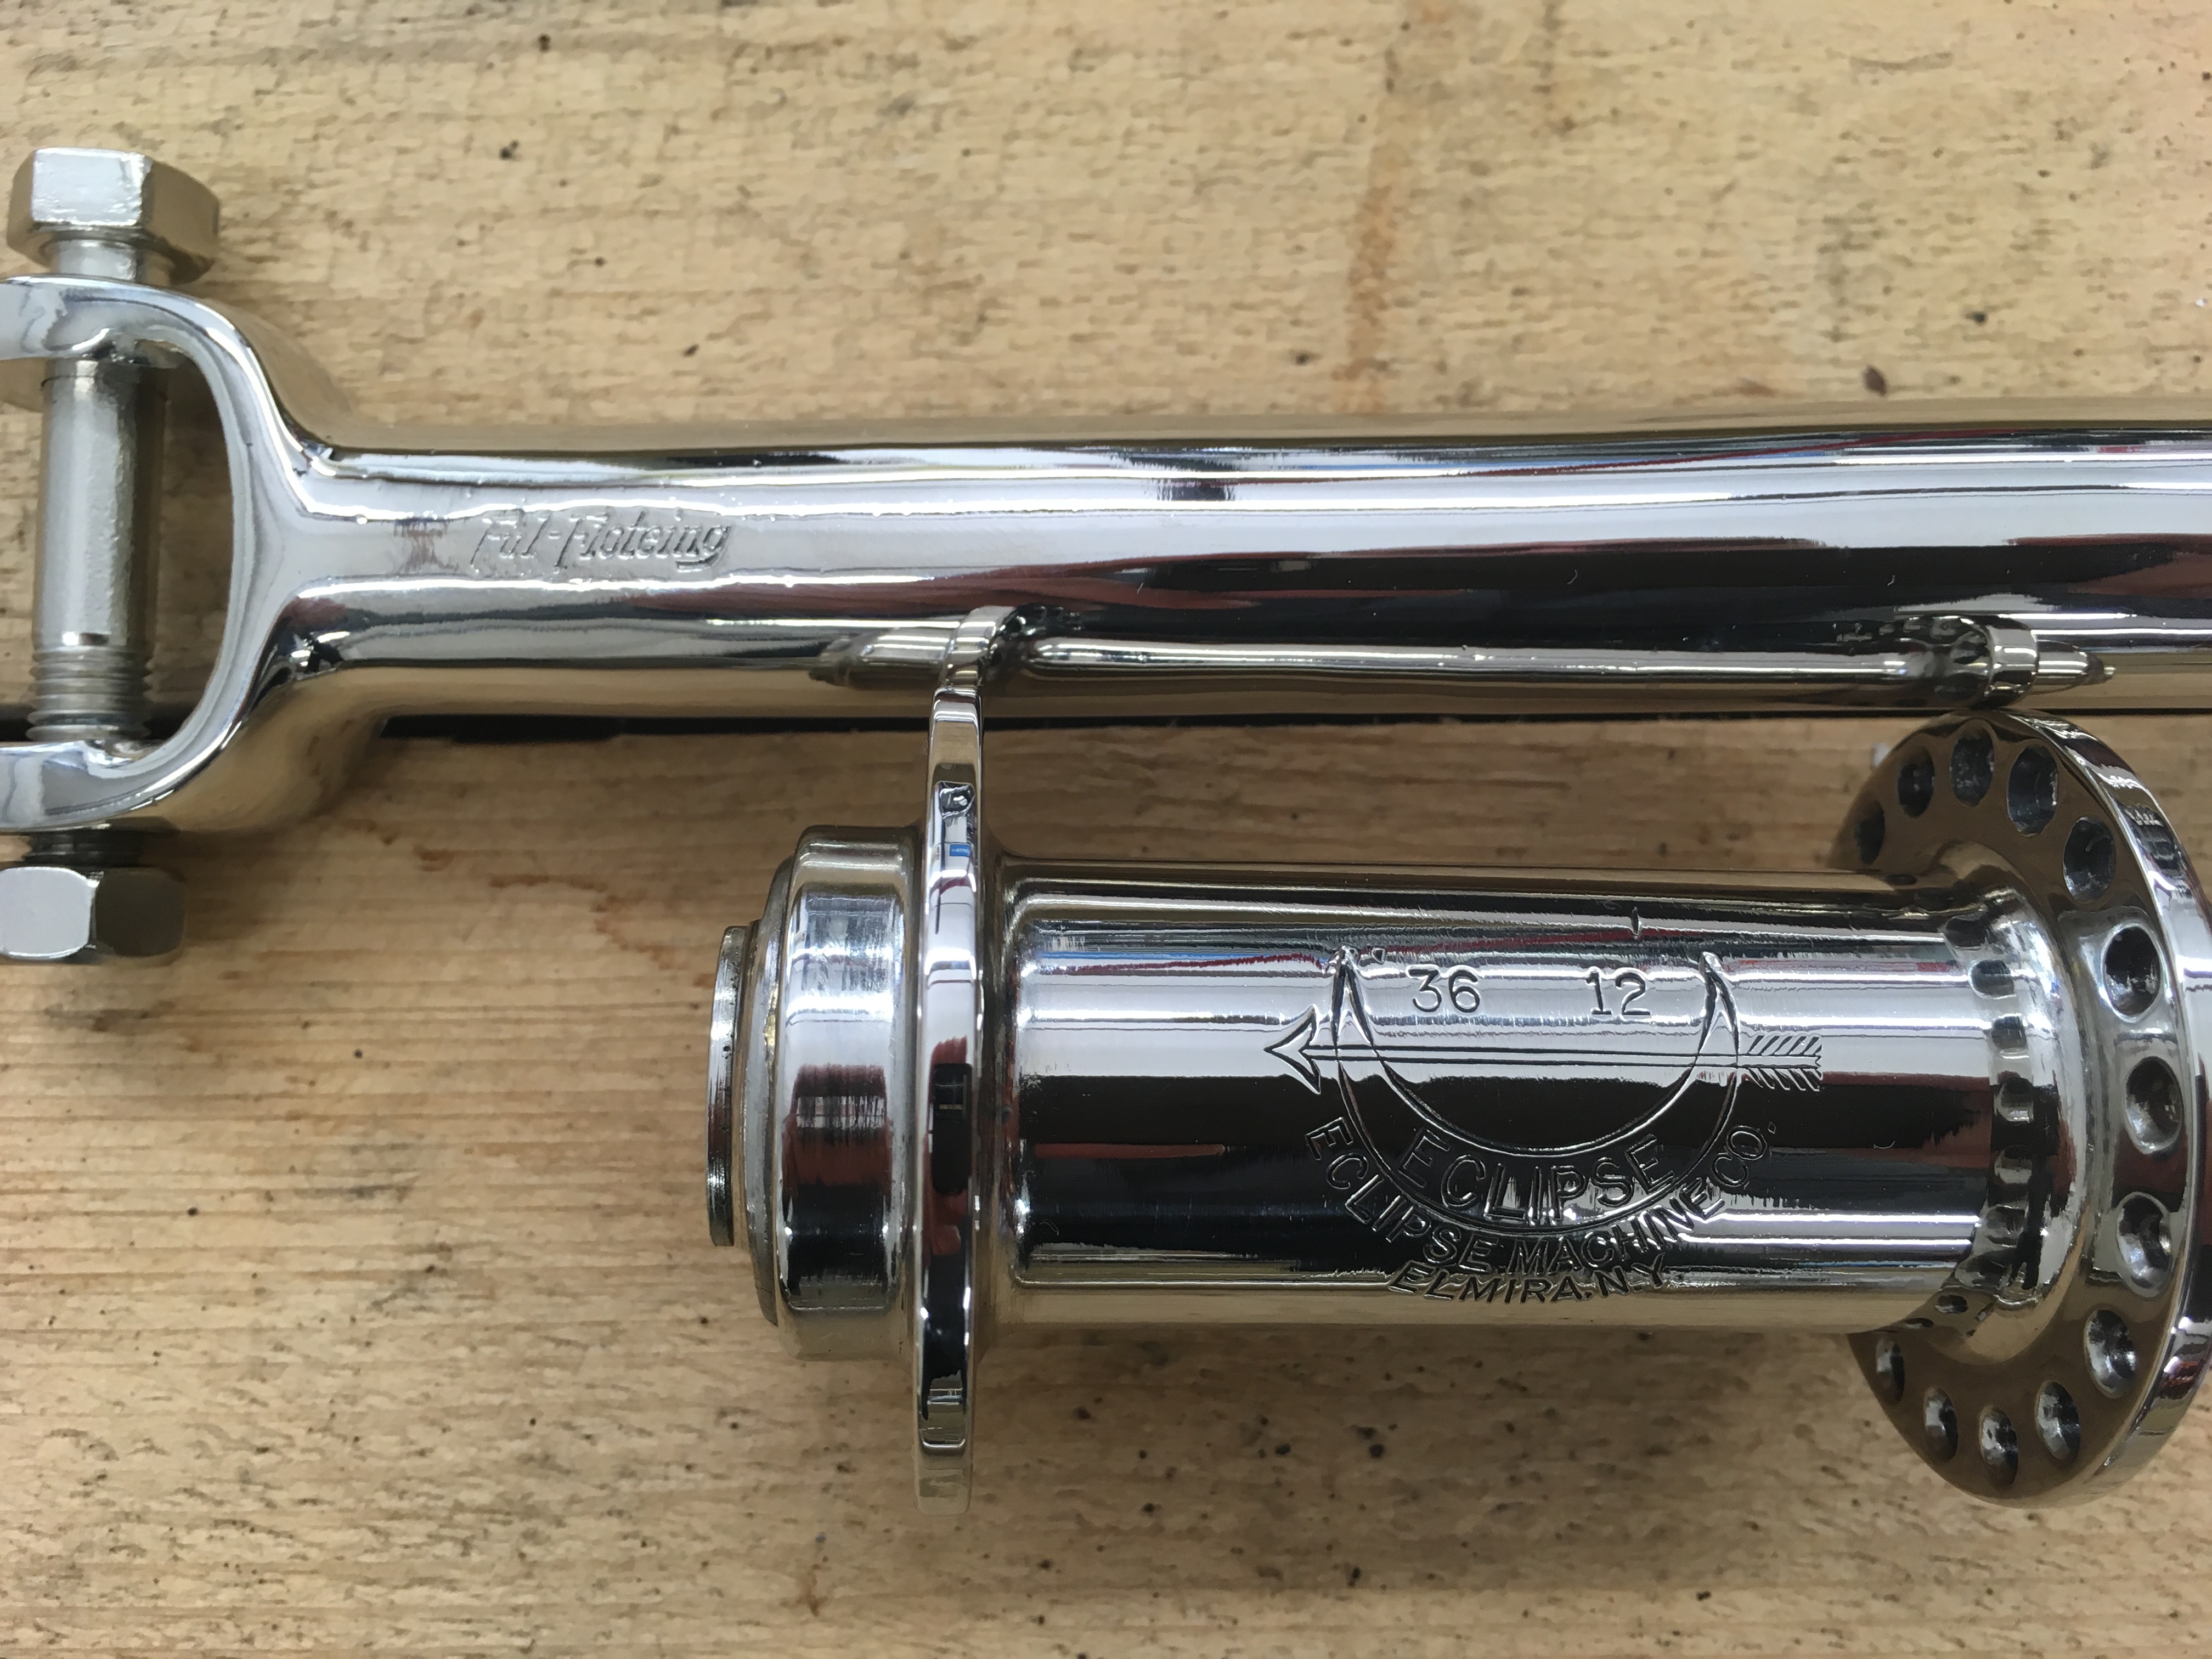
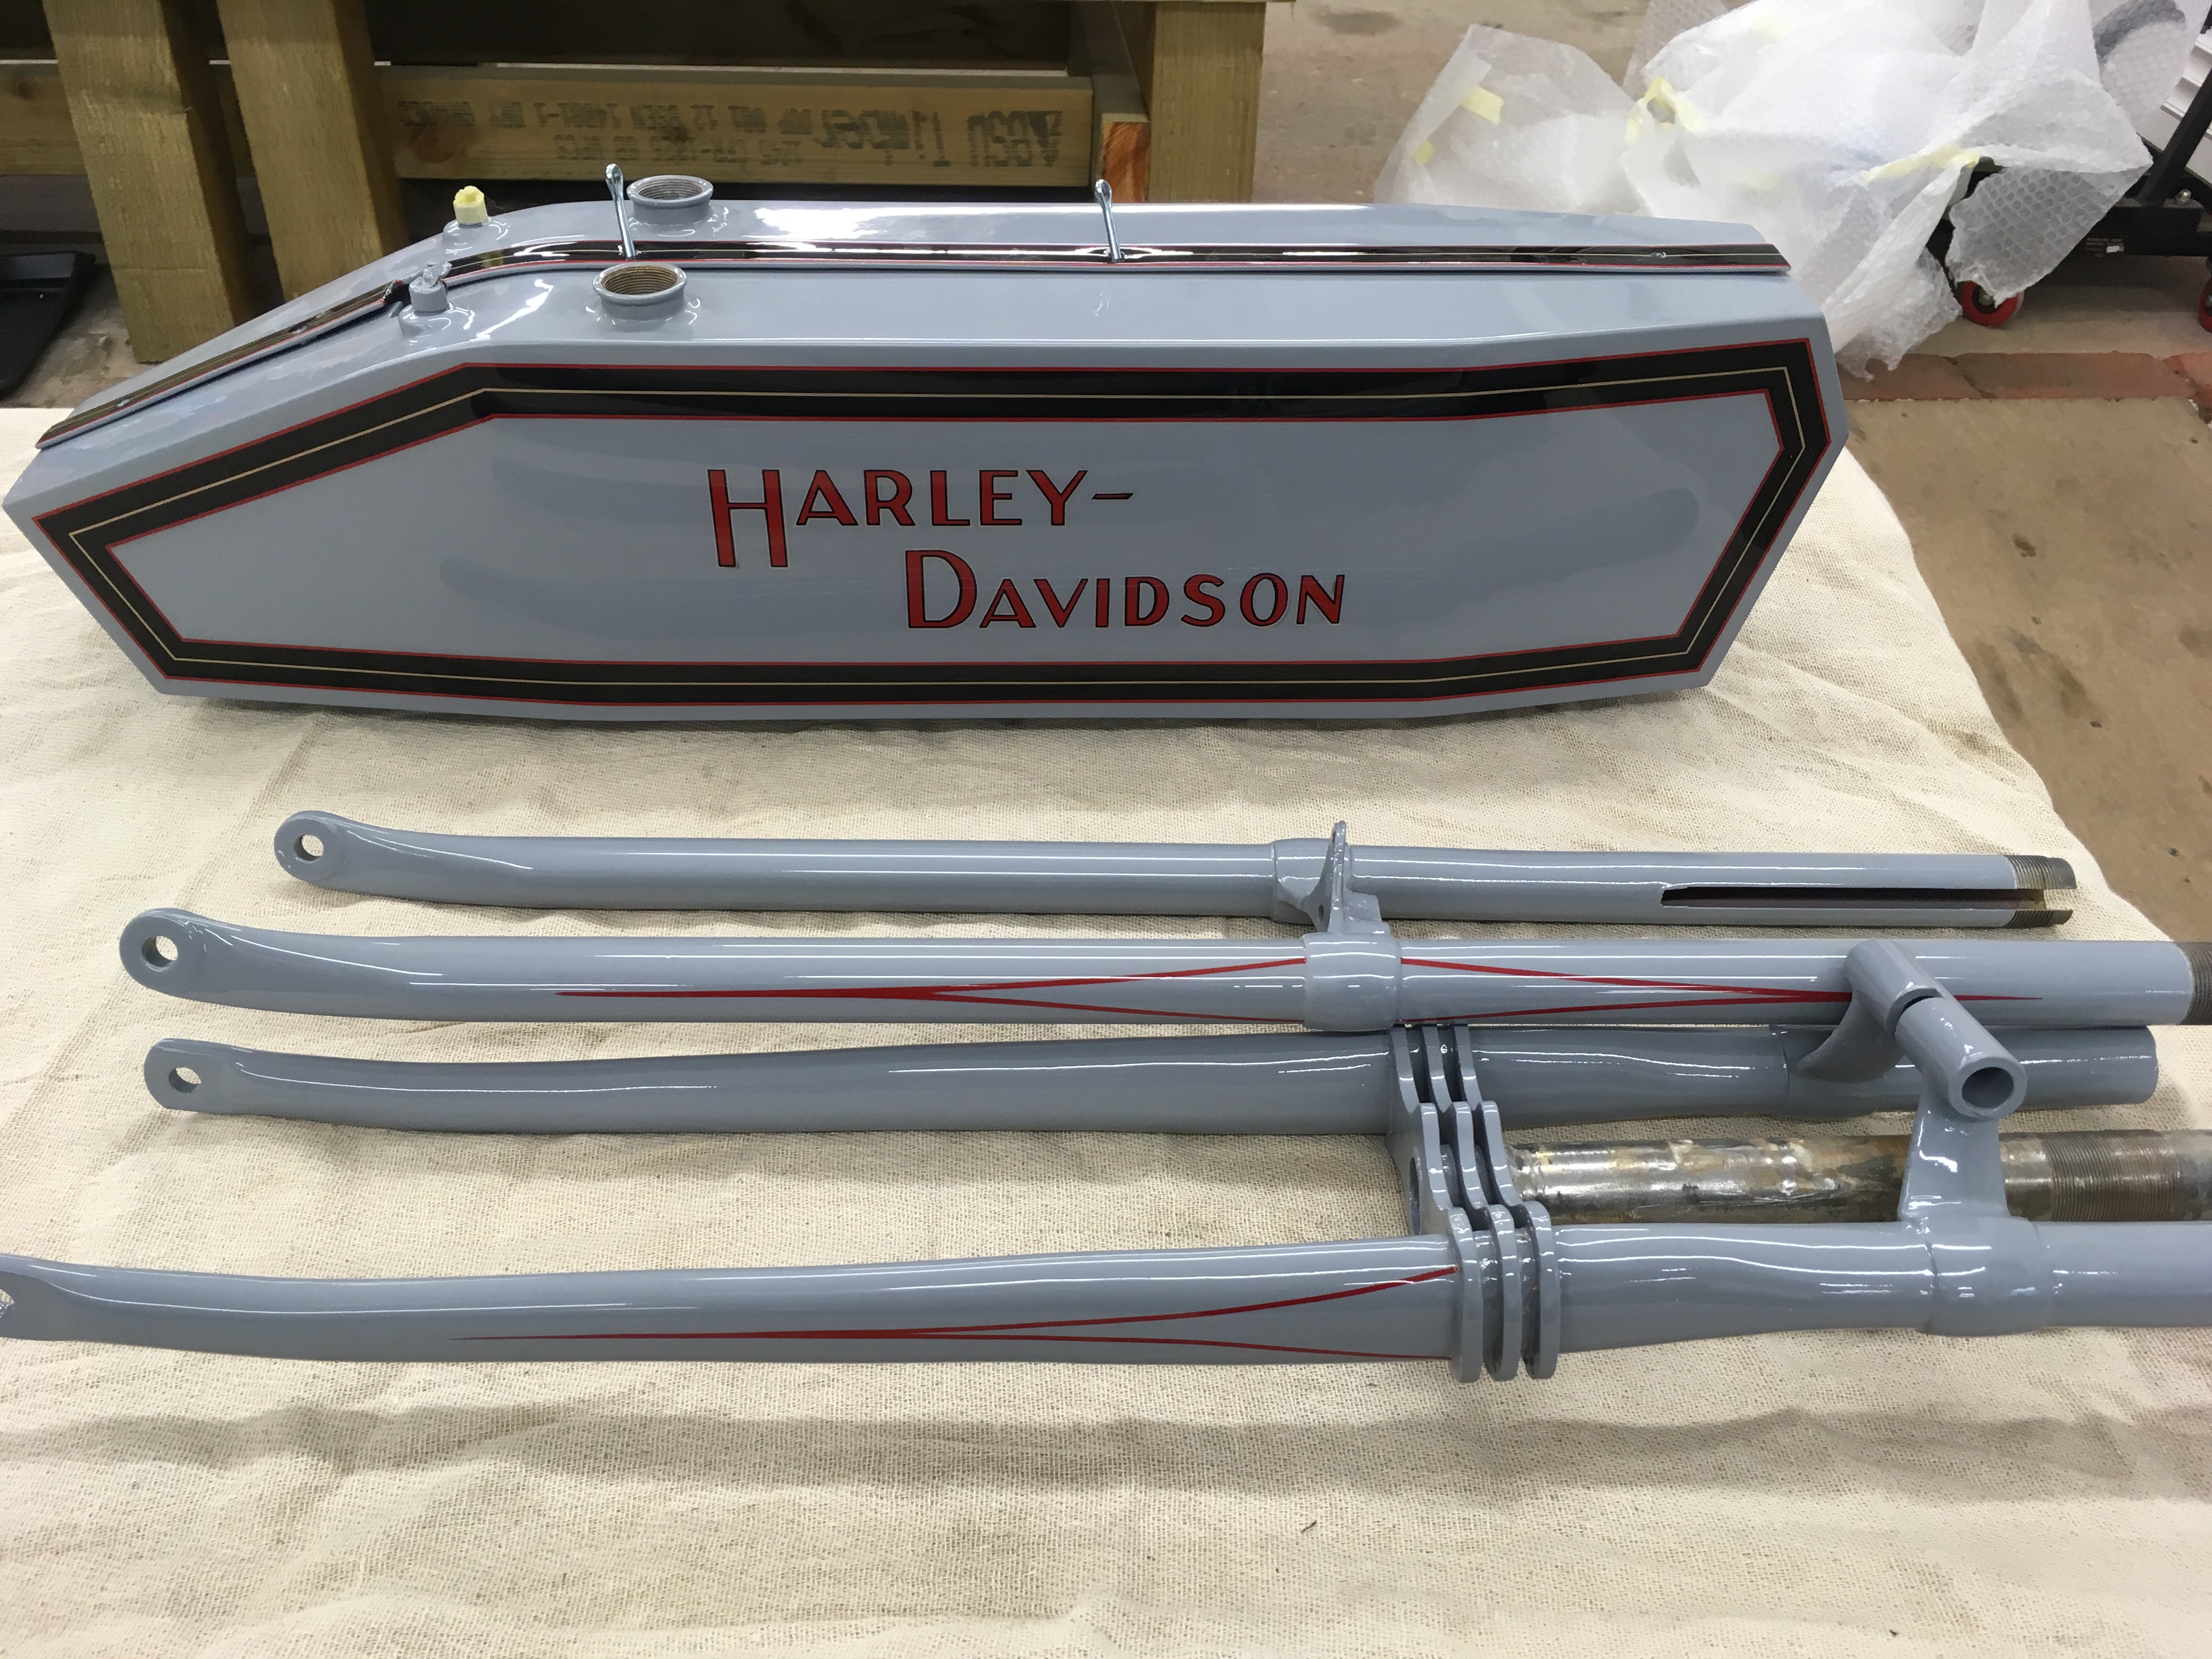
The plating has also taken far longer than I had hoped for but the quality is great. The delay is not so important as the painted parts are also not ready yet. Some parts of the motor need to be plated and then the motor re-assembled, the wheels need building and then the full assembly can begin. I am really pleased with the plating, it’s nickle but looks almost like chrome, but it will dull down.
The polishing and preparation are so important and the Eclipse front hub and Ful-Floteing seat bar engravings are clearly visible. These are great original parts which could have easily been spoiled with excessive plate.
29.11.18
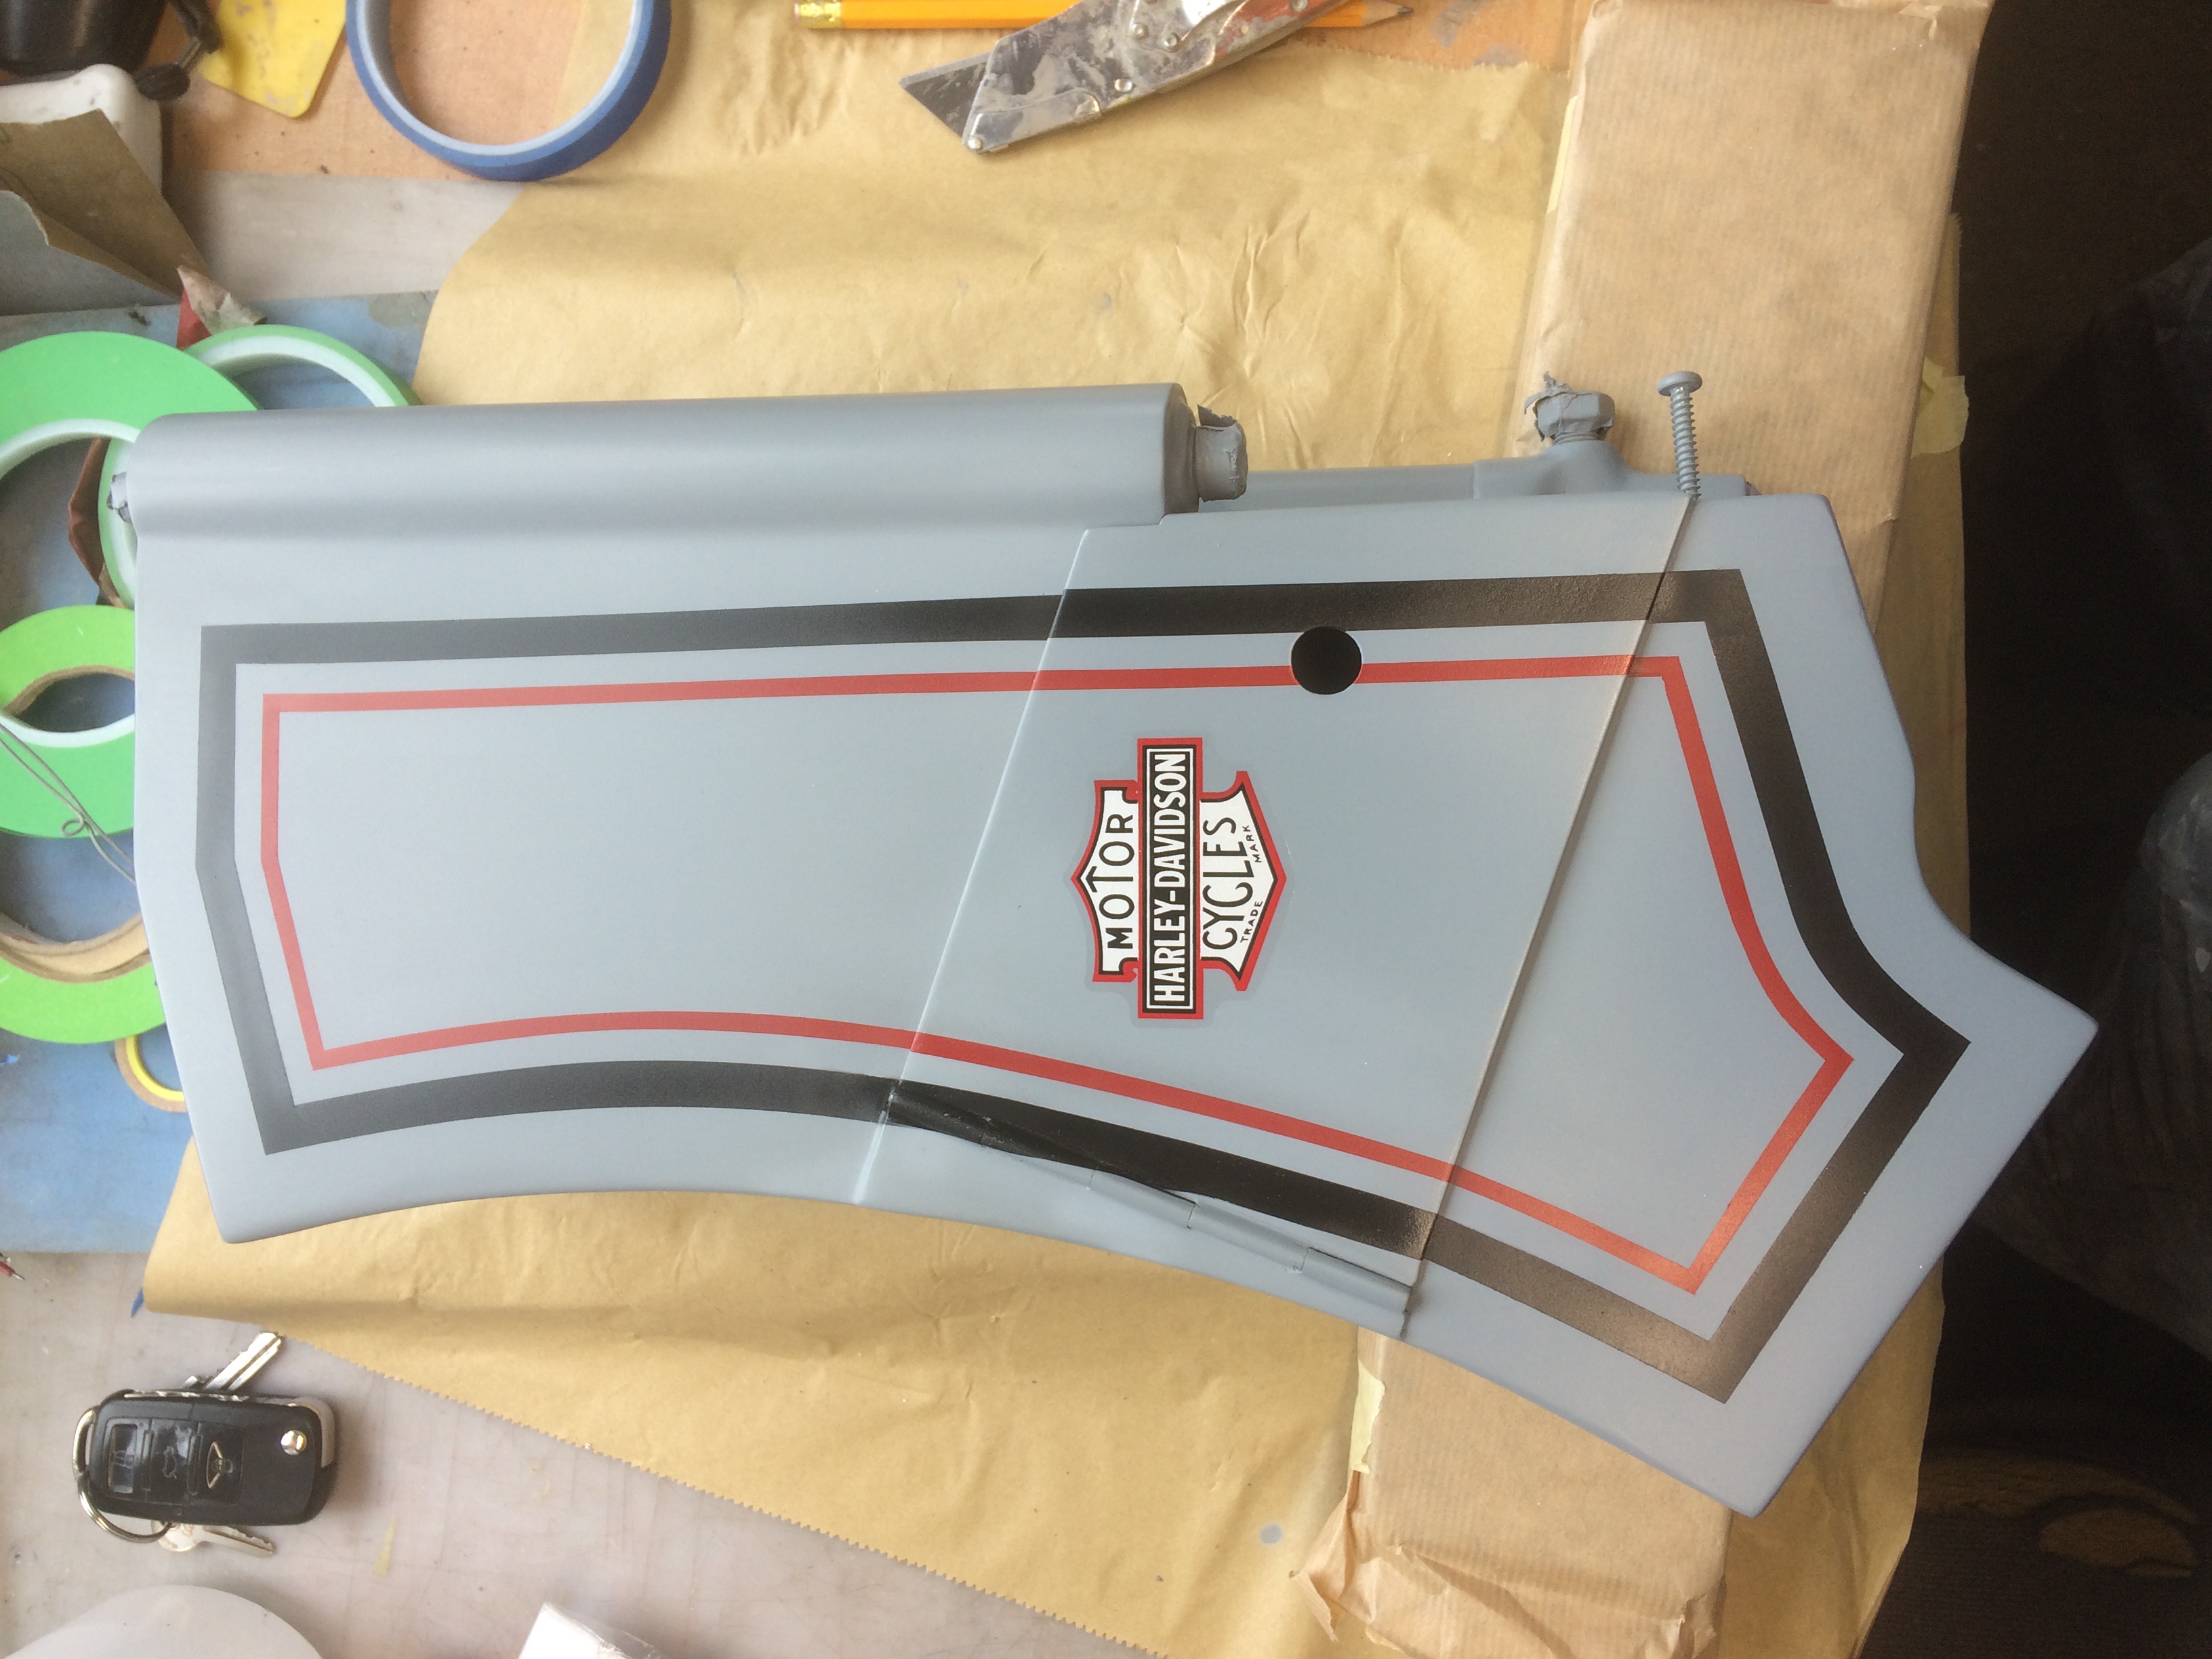
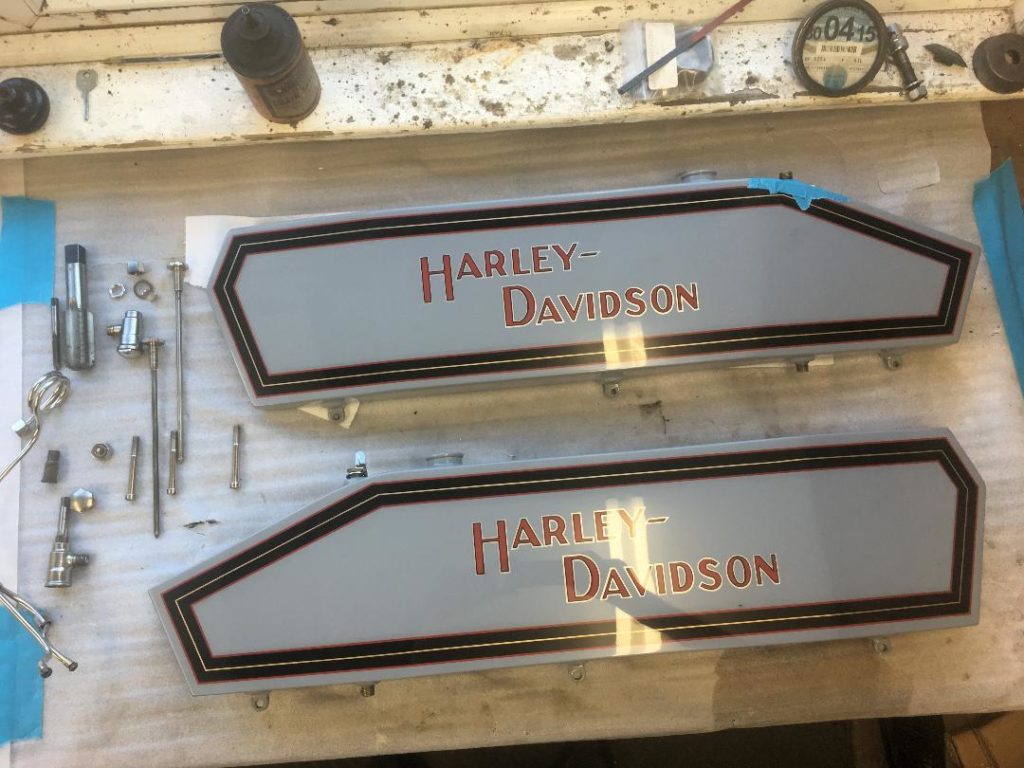
The painted parts are starting to arrive now. It has been a long wait but they look great. I am still waiting for the frame and a few small parts. The rims have gone to the wheel builder and I have to check again to determine the correct striping on the chain cover.
~~~~~~~~~~~~~~~~~~~~~~~~~~~~~~~~~~~~~~~~~~~~~~~~~~~~~~~
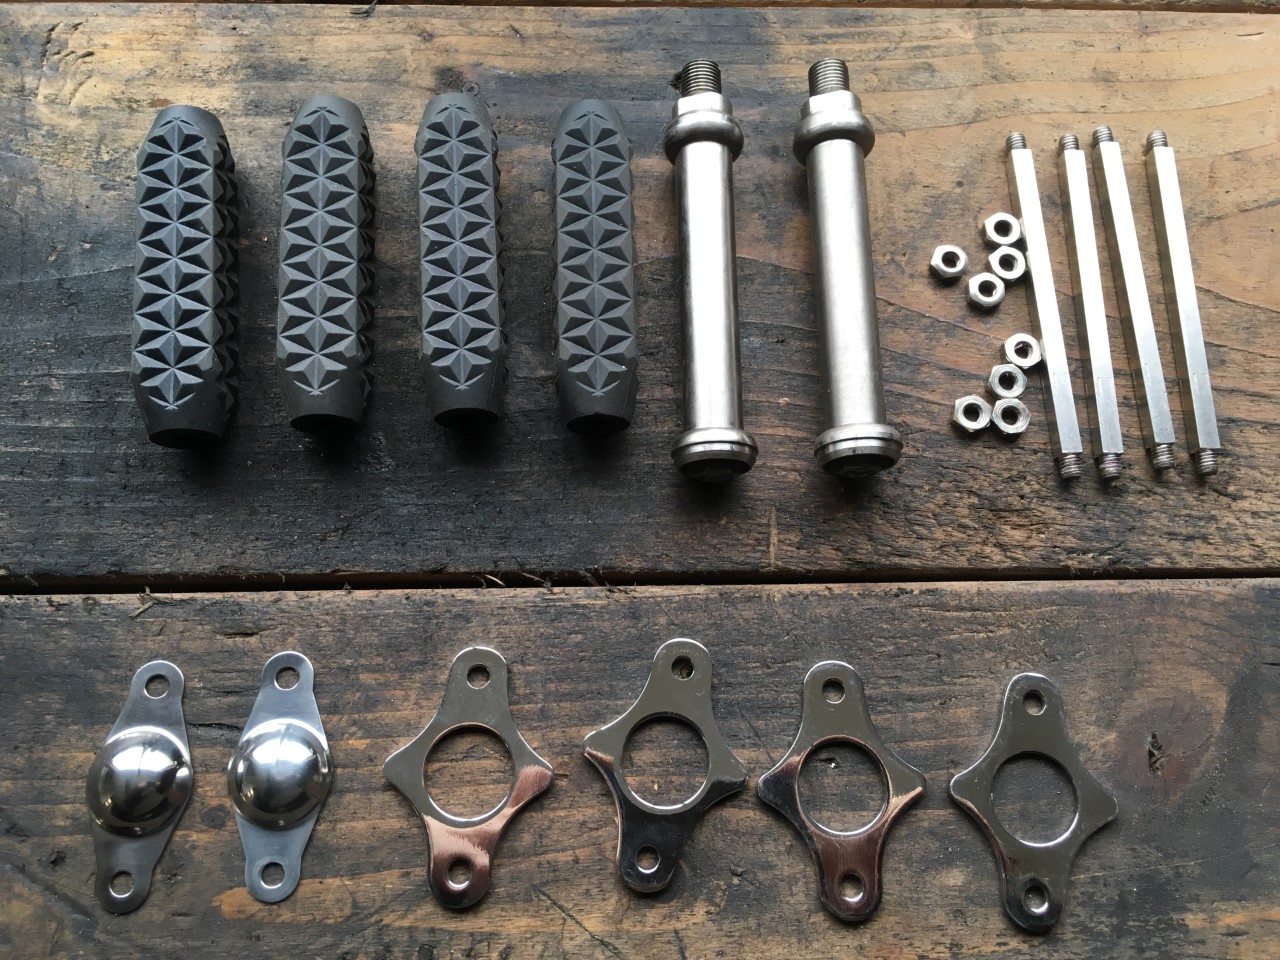
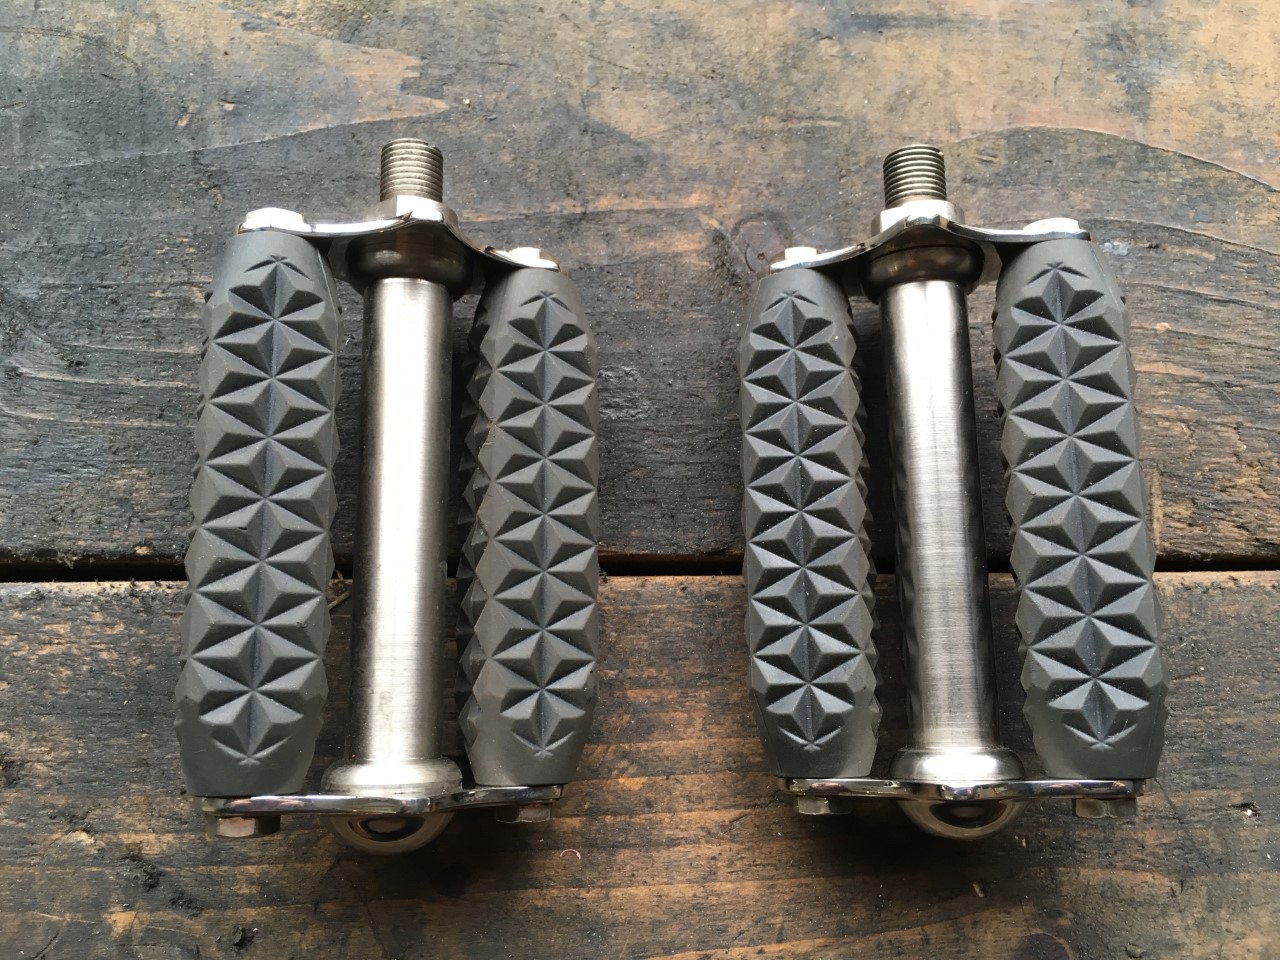
Pedals are a part which seem to have patchy availability. Currently I can’t find any repops but these are the ones going on the 12. They are a mix of stainless and mild steel so the ends have now been plated. They will probably end up with white blocks.
23.07.19
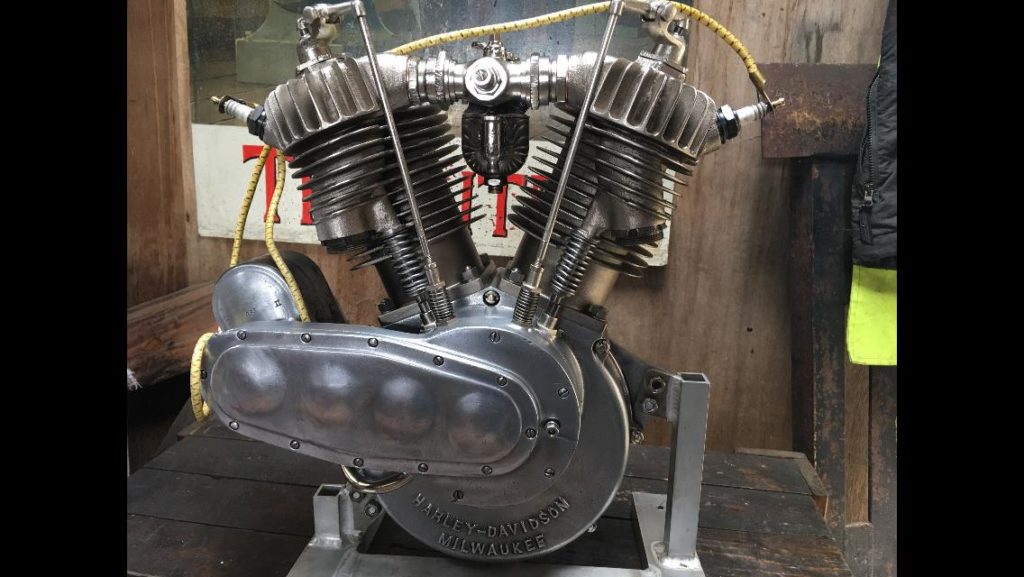
The parts for the motor needing plating and polishing have now been returned and the motor has been assembled. I now have everything I need to start the build up and will complete the job within the next few months.
Problem is its riding season and that comes first. I’ve just come back from tour through Europe, the Baltic states and up to the Arctic Circle. Riding needs to come first. If I get this bike assembled and running before the year end I will be very happy.
02.08.19
Now that all the parts are all back I can start the build. The plan was to tackle everything in the exact opposite sequence of the tear-down but that plan has changed. There were so many small nickled parts that came back from the plater that I decided to match all the small fittings with each relevant part of the bike first. That now completed, the next stage is fitting the oil tank/ tool box unit.
7.08.2019
The next stage of the build is progressing well. Kevin and I spent a full day on the bike today, baring too many coffee breaks and an extended lunch.
It is still always a surprise how much effect the paint and plating has on clearances. The oil tank is in now and the rear fender took half a dozen refits to get right. But we’re getting there.

Next is the pedals and chains. Then we can get the rear wheel aligned.

27.08.19
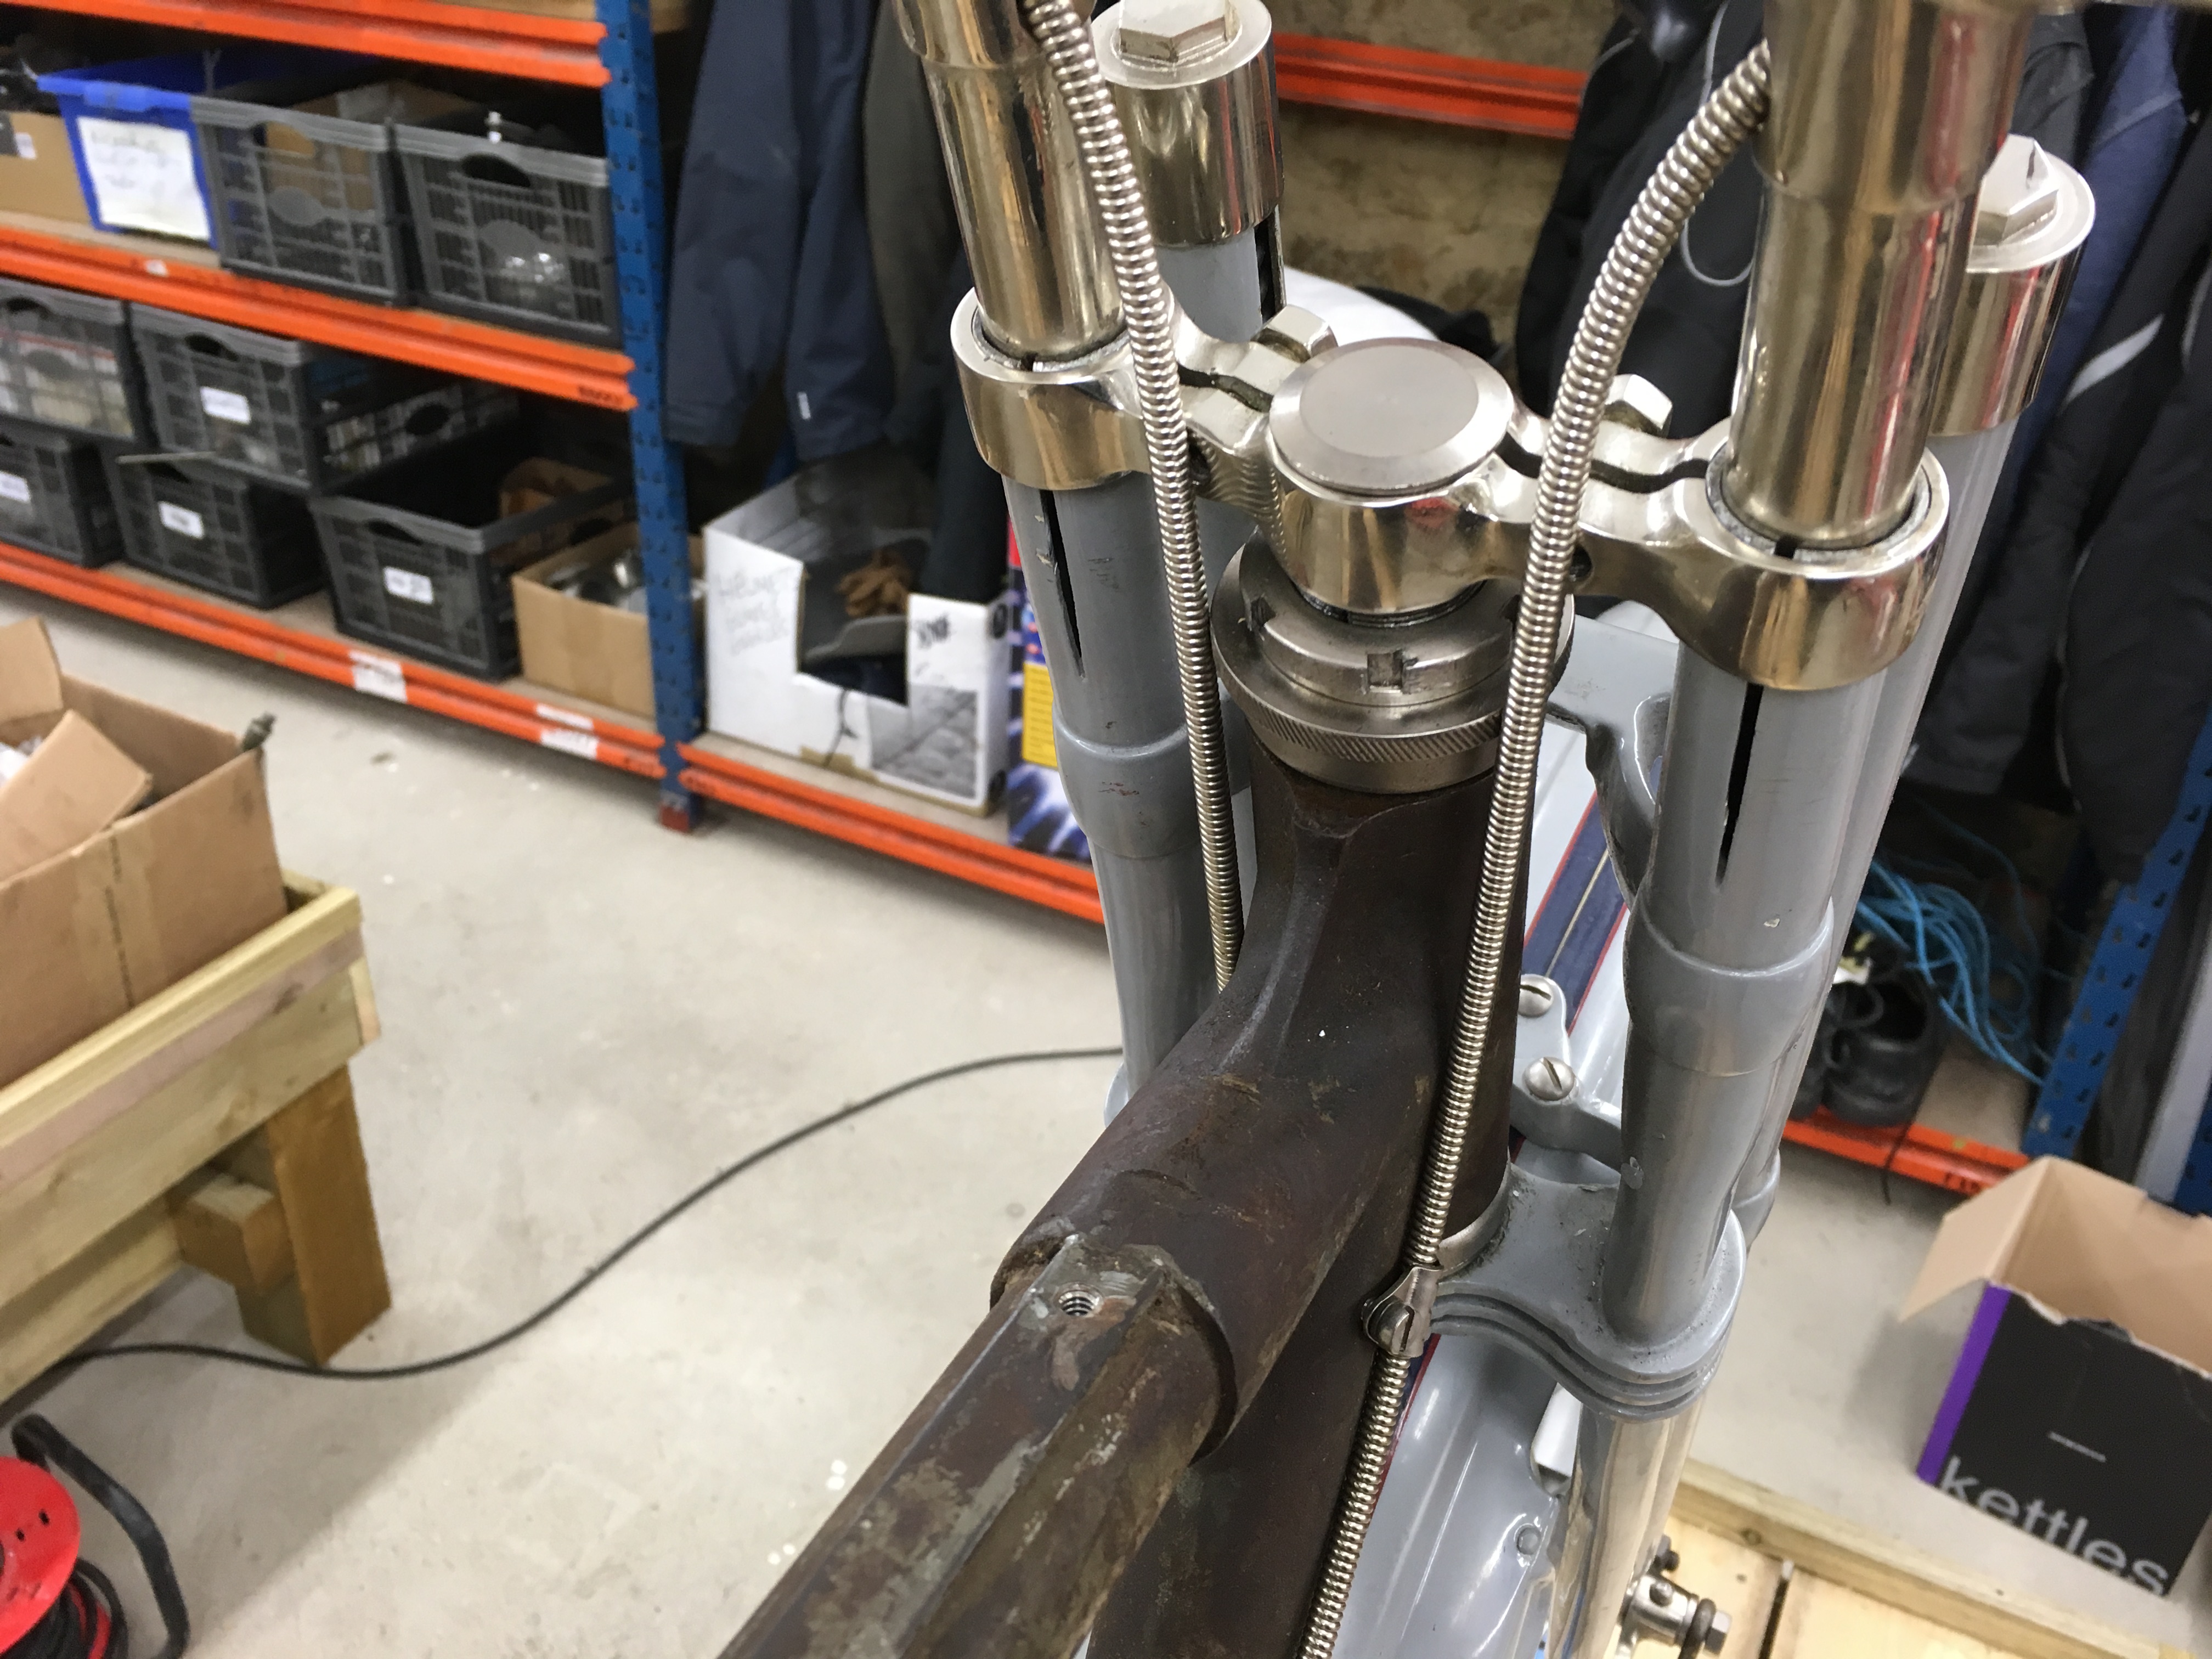
The front end is now all together. We needed to adjust the springs in the forks but everything else was spot on. I have determined that the rear fender stays will need some more work before they can be considered completed but that will be done as part of the final snagging.
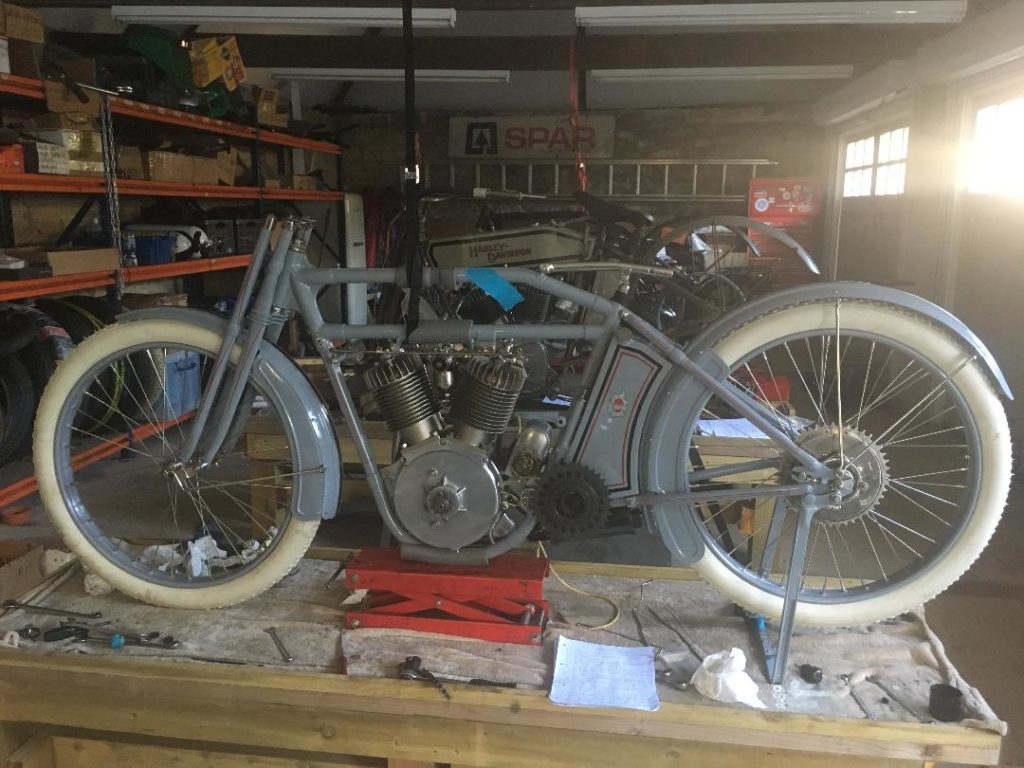
Next on are the tanks. All the hardware is here so the first job will be to chase all the threads before anything is mounted to the bike. After that it will be the bars and control linkages.
21.09.19
The 8XE is almost finished. Some more work on the seat and the rear fender and then some small parts needing nickle plate. Nearly there.