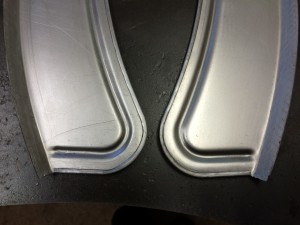
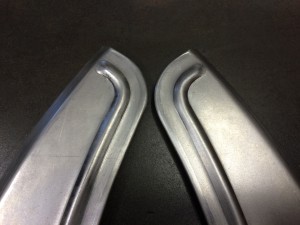
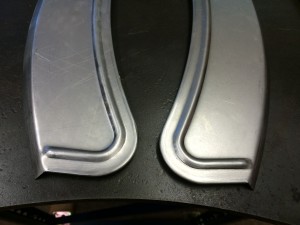
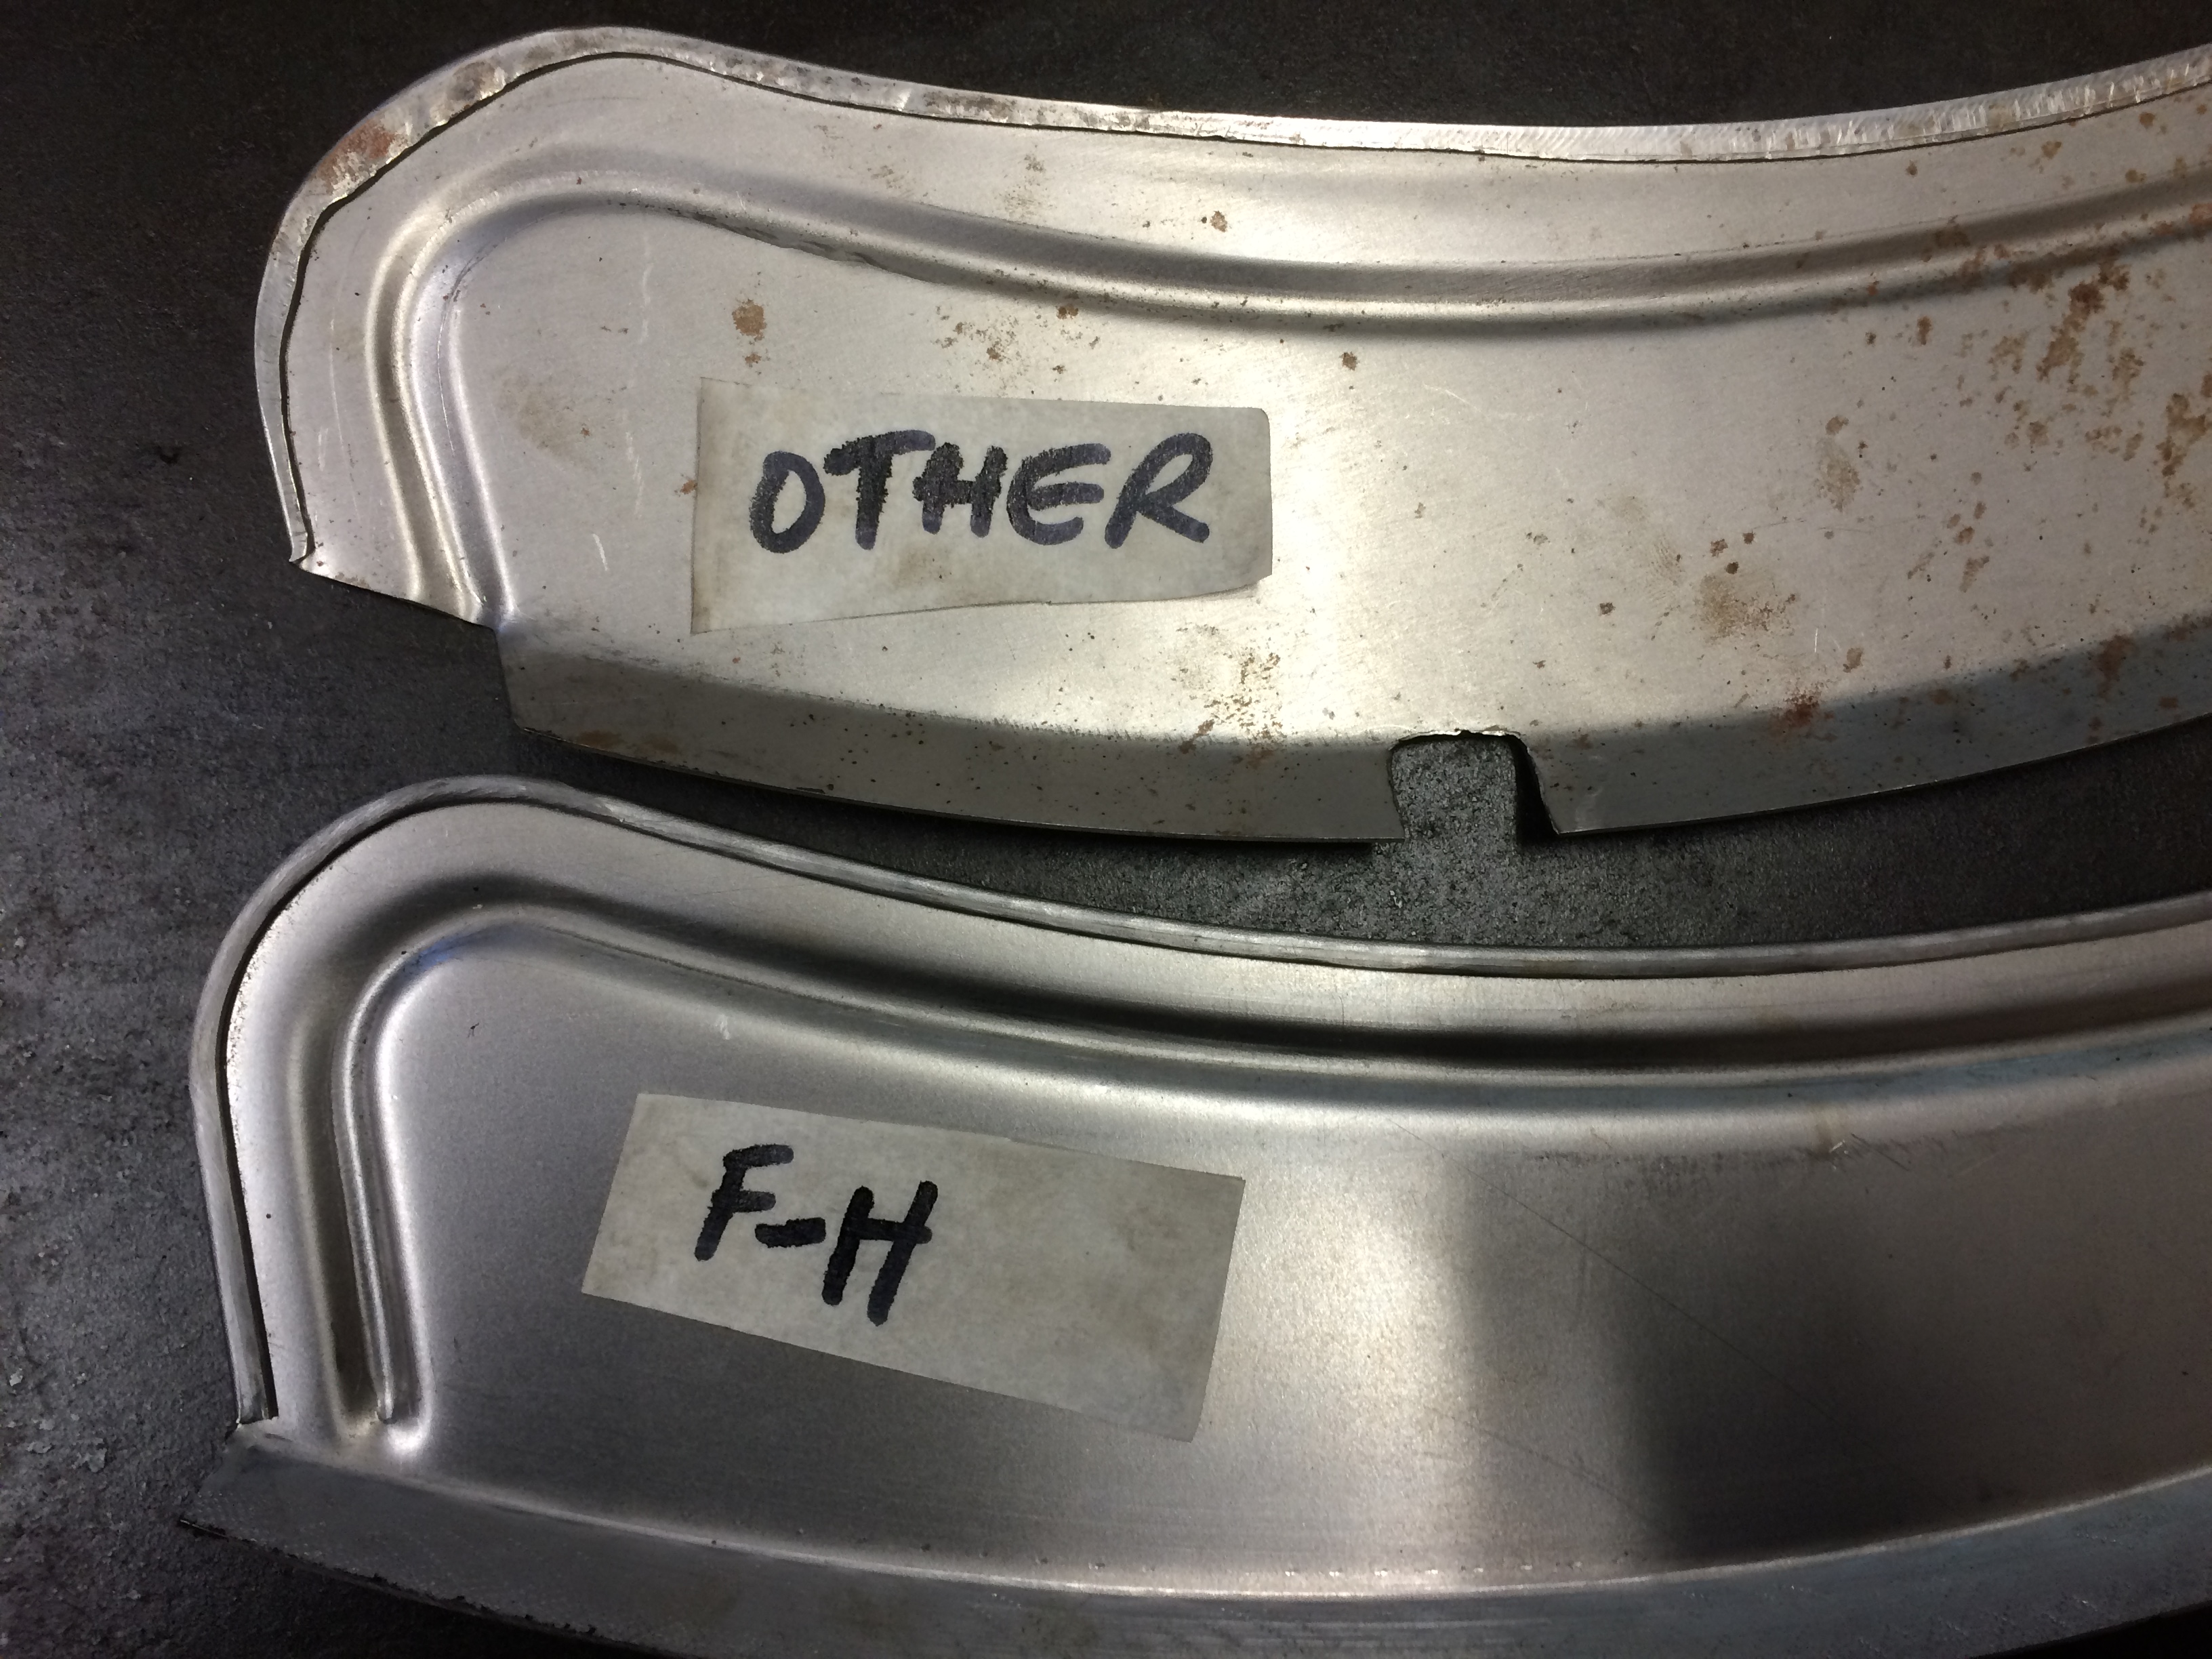
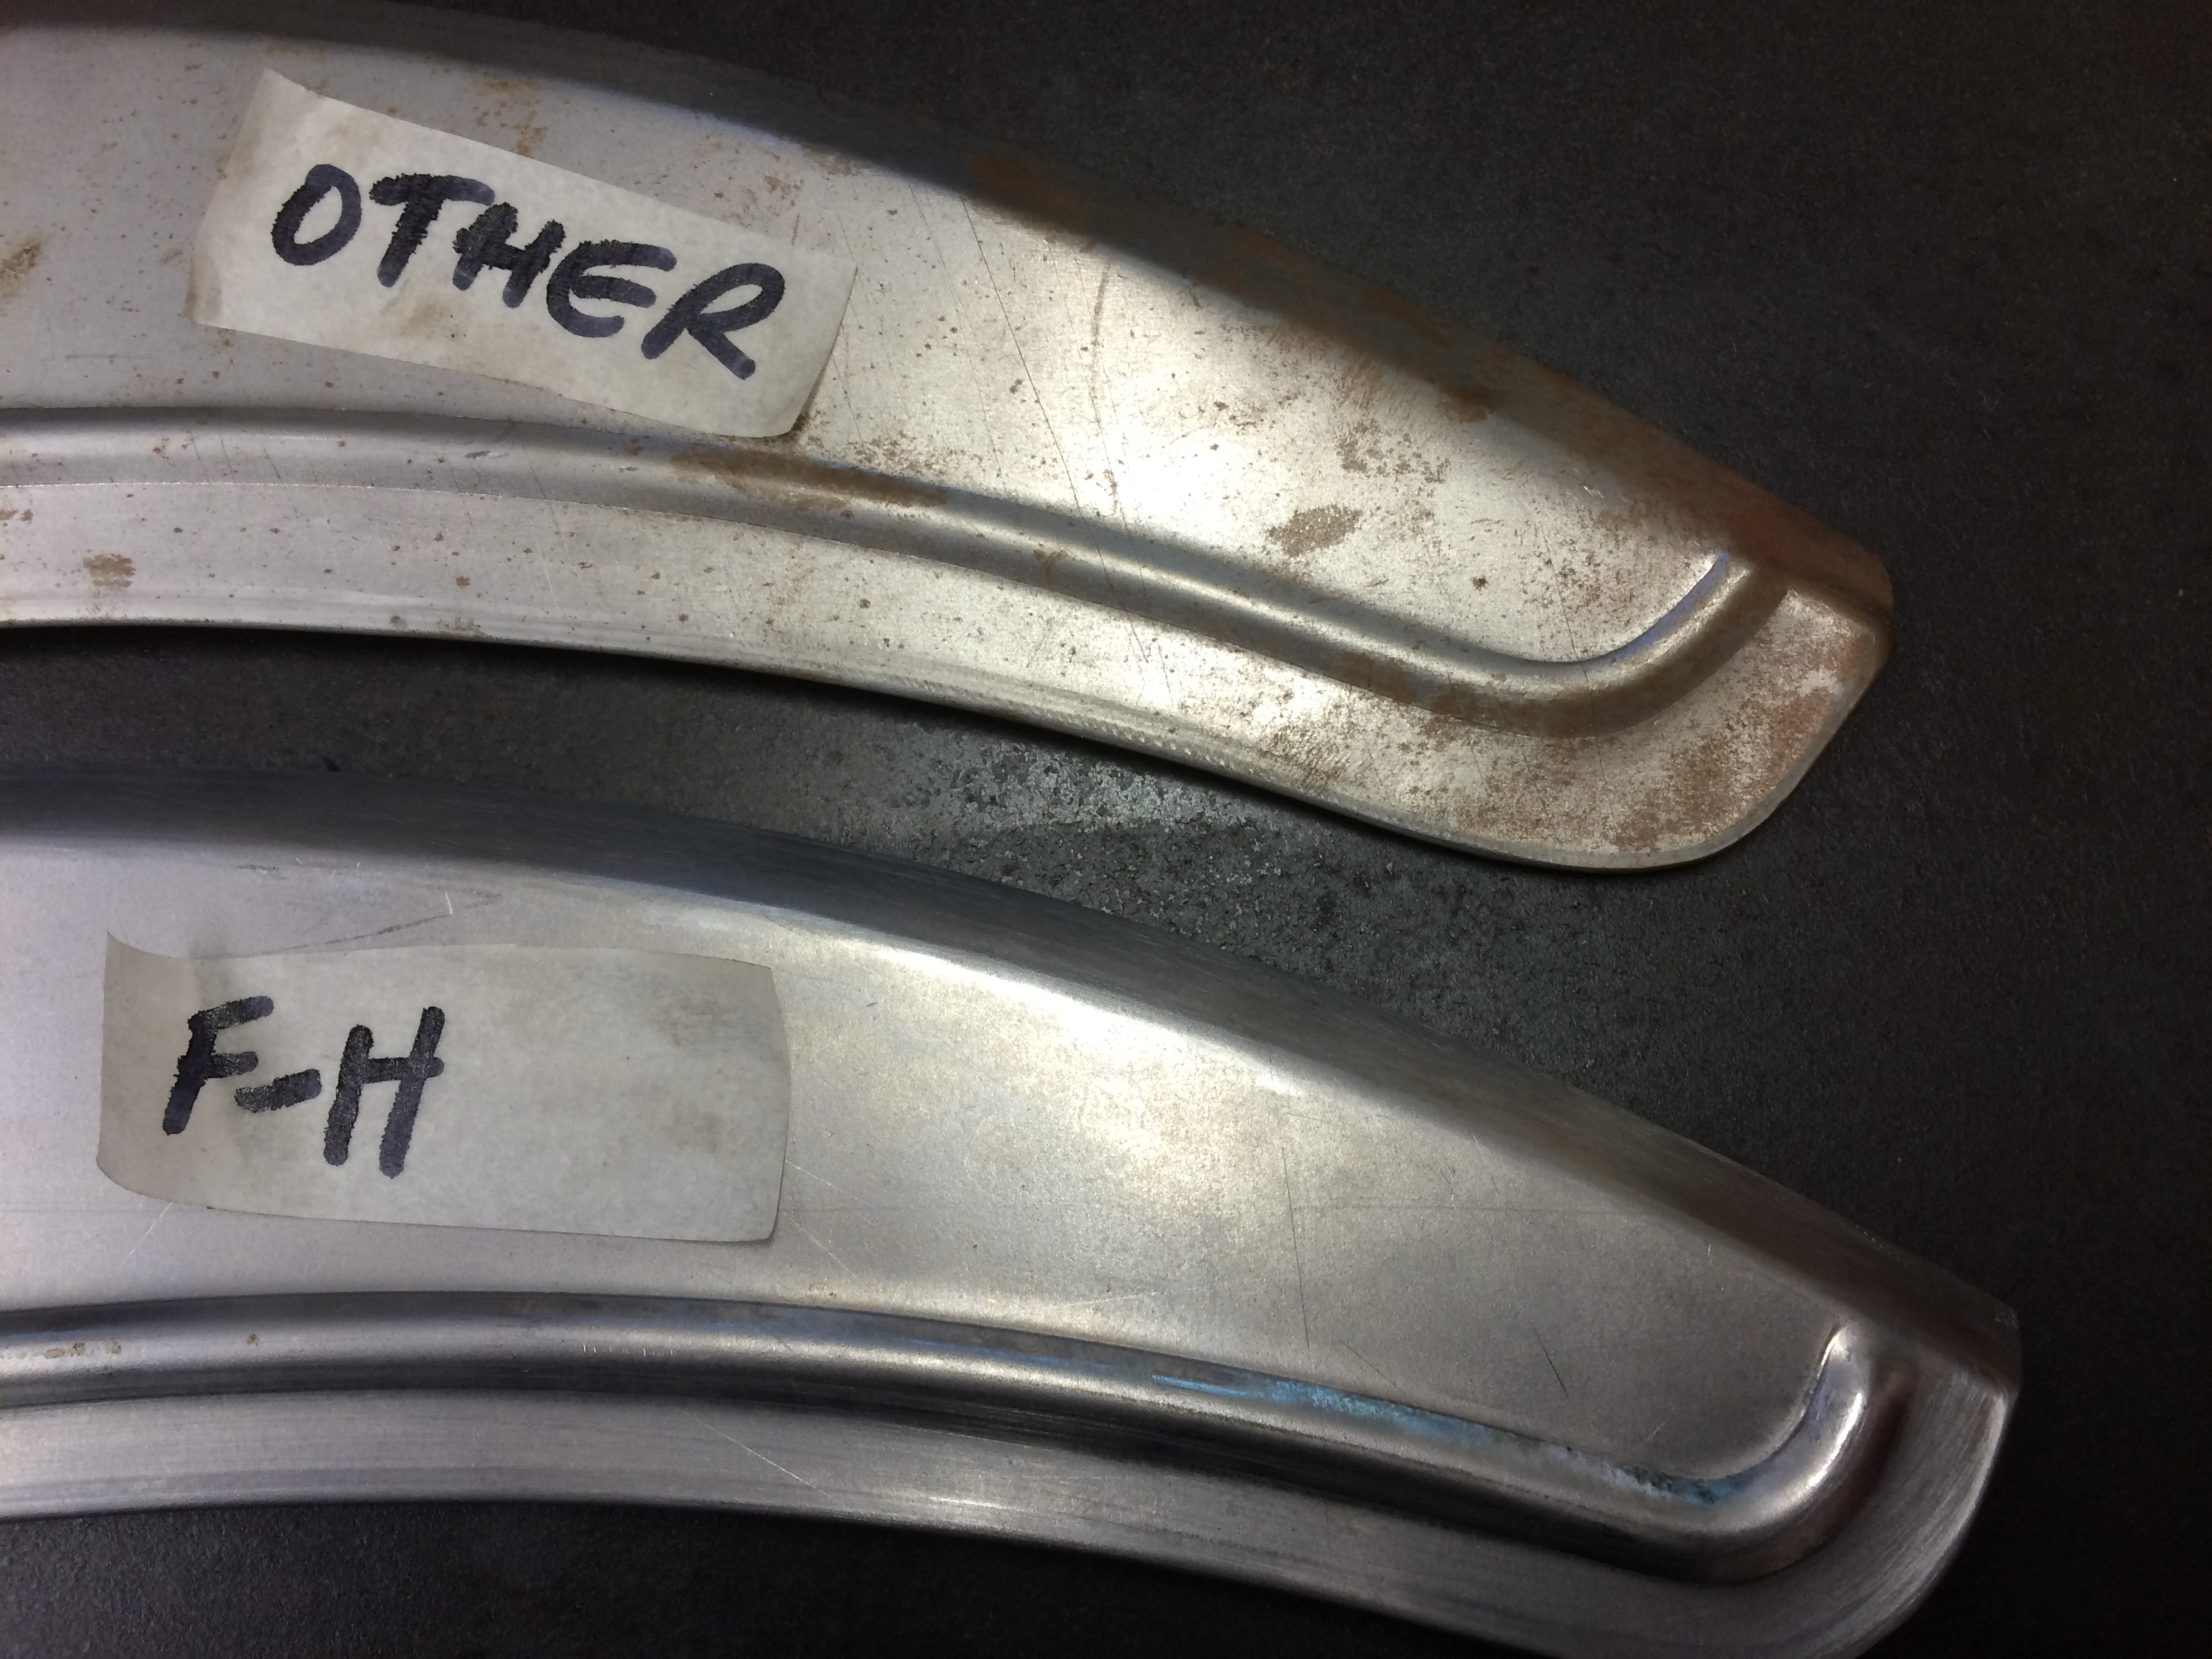
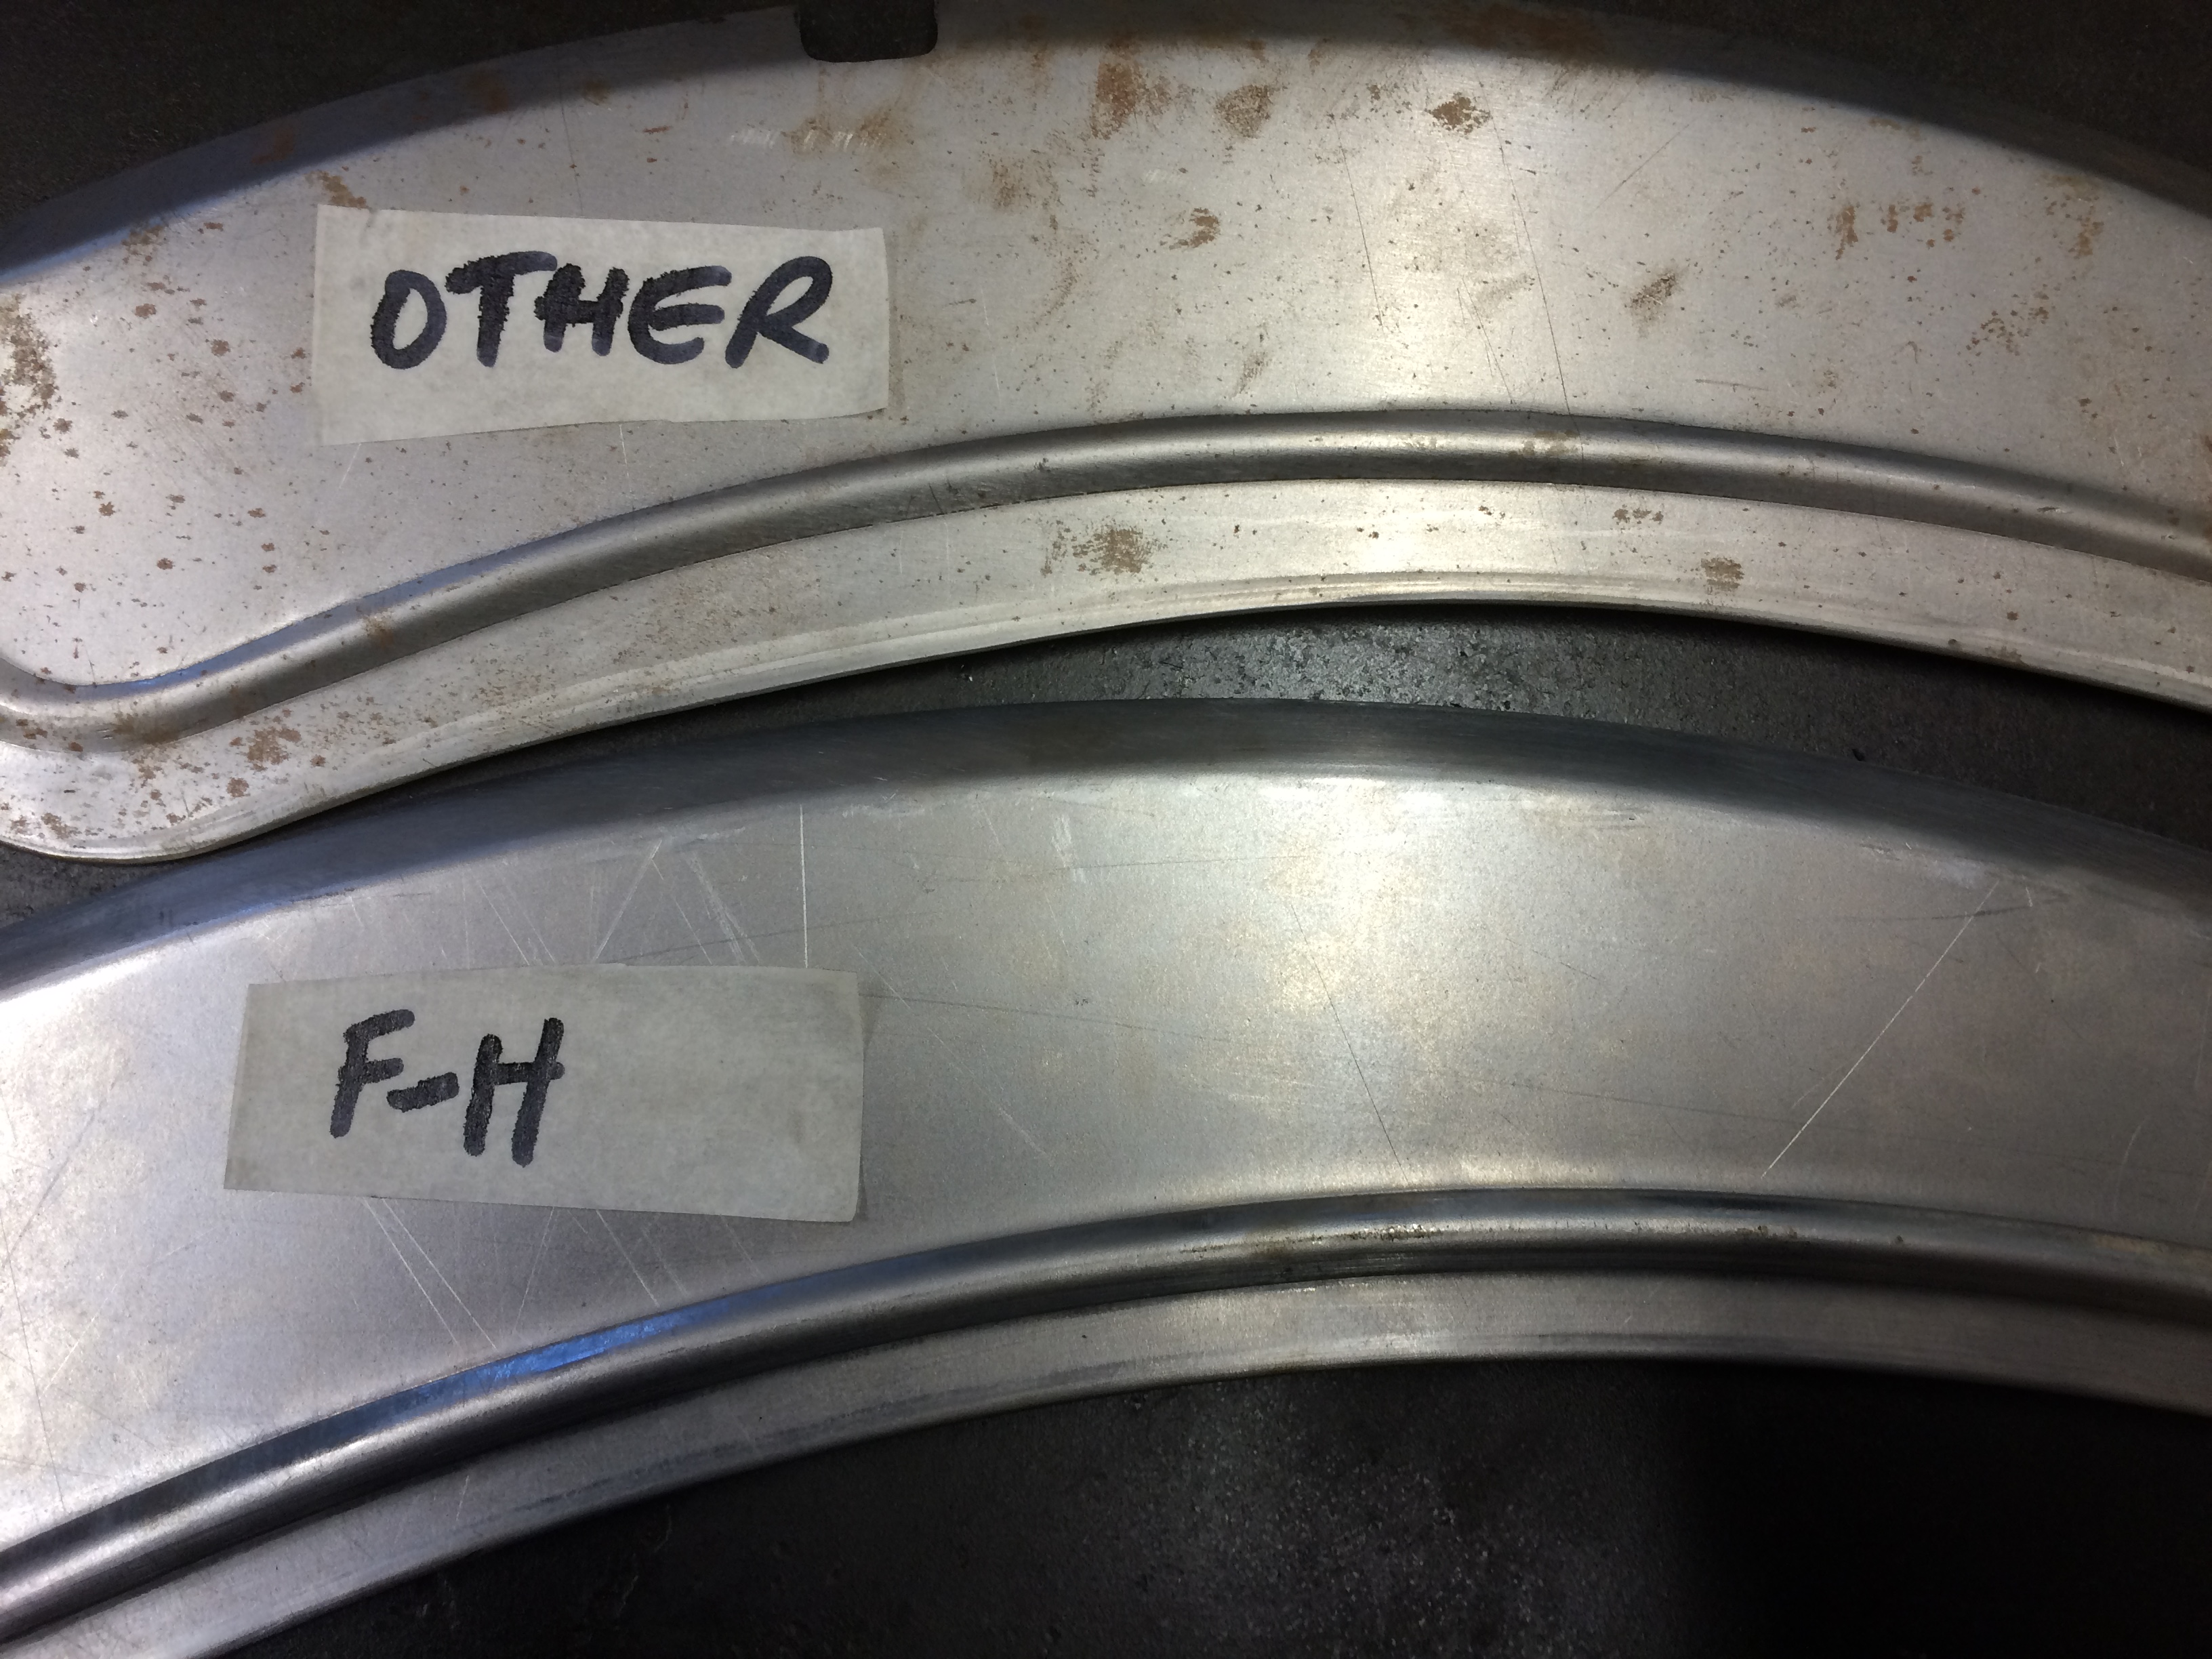
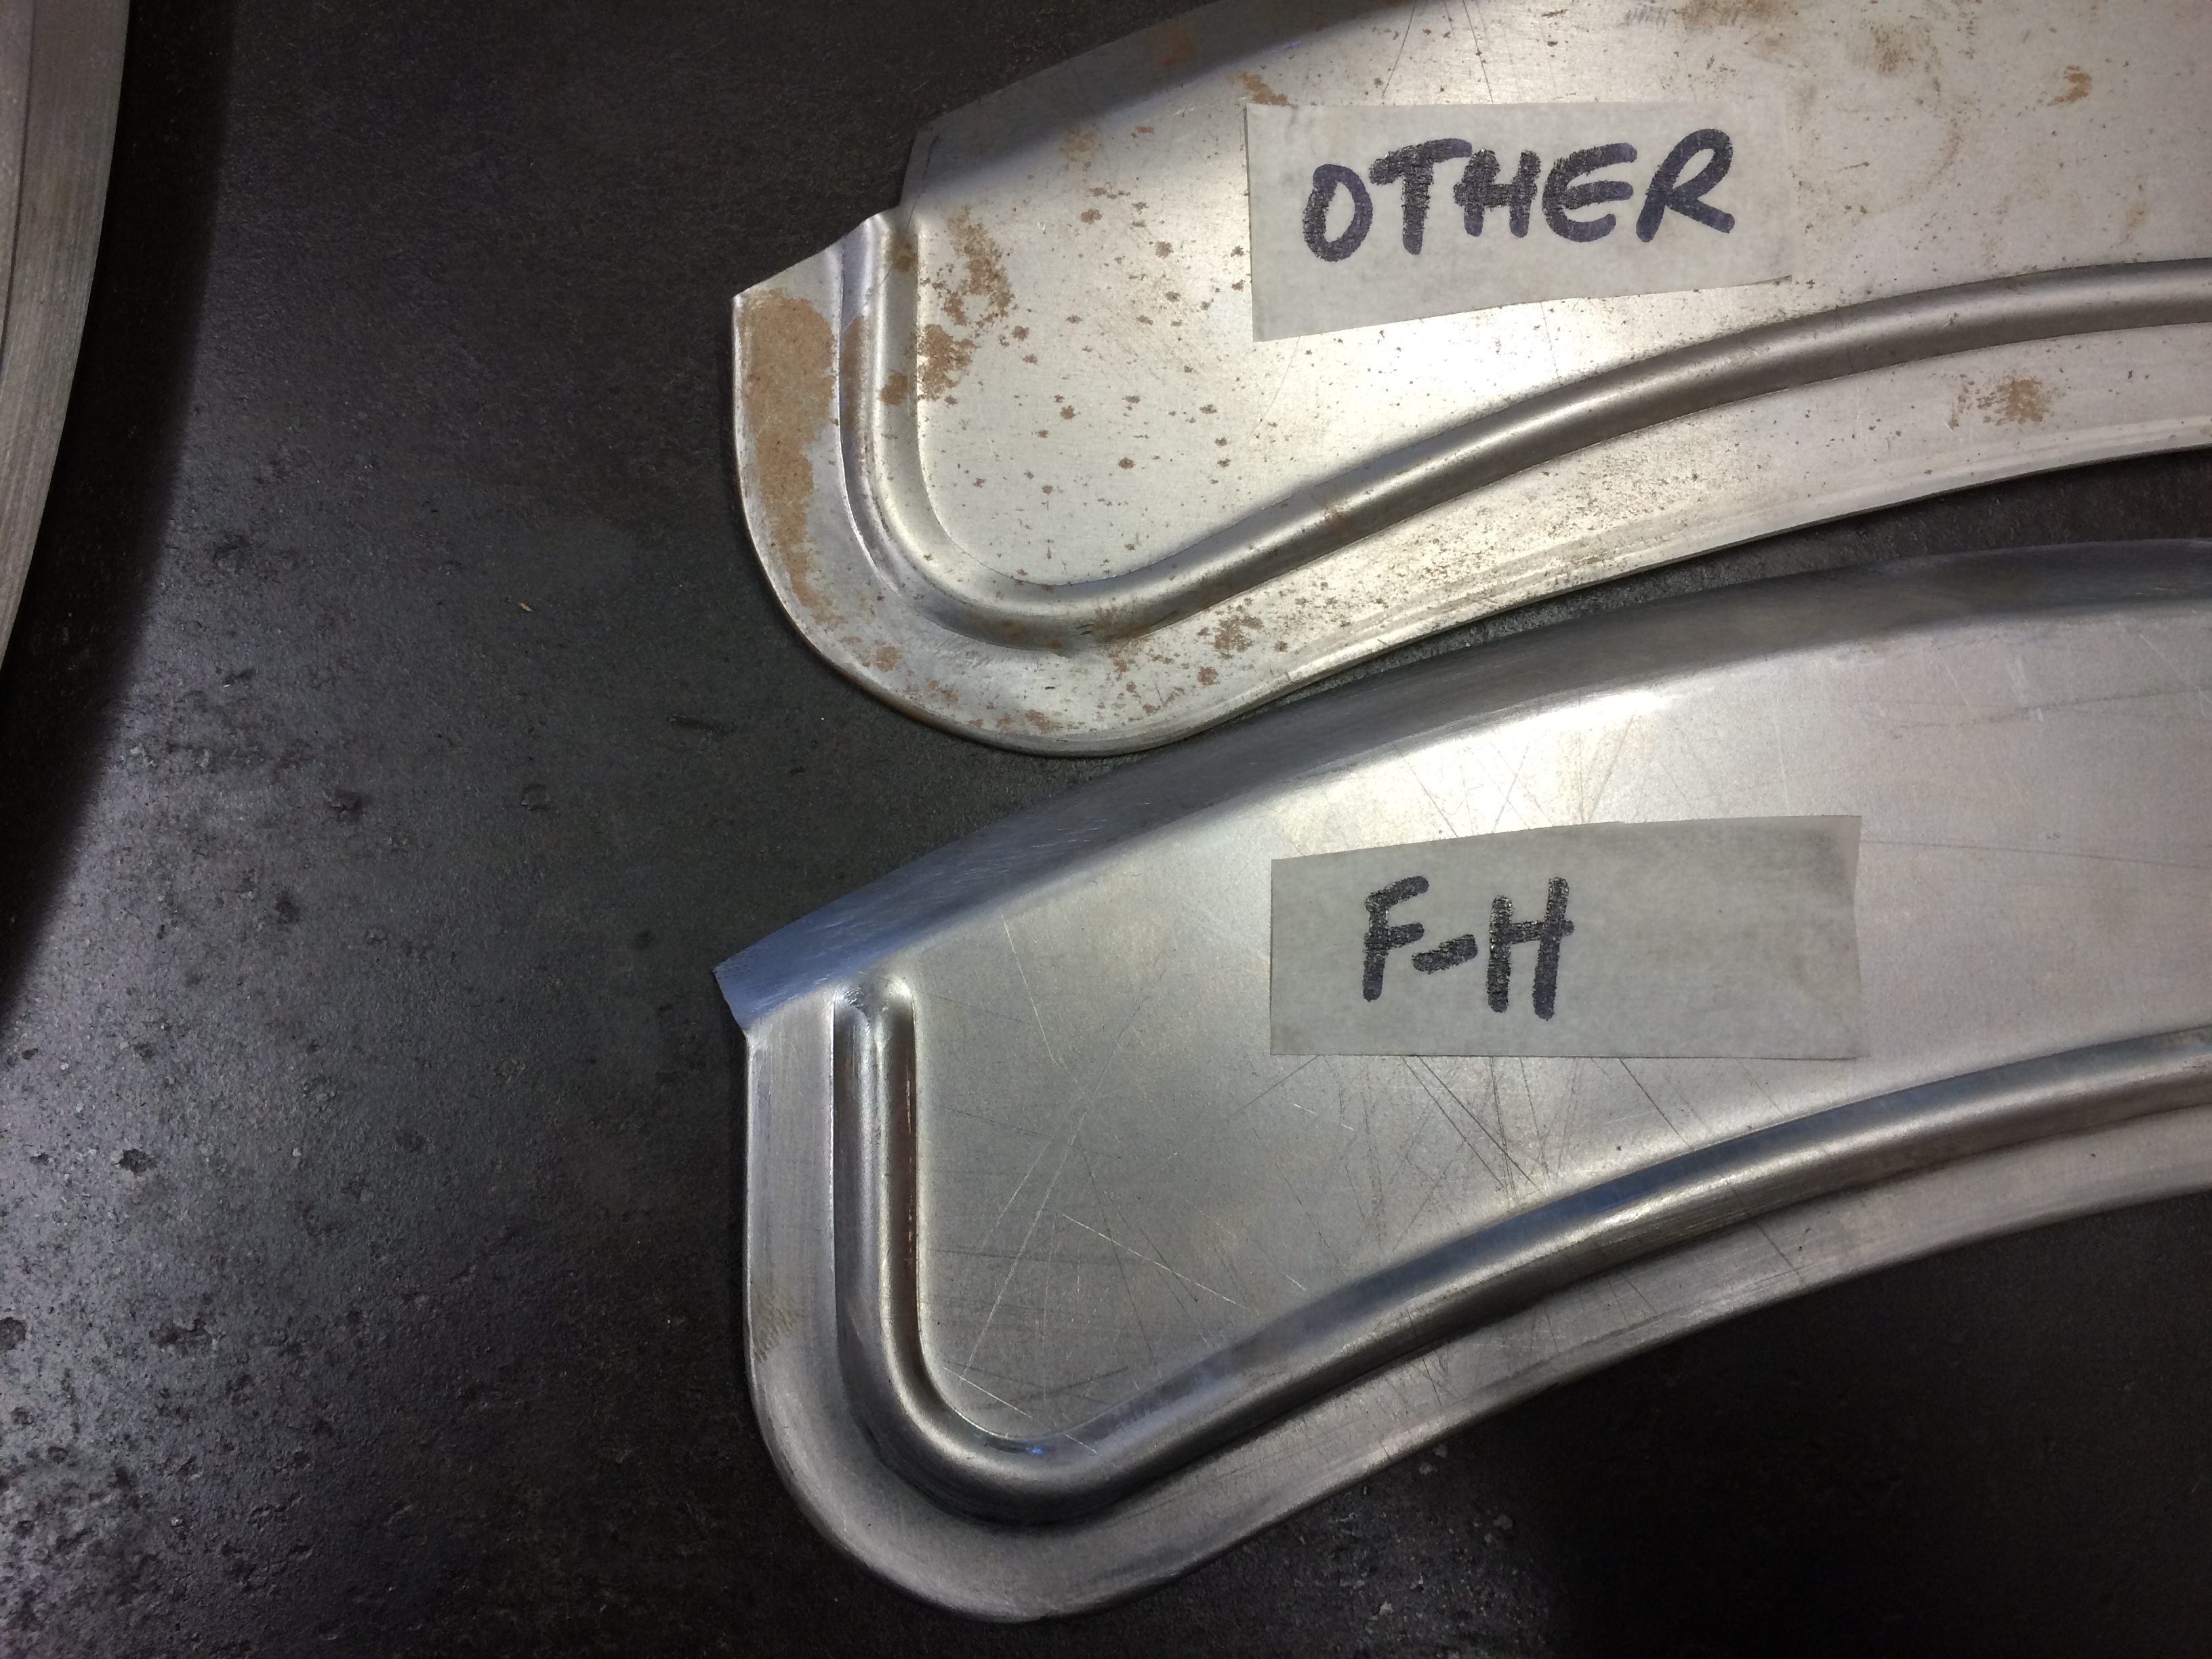
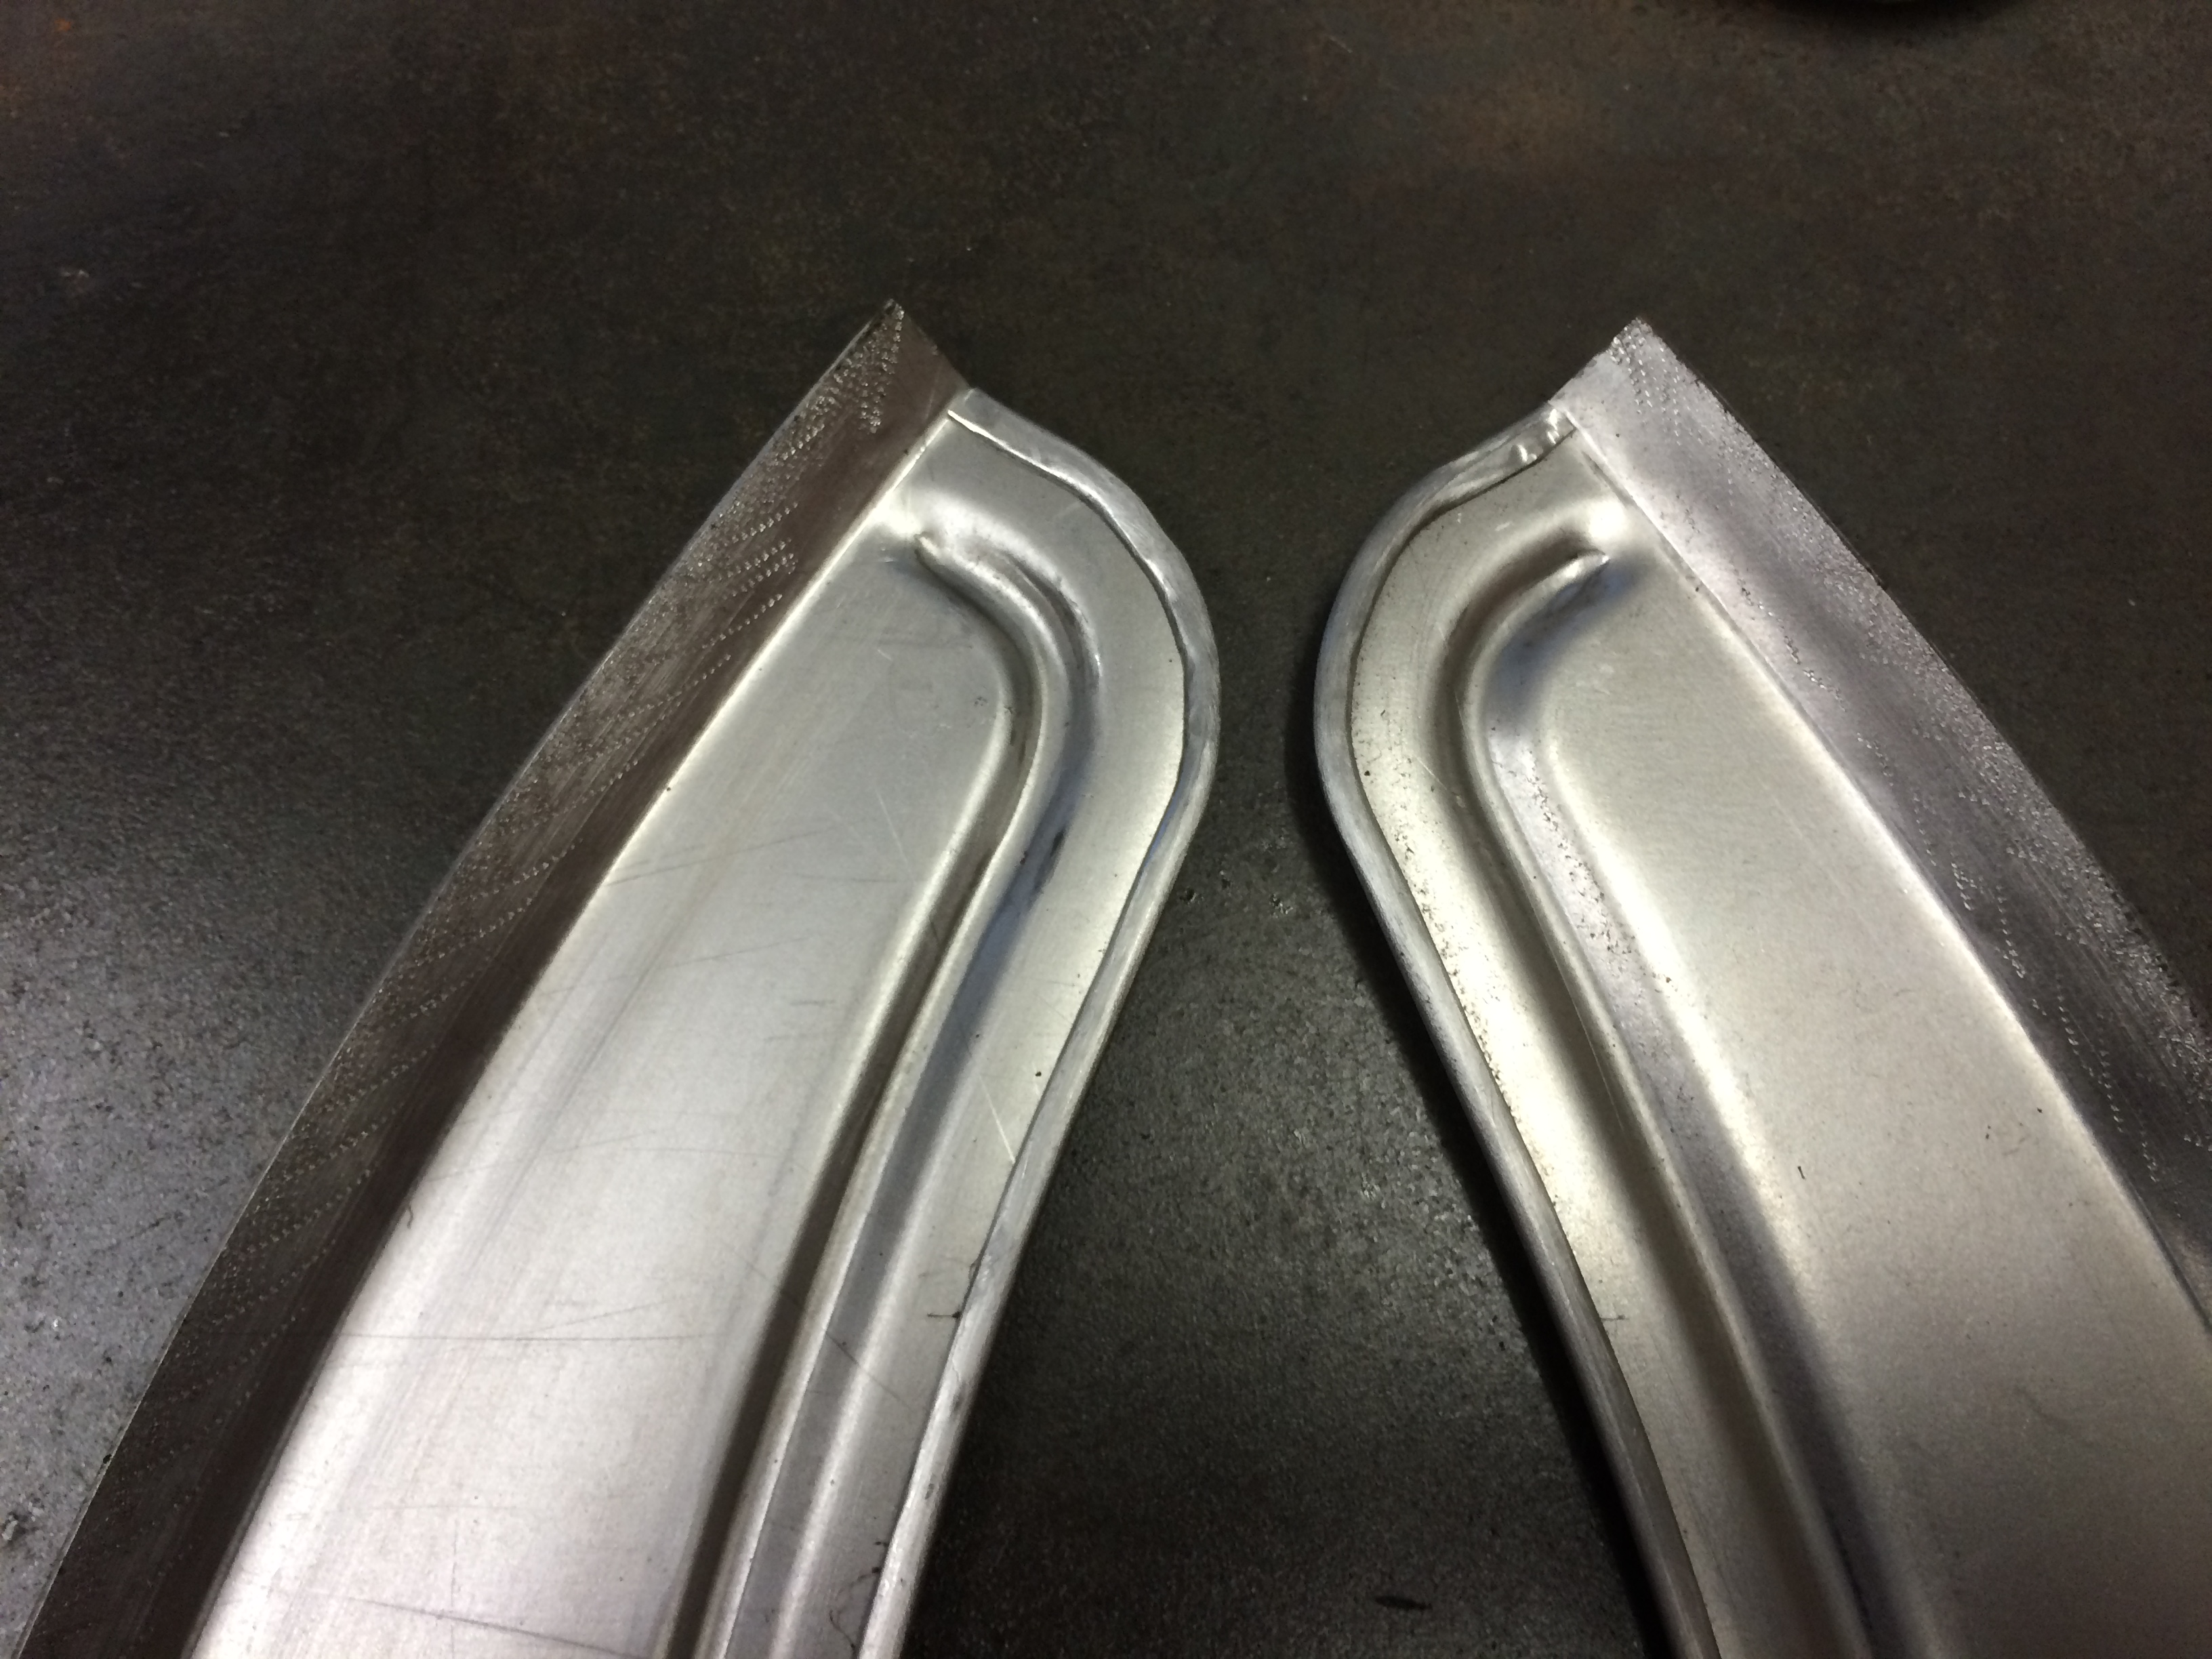
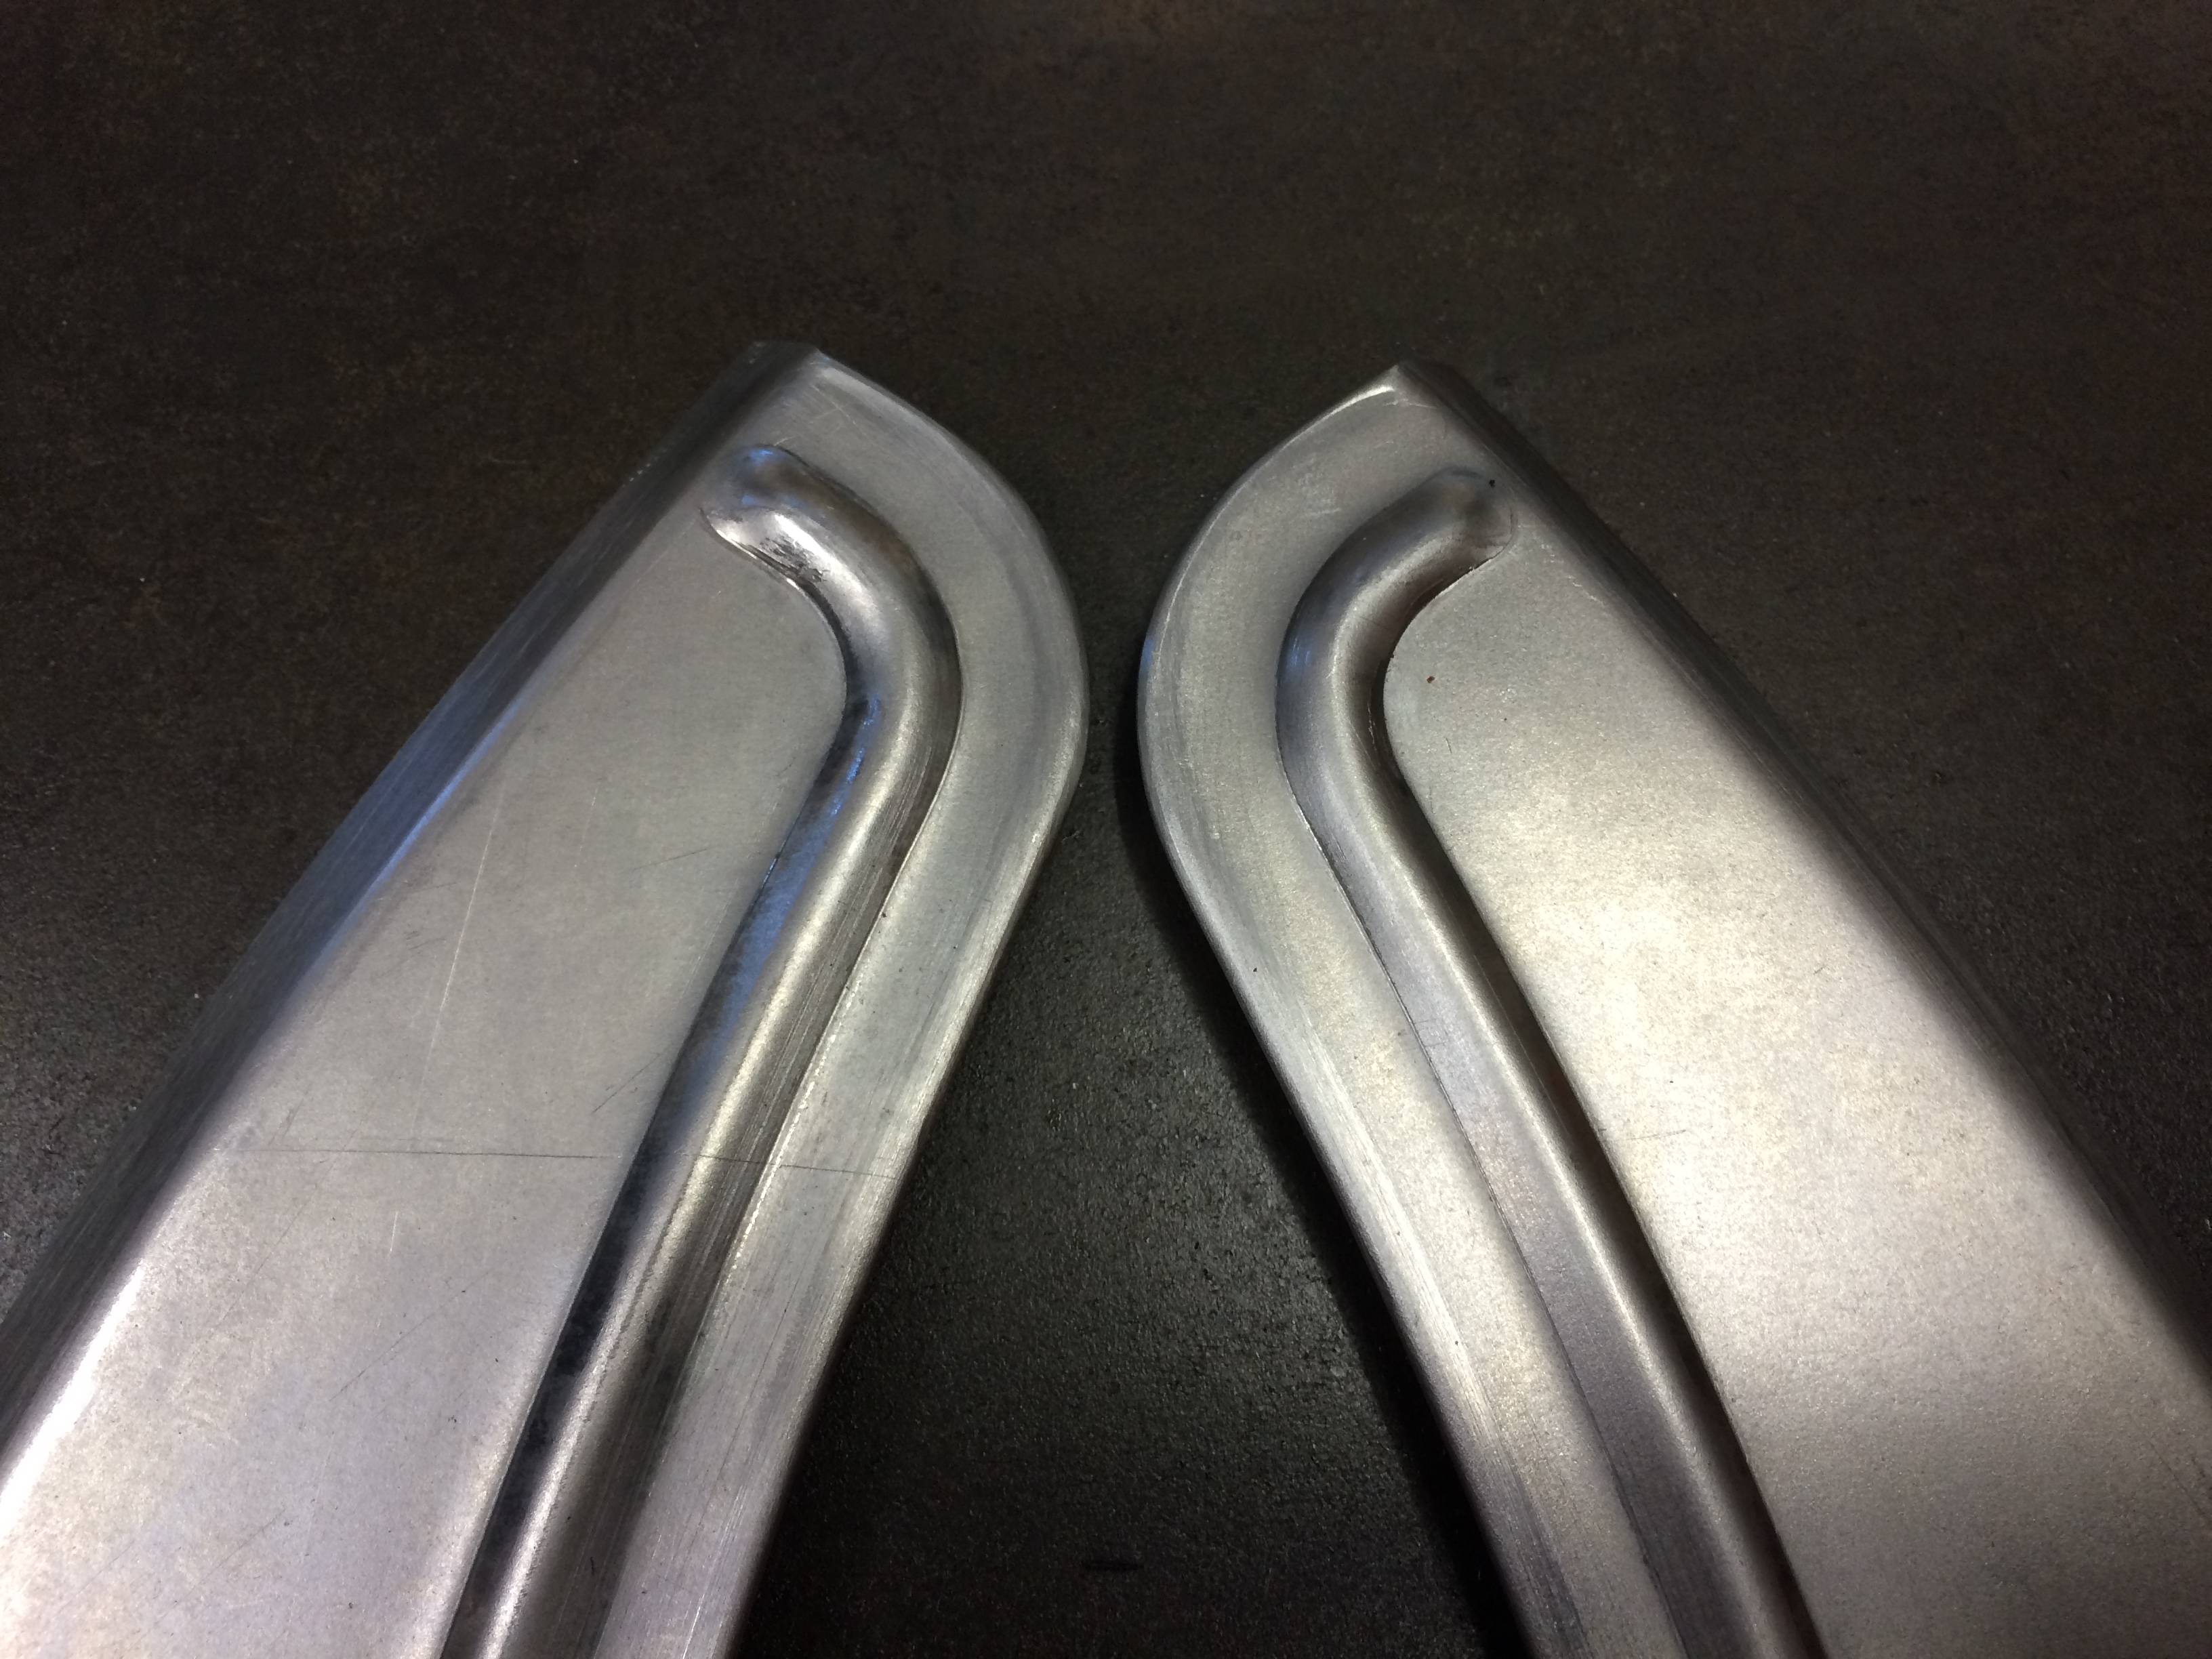
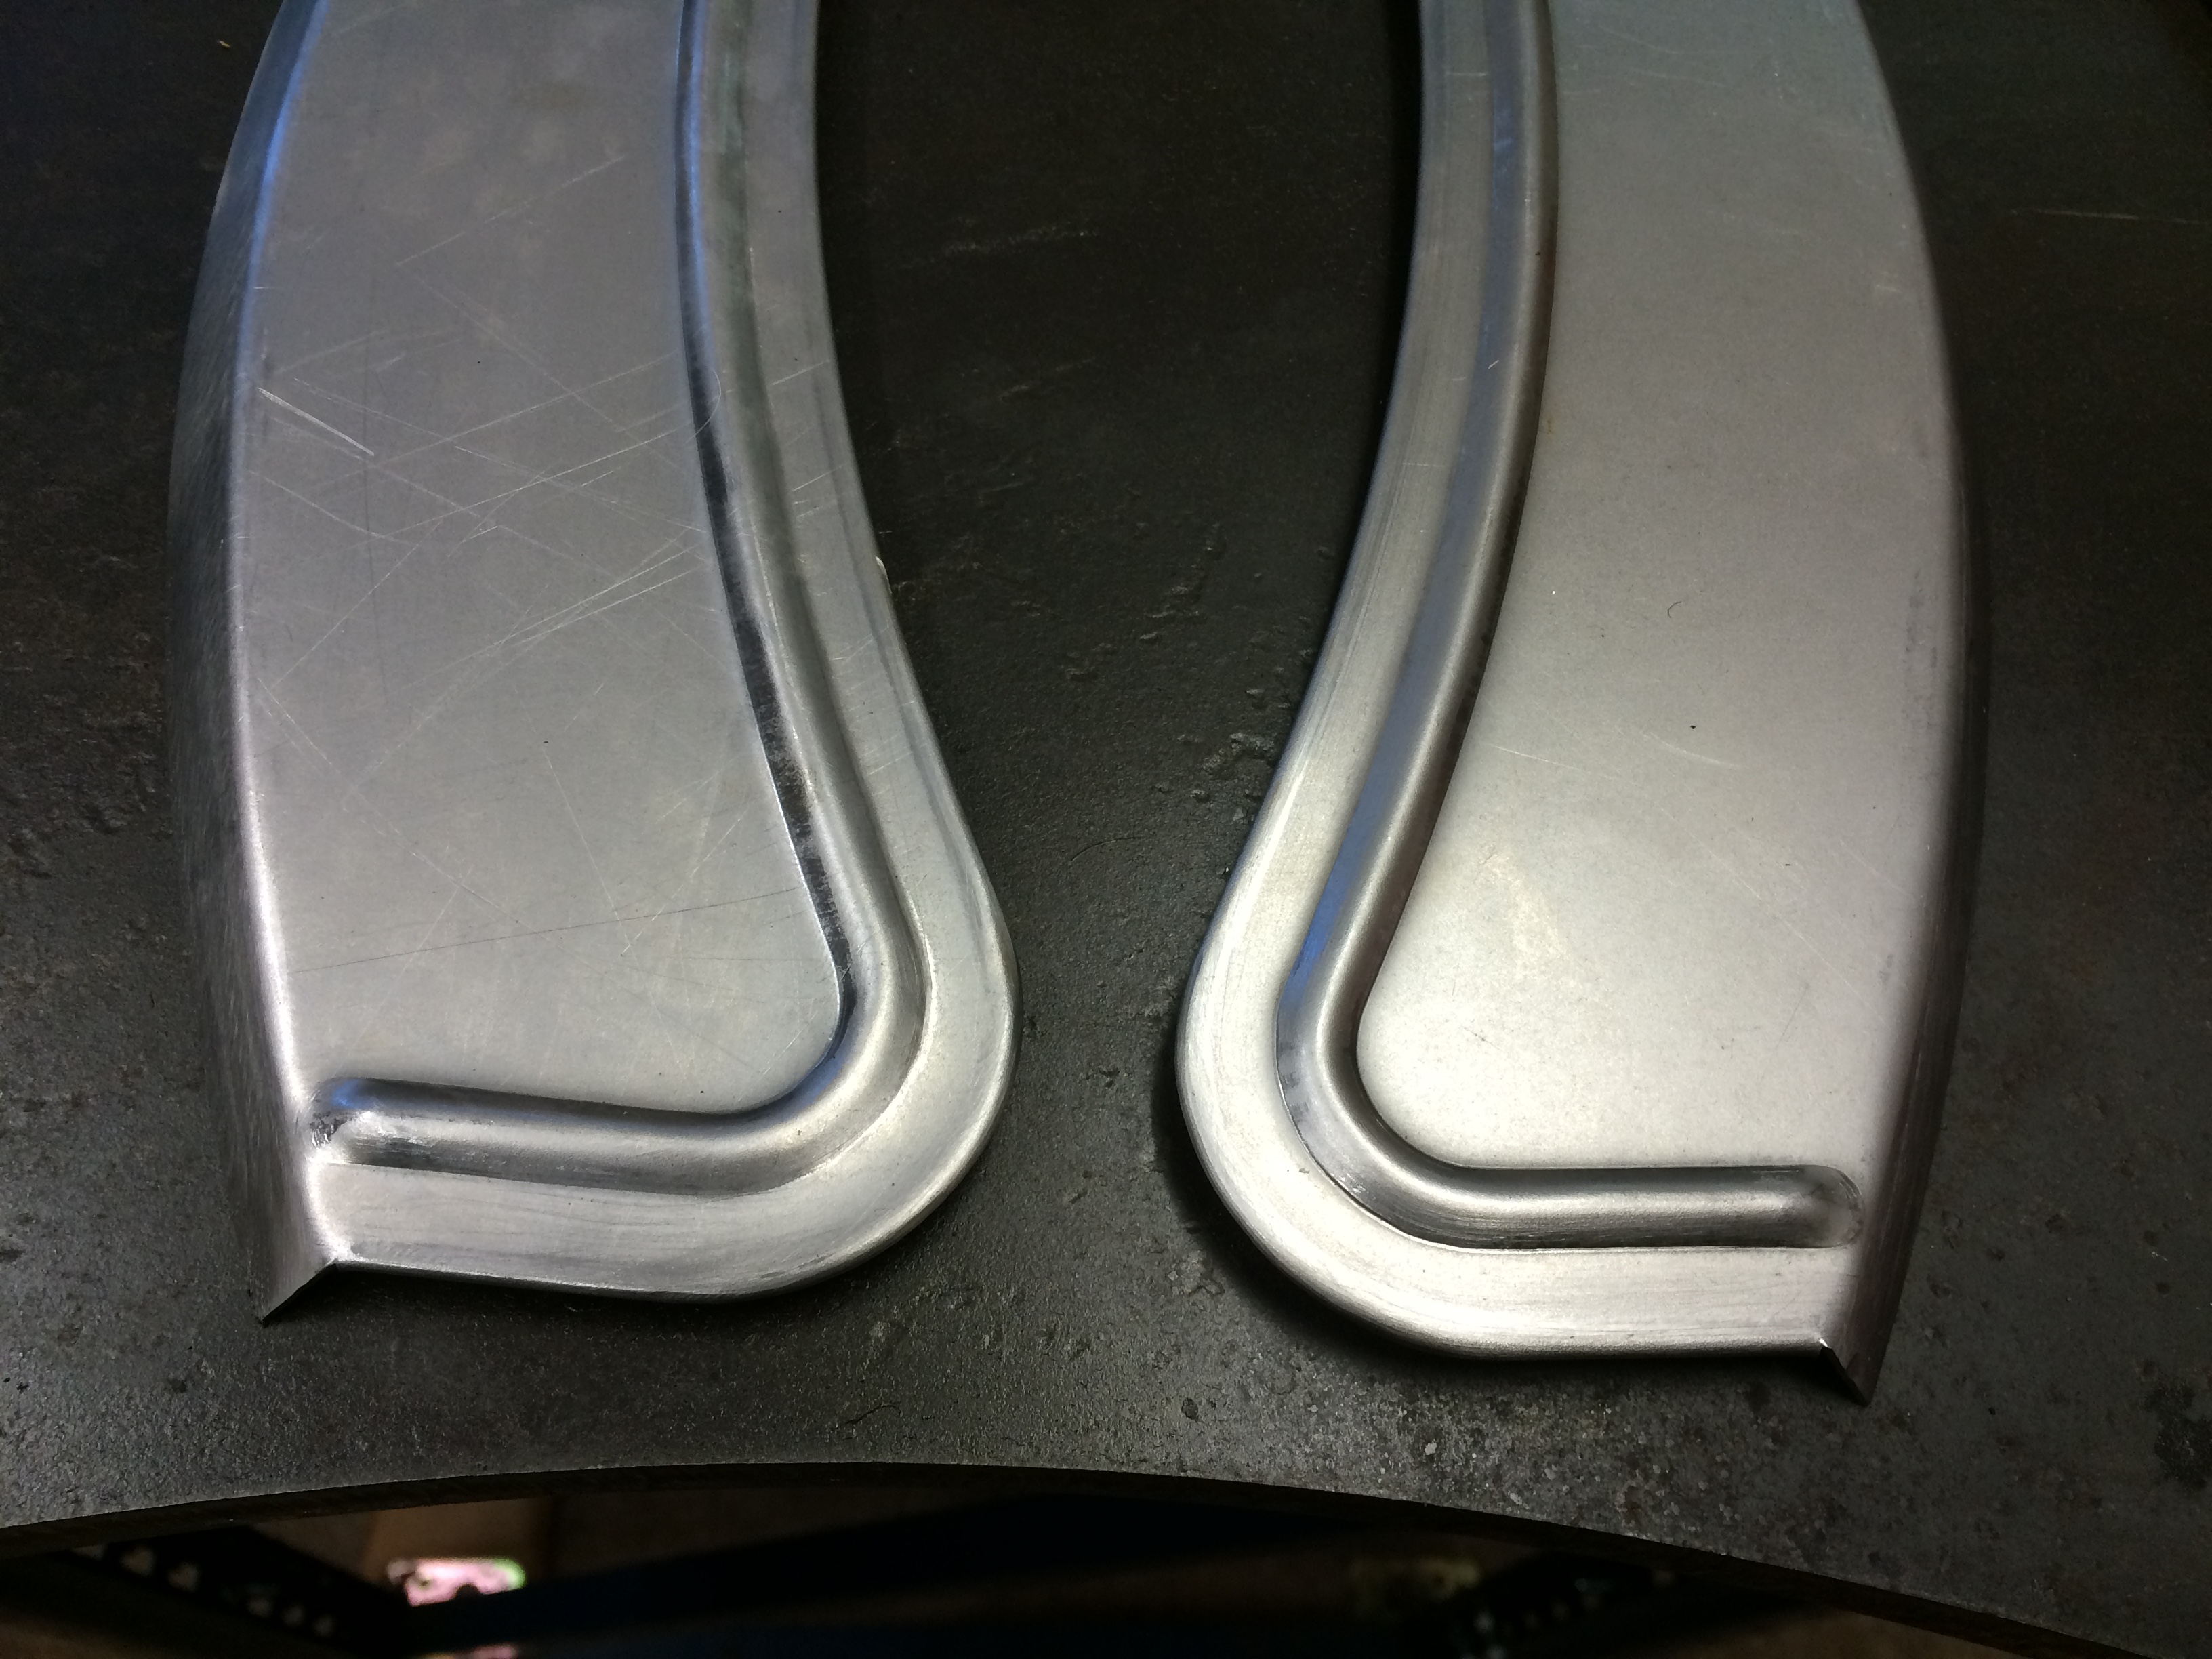
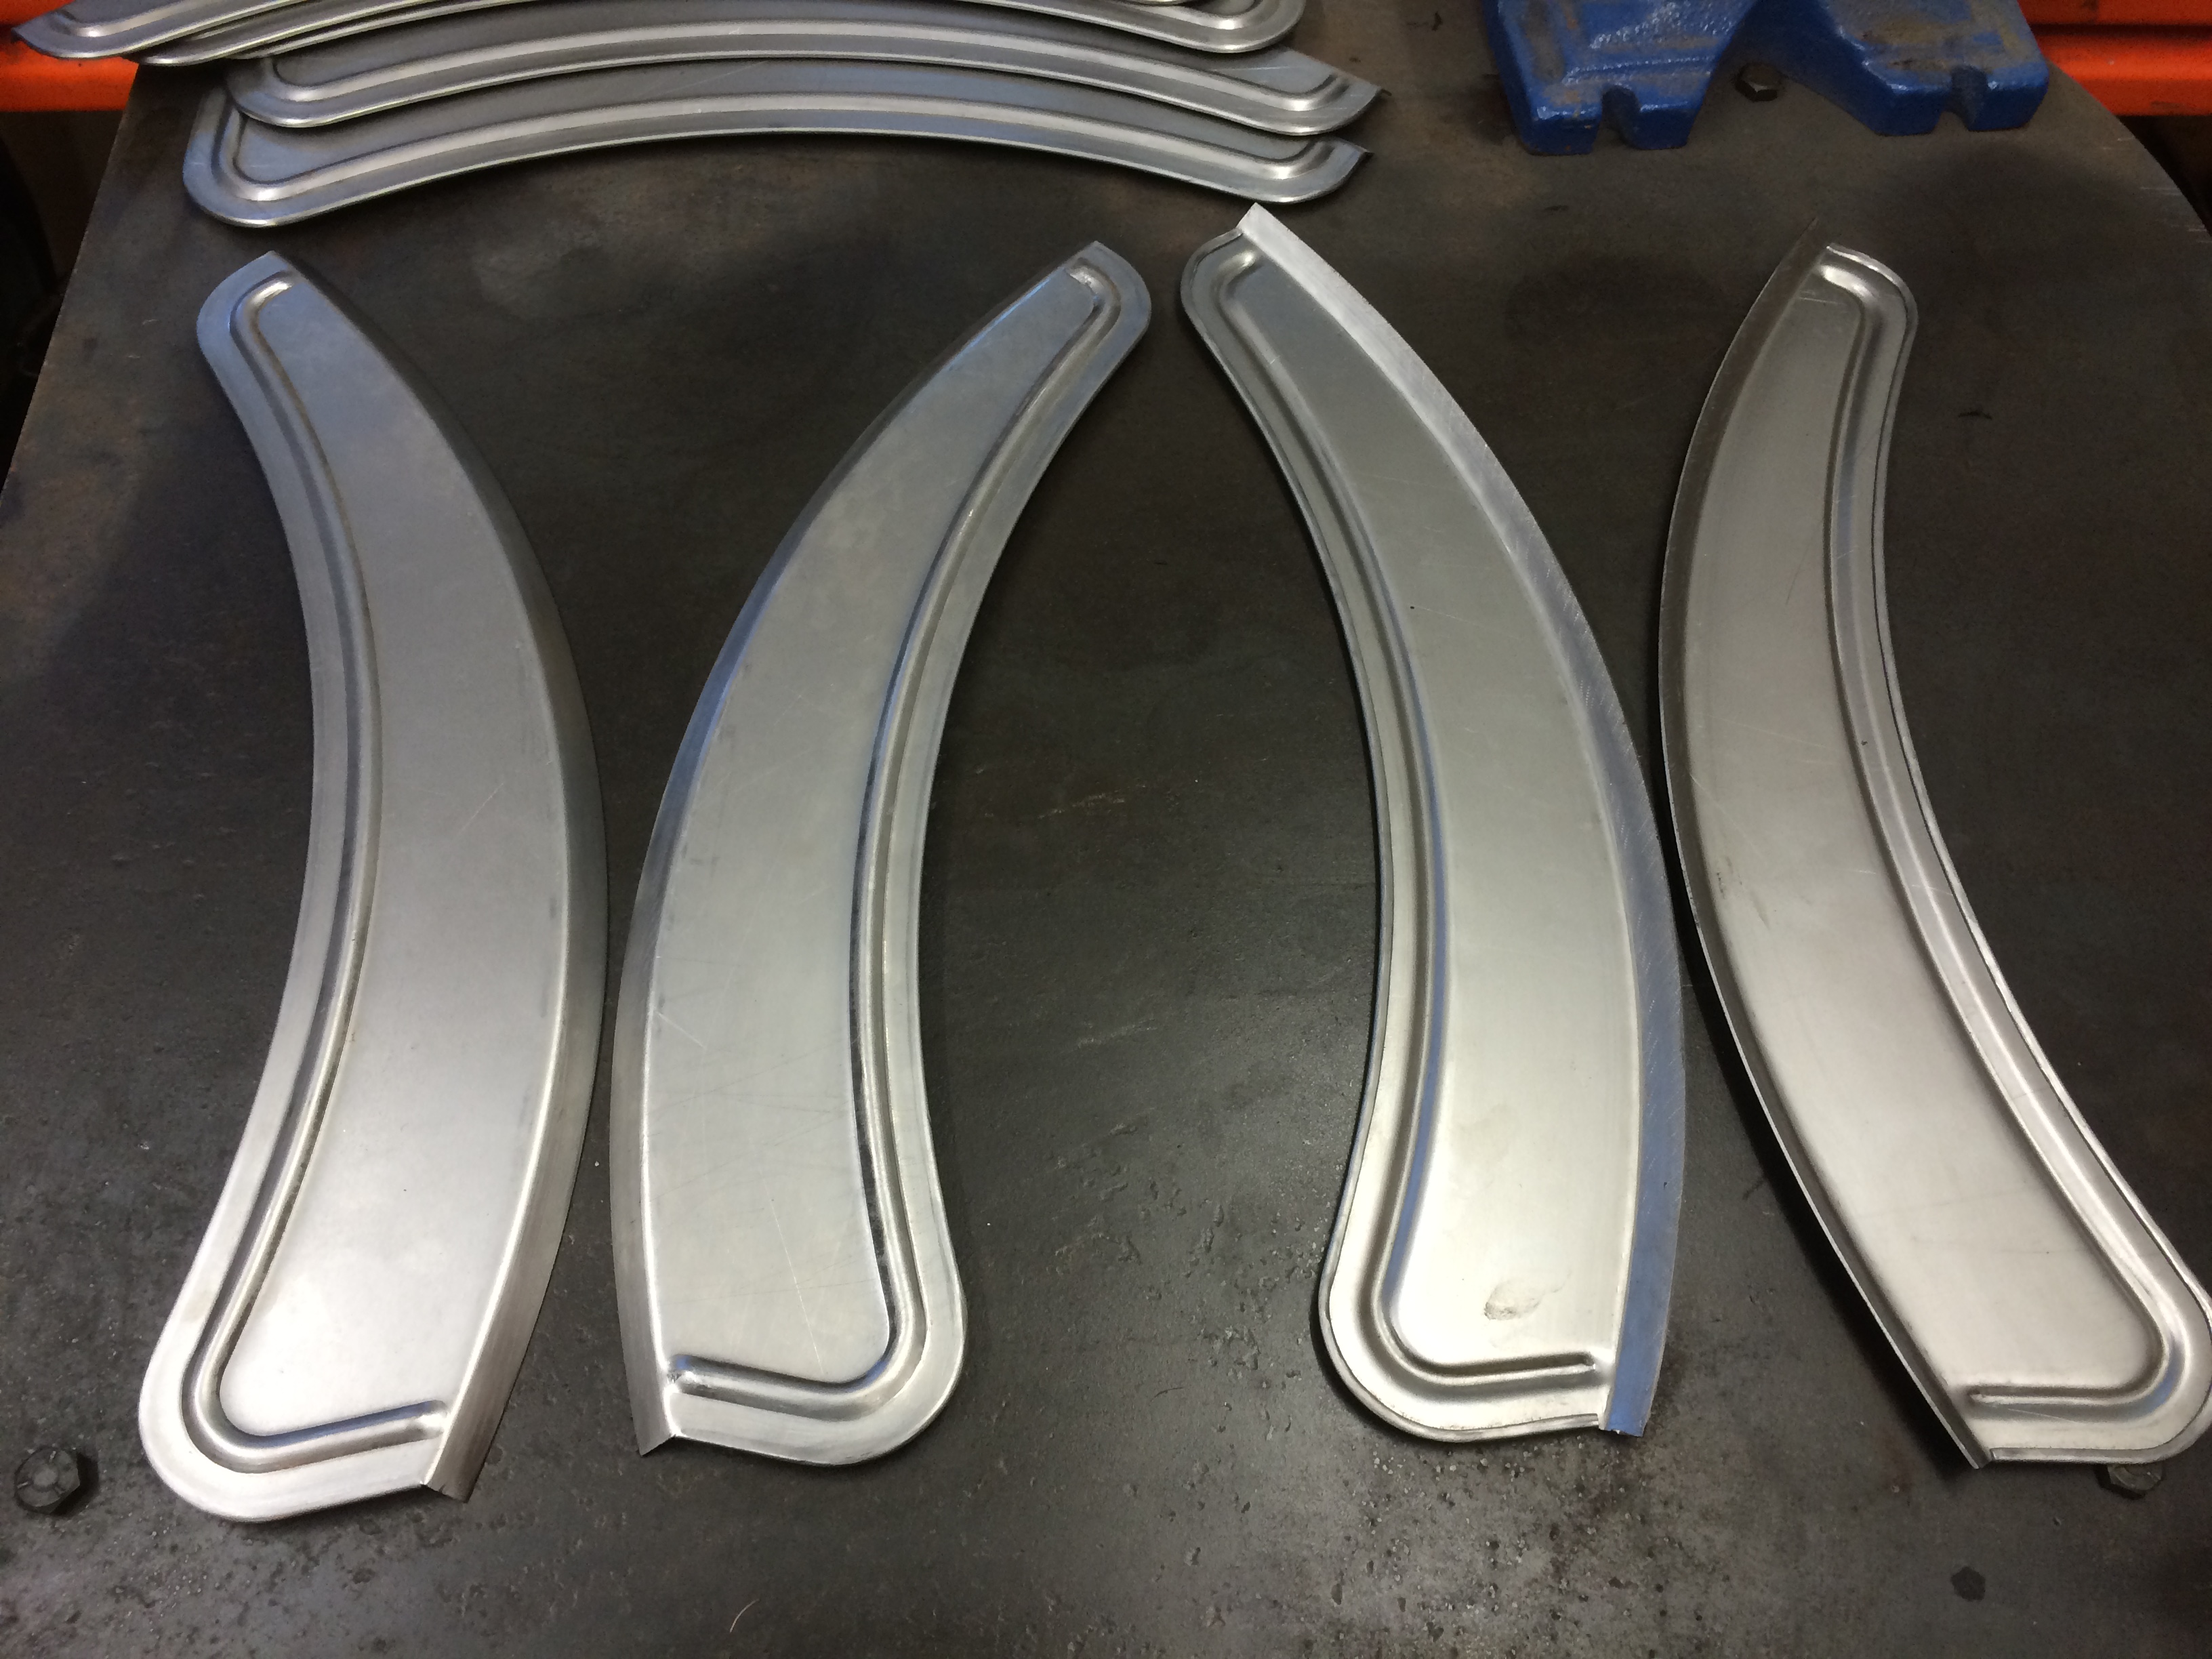
This is the latest batch of front fender valances which are now available. They are made from a pattern taken from an original front fender and then matched to those from another machine to check for authenticity and accuracy. The grooves have clear precise definition and are located uniformly in relation to the valance edge.
They will fit the original HD fenders if you need to make a repair. They will also fit my own replacement fenders and any others that are made to the same pattern of original factory fenders.
I have matched them to other, less accurate copy fenders and they will fit but need a little massaging. (The common replacement fender on the market is based on a 1916 fender and then cut down to width for the 1914-15 application and then cut down again for the 1910-13 application). Because the profile on the cut down ’16 fenders is wrong (they look too flat) these valances protrude slightly but they can be made to work.
Fitment; These fenders are ready to bolt on. First fit them with clamps to check that all is in order (straight fenders are best). Then starting at the bottom, drill one hole through the fender hole and into the valance. Secure with a temporary bolt and nut and then drill though hole two, working up the fender; secure and continue.
Do NOT drill through the bottom hole first and then move direct to the top hole. Remember you must account for the curvature of the fender. These valances are flat but have been laser cut to match the original part. Use clamps to make the job easier. After you have secured the valance in place with temporary bolts you can then think about final adjustments and making the slot for the brace mount. Then you can fix them permanently.