Repop top clamp 1912

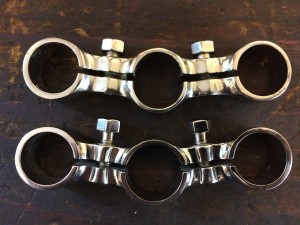
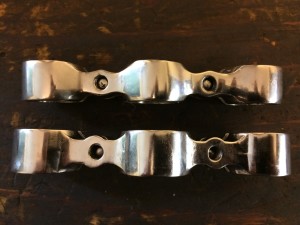
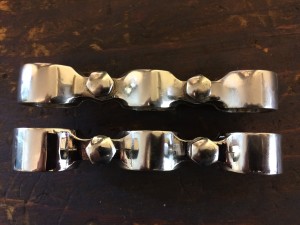
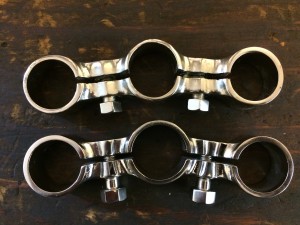
I am putting a new top clamp and front fork leg caps on a 1912.  It is amazing how correct some of these reproduction parts are these days.  It is sometimes difficult to explain the differences between original and repop; the parts look great but just ‘different’.

The original parts look a little slimmer, more delicate, maybe less robust?  But the repop parts keep these bikes going and that’s what it’s about.

The original clamp is the top one, the repop below. They have both been nickel plated.

IMG_2487IMG_2488 IMG_2489 IMG_2490

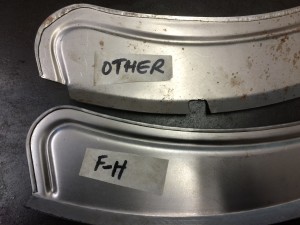
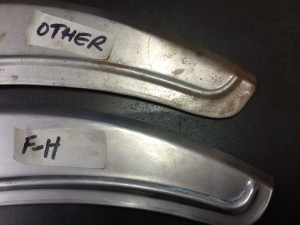
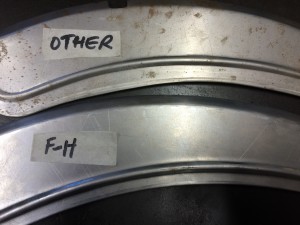
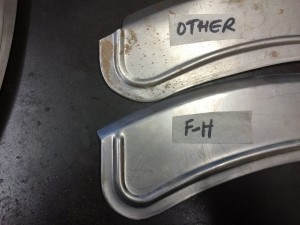
Front Fender Valance comparison.

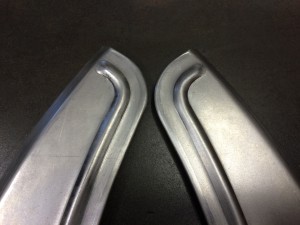
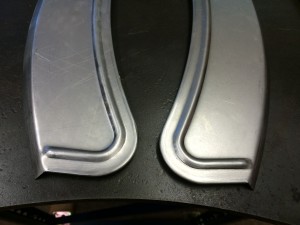
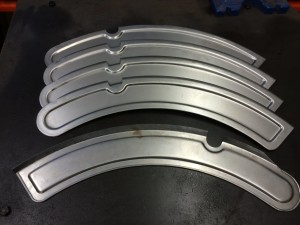
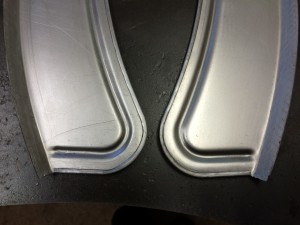
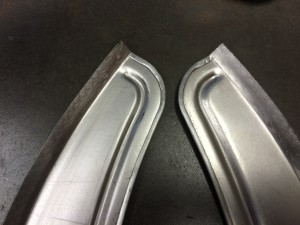
Here are some close ups of the fender valances.  I hope they show the quality and accuracy of the work.  They take a long time to make but it is best to get them correct.

The OTHER valances were bought from a ‘specialist’ in teens machines but after buying a pair for my own restoration I decided they were not good enough. You should consider the rib (groove), its definition and position, the distance between the rib and the edge of the fender, and the way the rib ends as well as the overall appearance of the parts.


IMG_2459 IMG_2455 IMG_2454 IMG_2453

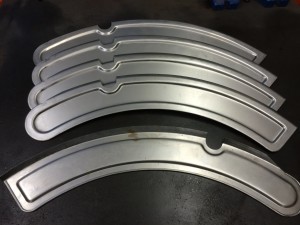
Front Fender Valance detail

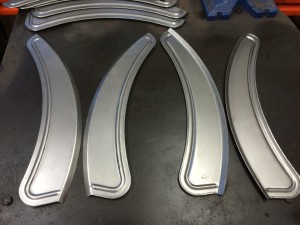
This is the latest batch of front fender valances which are now available.  They are made from a pattern taken from an original front fender and then matched to those from another machine to check for authenticity and accuracy. The grooves have clear precise definition and are located uniformly in relation to the valance edge.

They will fit the original HD fenders if you need to make a repair.  They will also fit my own replacement fenders and any others that are made to the same pattern of original factory fenders.

I have matched them to other, less accurate copy fenders and they will fit but need a little massaging. (The common replacement fender on the market is based on a 1916 fender and then cut down to width for the 1914-15 application and then cut down again for the 1910-13 application).  Because the profile on the cut down ’16 fenders is wrong (they look too flat) these valances protrude slightly but they can be made to work.

Fitment; These fenders are ready to bolt on. First fit them with clamps to check that all is in order (straight fenders are best). Then starting at the bottom, drill one hole through the fender hole and into the valance. Secure with a temporary bolt and nut and then drill though hole two, working up the fender; secure and continue.

Do NOT drill through the bottom hole first and then move direct to the top hole. Remember you must account for the curvature of the fender.  These valances are flat but have been laser cut to match the original part. Use clamps to make the job easier. After you have secured the valance in place with temporary bolts you can then think about final adjustments and making the slot for the brace mount. Then you can fix them permanently.
IMG_2451 IMG_2450 IMG_2449 IMG_2448 IMG_2446

BK263 Belt Guard detail

I have just finished this latest batch of belt guards.  They are a very close copy of the original item and fit perfectly to both of the original rear fenders on my ’12 and ’13.  I will post the fitment of one of these parts to an original fender.

IMG_2444 IMG_2445

Lincolnshire lanes

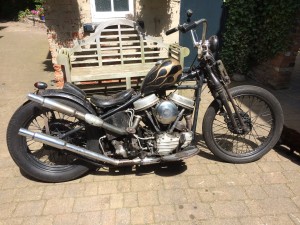
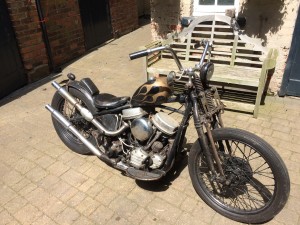
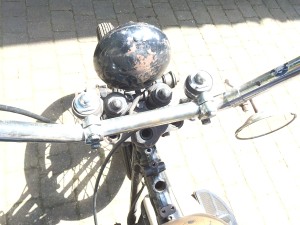
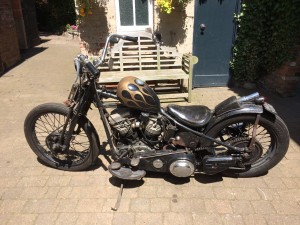
I’ve not been riding for the last couple of months due to foot surgery, so now the cast is off I can get out again.  I took the chopper out for a blast; great to be rolling again, especially now we’ve got some decent weather.  Period chopper with 1956 frame and motor with all the right parts.

The up-side of not riding though is that I’ve almost finished the next batch of fender valances and belt guards.  I’ll list them for sale when they’re done.

IMG_2420 IMG_2422 IMG_2425 IMG_2429

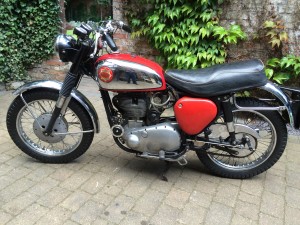
Gold Star finished

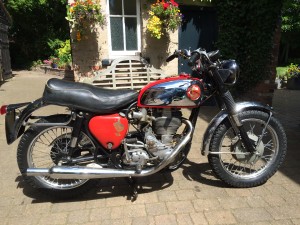
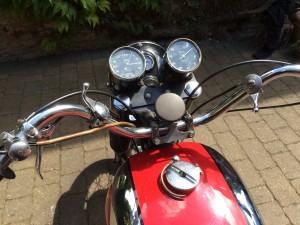
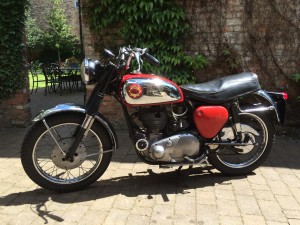
This is the little DBD34 Gold Star we got from Buzz.  She needed a fair bit of work but is finished now and runs great.  You can get everything you need to keep these little bikes on the road forever.  I’m very pleased with how she turned out.

IMG_2412 IMG_2414 IMG_2416 IMG_2419