8-A update
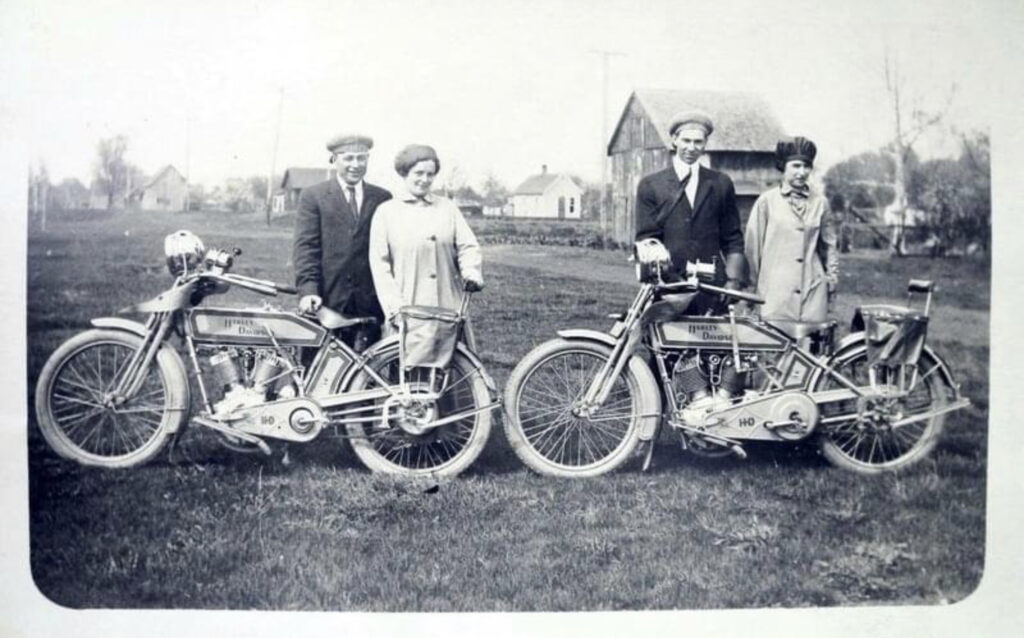
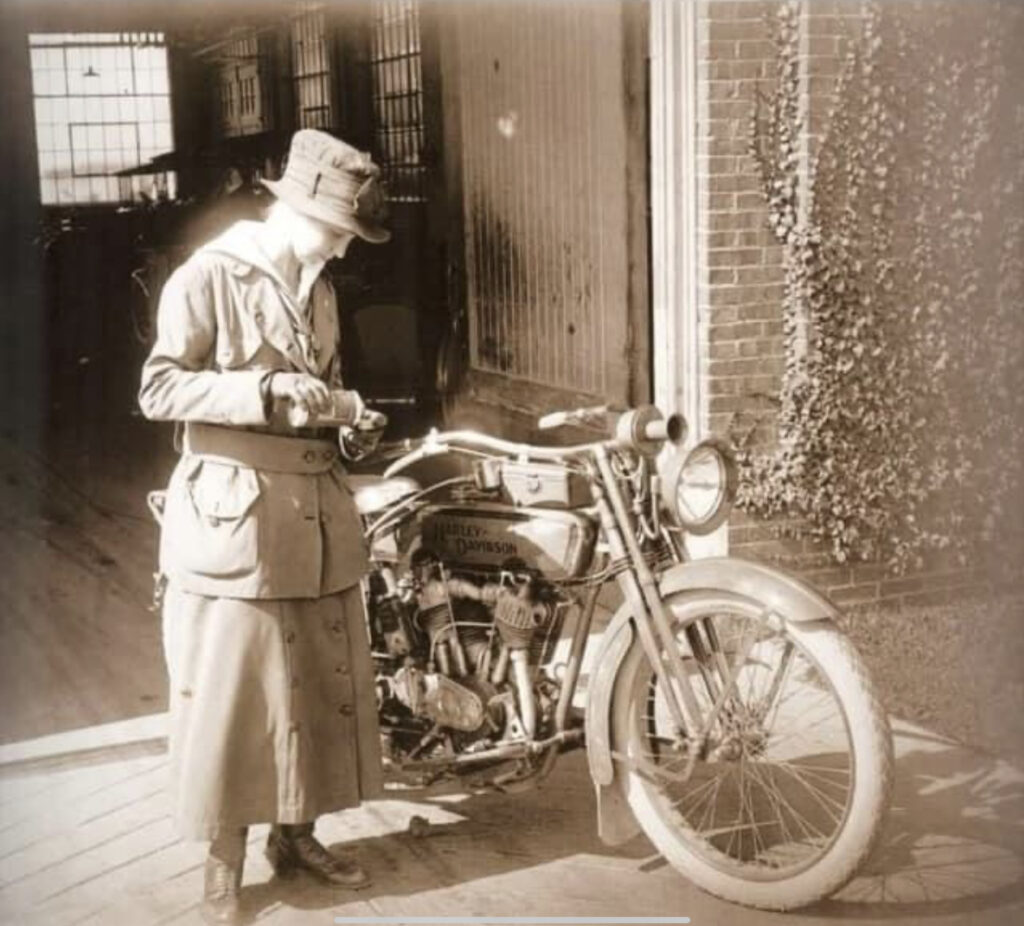
Following on from the past post about the 8-A, I heard from Mike Love of the AMCA Chesapeake chapter who had some interesting information about the rider and his activities.
The pictures below explain the details. Thanks Mike

SINGLE SPEED HARLEY DAVIDSON MOTORCYCLES
Following on from the past post about the 8-A, I heard from Mike Love of the AMCA Chesapeake chapter who had some interesting information about the rider and his activities.
The pictures below explain the details. Thanks Mike
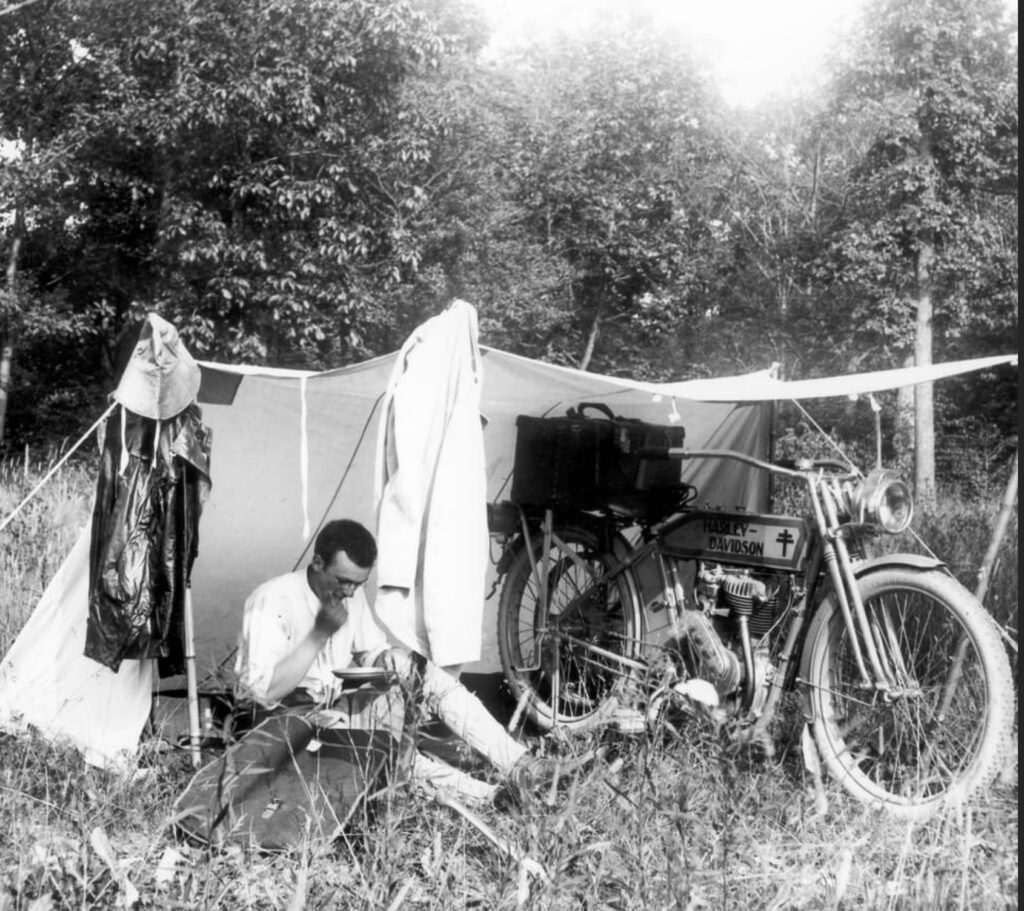
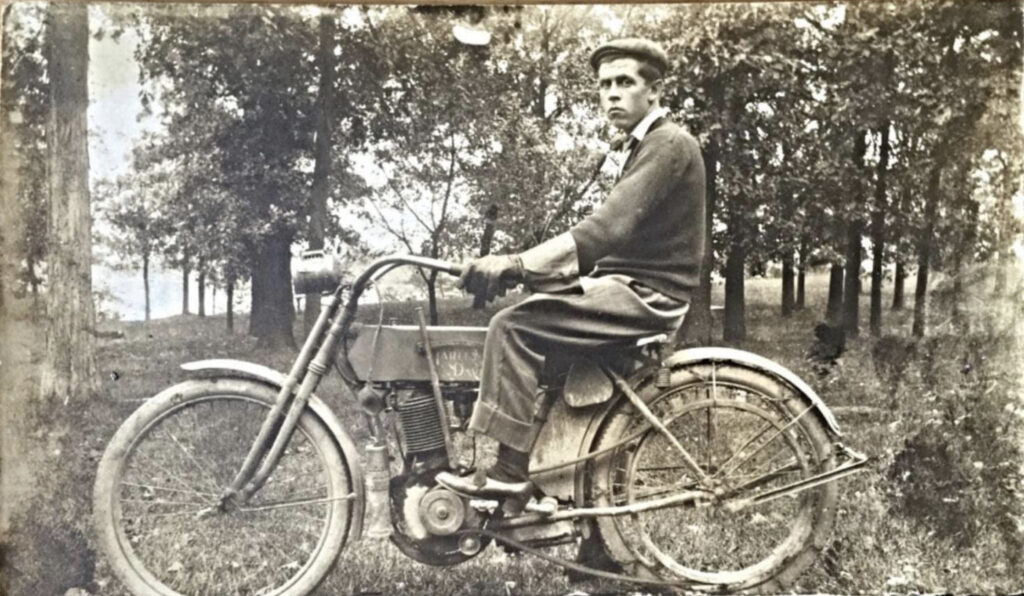
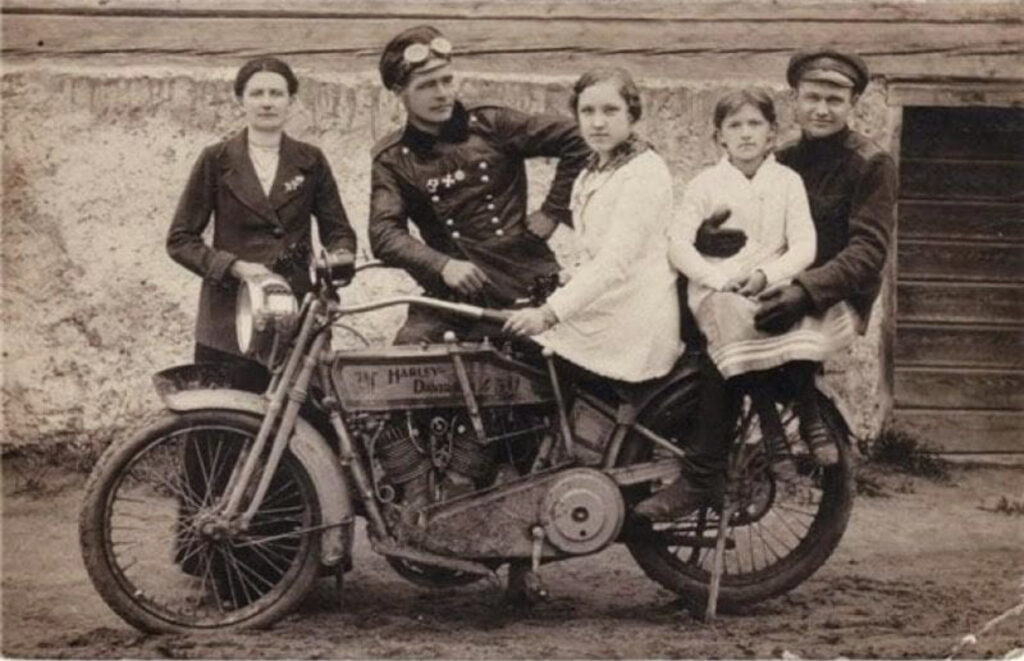
Model 8-A with magneto and belt drive. Some nice accessories including full gas lighting, air pump and the very desirable passenger seat and carrier set up.
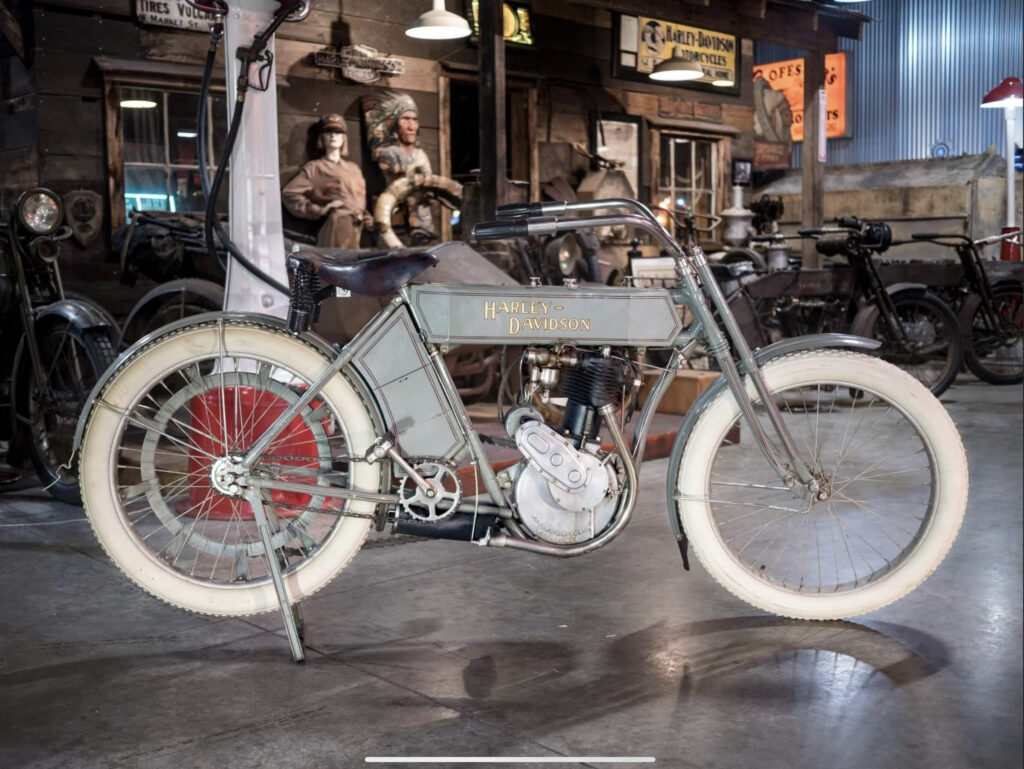
Prototype from 1909. First year with magneto. At Wheels Through Time museum.
Using the 1914 and later ‘step-starter’ technique on earlier models.
After buying the bike we soon learned that she was in need of an engine rebuild. That was done last year but she hasn’t been used a lot since then. So, a new year and with lockdown hopefully ending soon, she is now being prepped for riding. This was her first start since last summer. We filled her with fresh oil and fired her up. She runs great and sounds spot on. The full motor has oil all over and she’s getting loads of lubrication. The oil will settle to the correct volume and the smoke will clear but lubrication is king.
The starting technique takes a little practice. It’s called a ‘step starter’ and requires the use of the valve lifter and a precise lick. Works well.
This video demonstrates the two-speed function. The two-speed rear hub being introduced for the 1914 season and soon replaced by the three speed trans in 1915. The foot on the rear wheel is just to show that the drive is off but the wheel really does need to be turning to enable effective gear selection, much like with a pedal cycle.
We bought the bike to make copies of parts that are missing from our ’14 two speed twin. Now that is done, the bike will be up for sale after the Covid restrictions are lifted. She is fully UK registered and comes complete with Pioneer certificate.
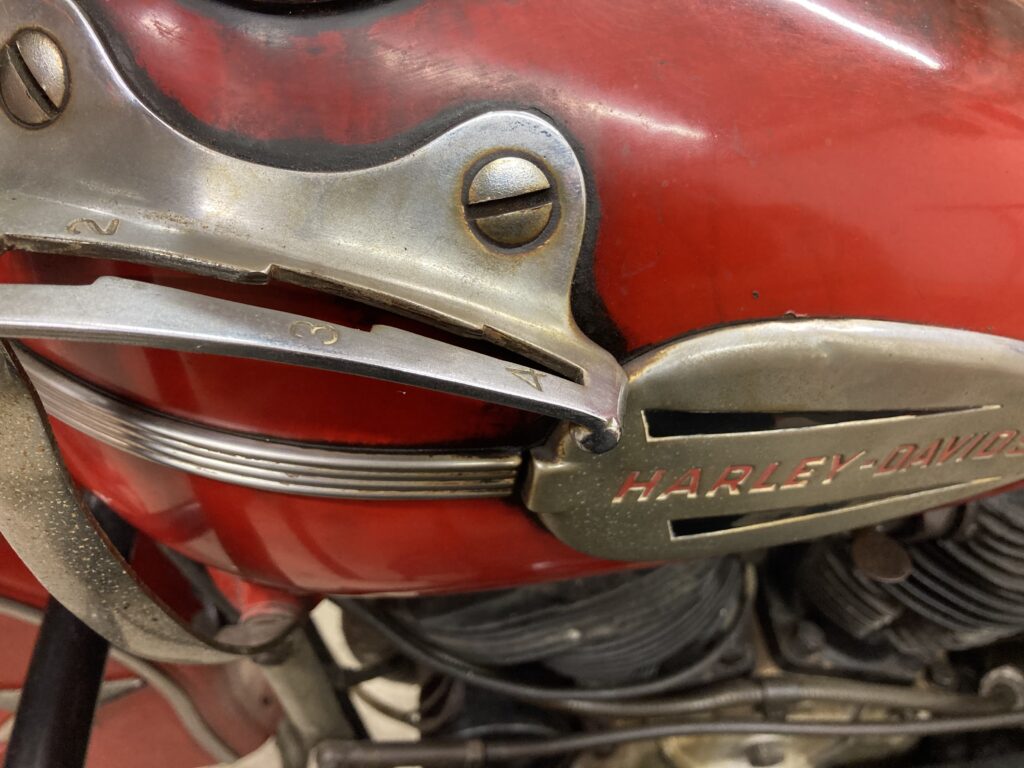
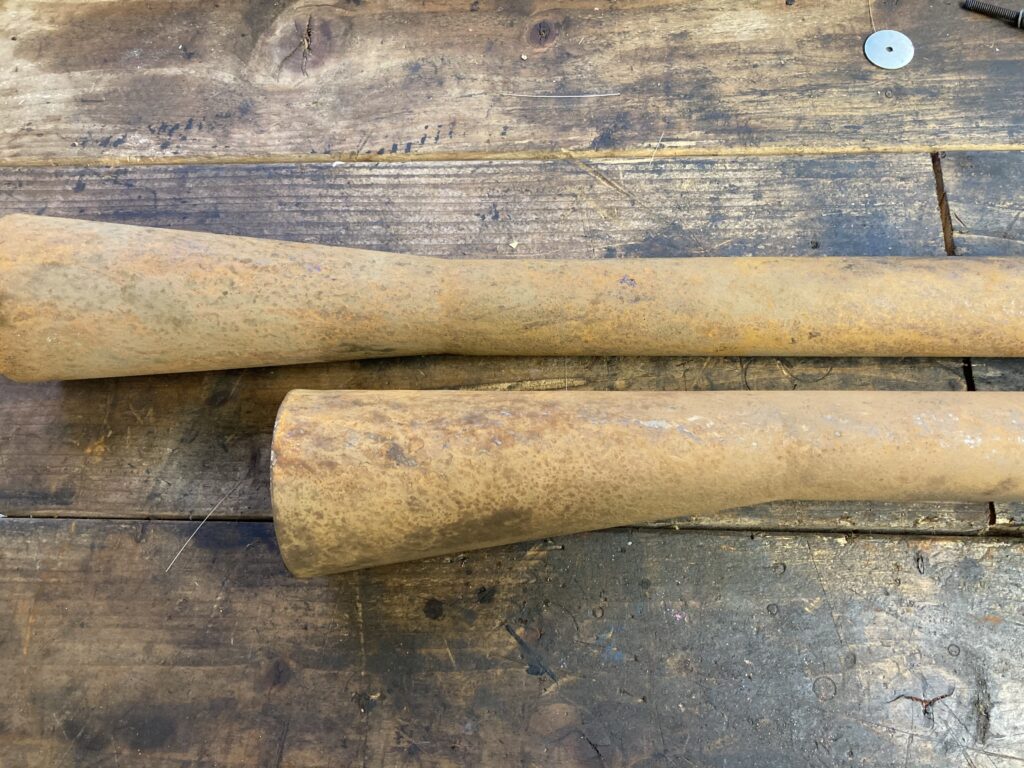
The Jacksuns MCM pipes were made new just a couple of months ago. First they had a soak in the salt spray, then a few days outside. When the rust dried they were rubbed with dirty oil but for some reason they didn’t darken this time and were too light in colour (pic 1).
A light coat of VHT paint (pic 2) and then running the motor has darkened them nicely and gives the appearance of black pipes with surface rust on top rather than the other way round (pic 3).

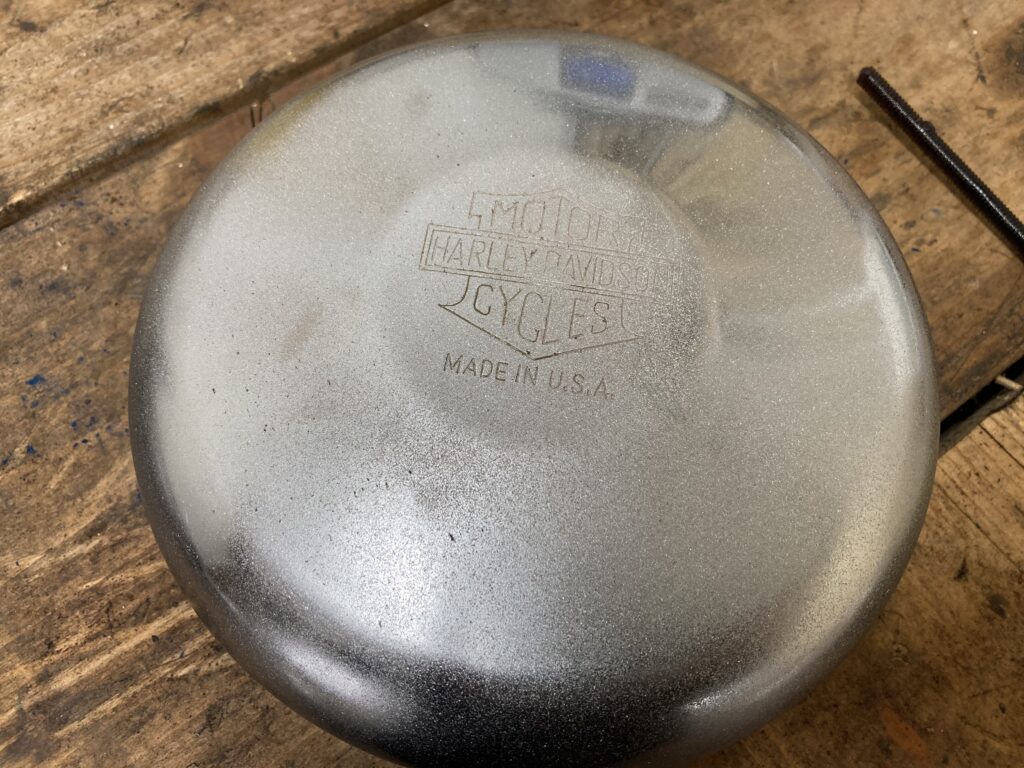
On other bikes I have chromed the pipes, taken a nail gun to them, used salt water to rust them and then polished back to a shine (see below). It’s a different finish but the same technique. It just takes a bit of practice and if it doesn’t come out right just clean it all up and start again.
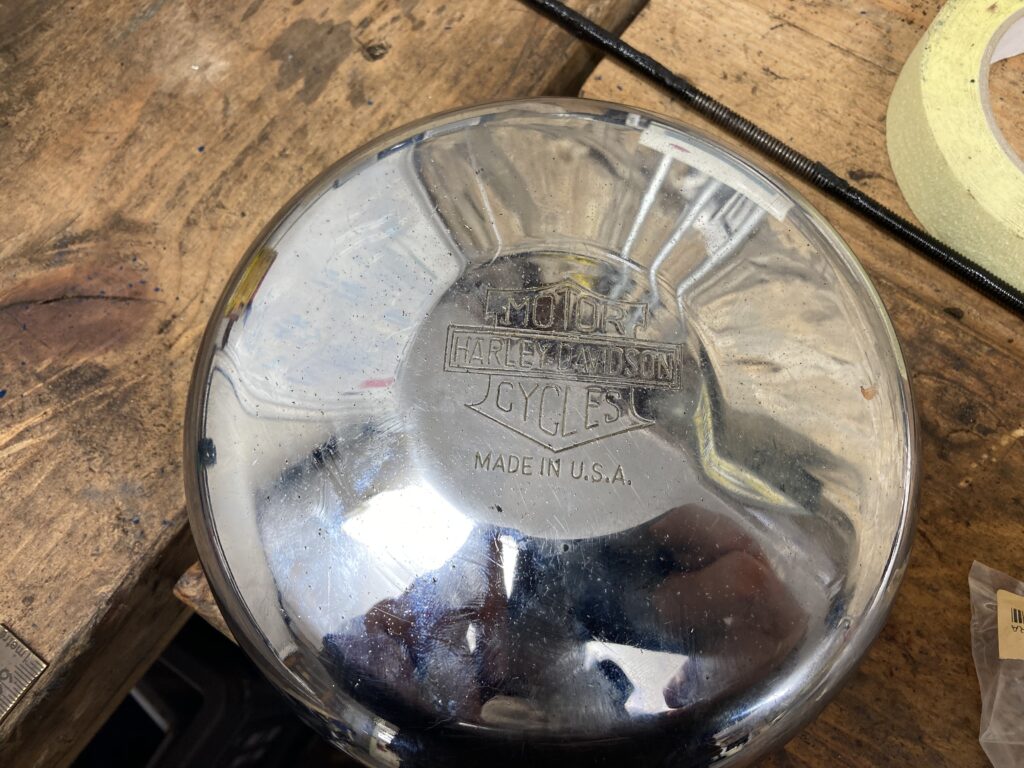
Chrome cover, after a grit basting, then salted then oiled. A good polish will get it looking ‘old but looked after’.
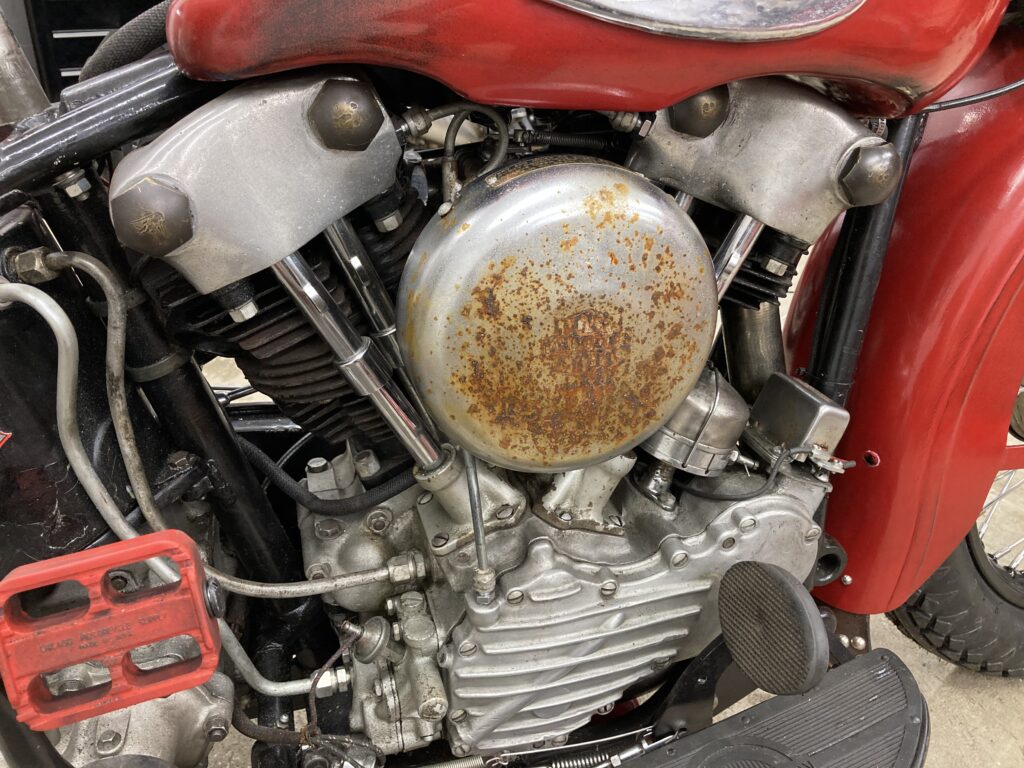
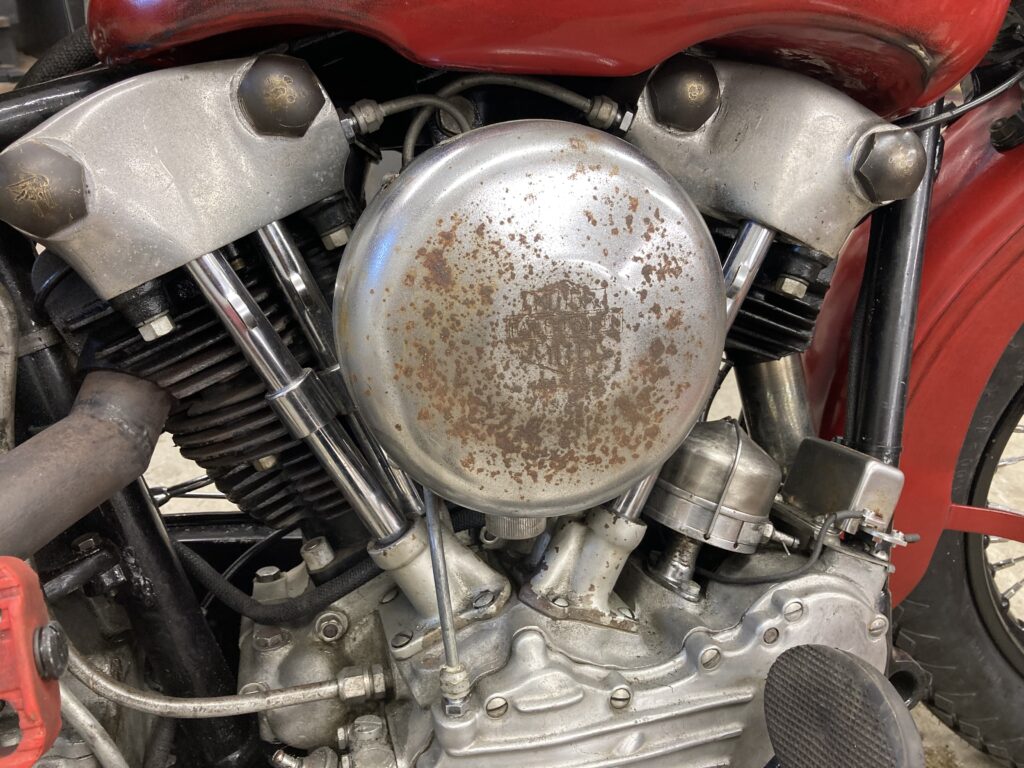
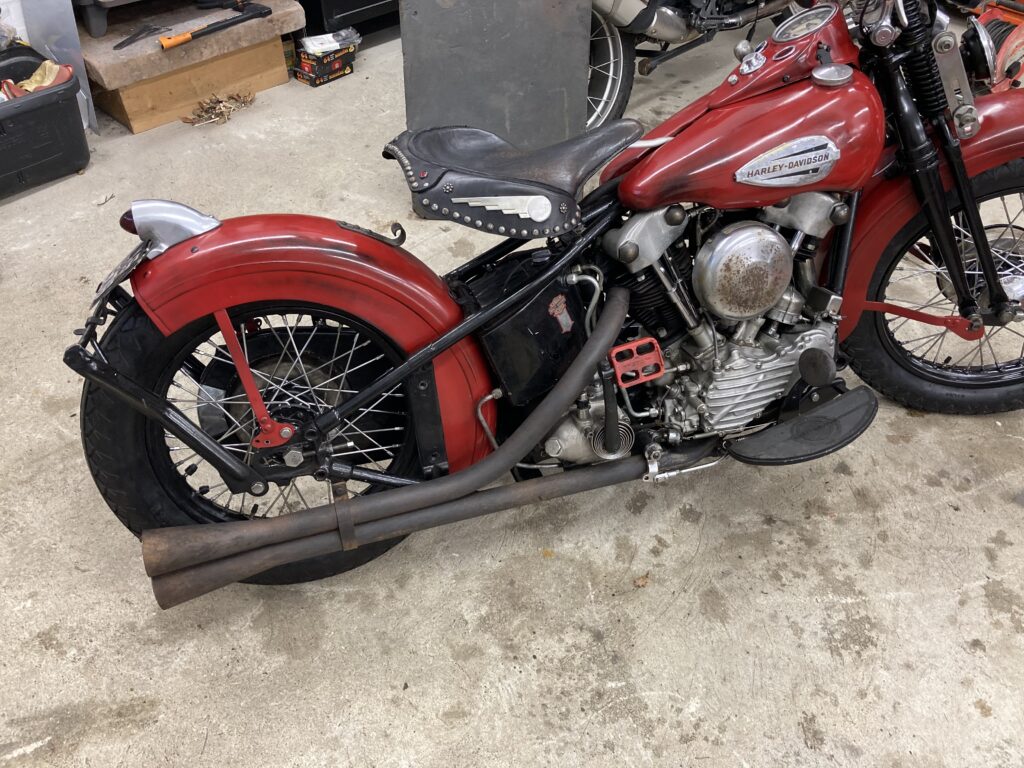
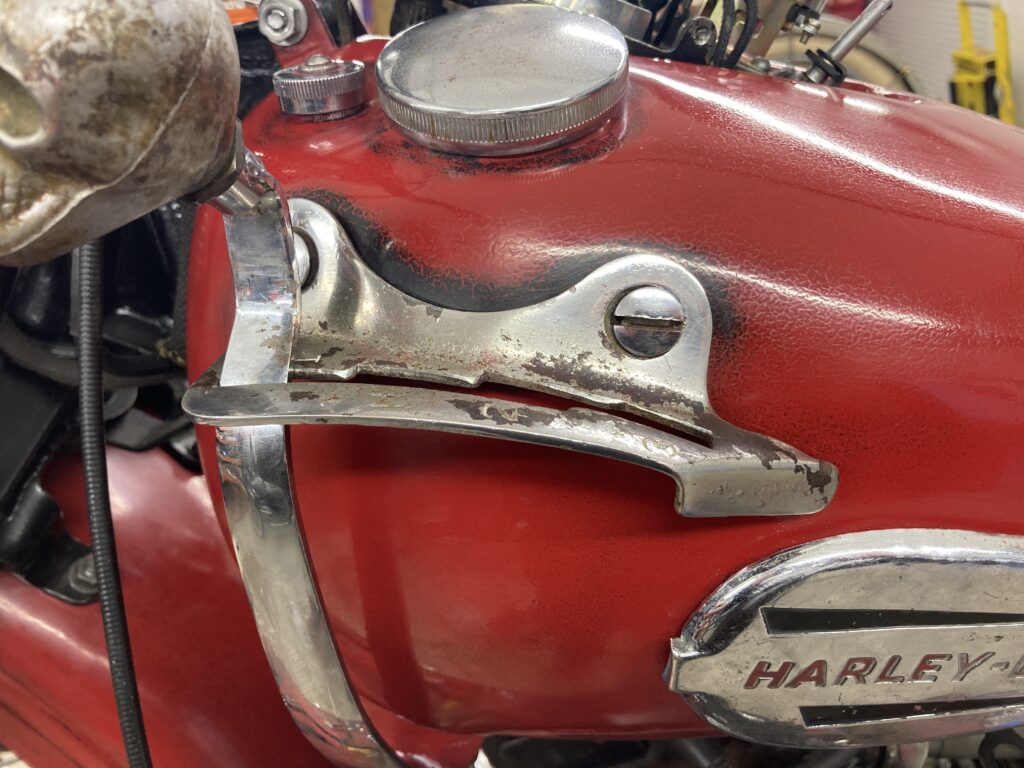
I have been asked about the paint finish on this 41. I’ve tried to make it look old but in a cared for way; same finish and colour as my OP46. It is not intended to look like a dirty patina’d rat bike.
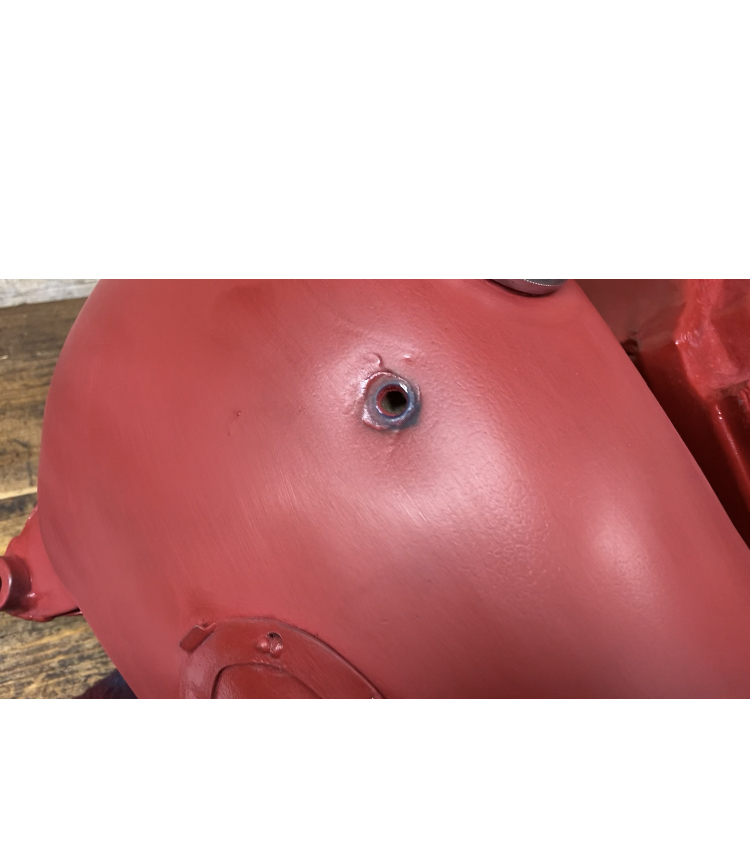
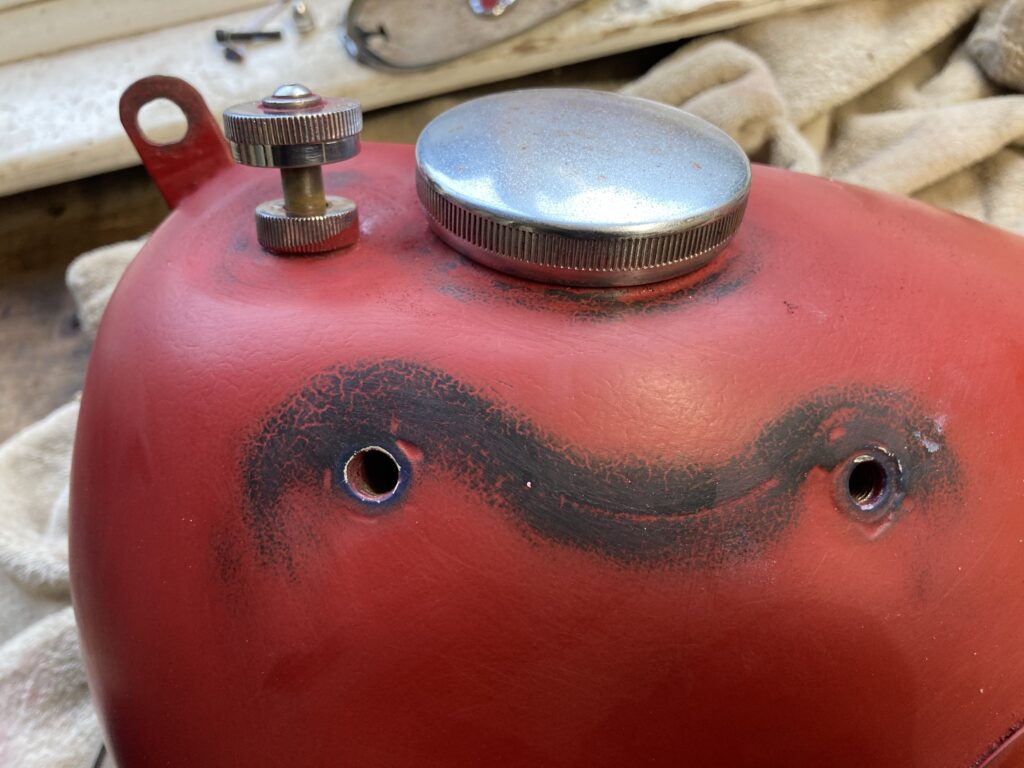
First the paint is applied. This colour RAL3011 as per the 46. The bike had cellulose on previously so we used an isolator, then used a 2K black primer, then the colour. Rub down the topcoat through to the black primer just like the wear would occur on the bike. Remember to rub down as it would wear and not evenly all over.
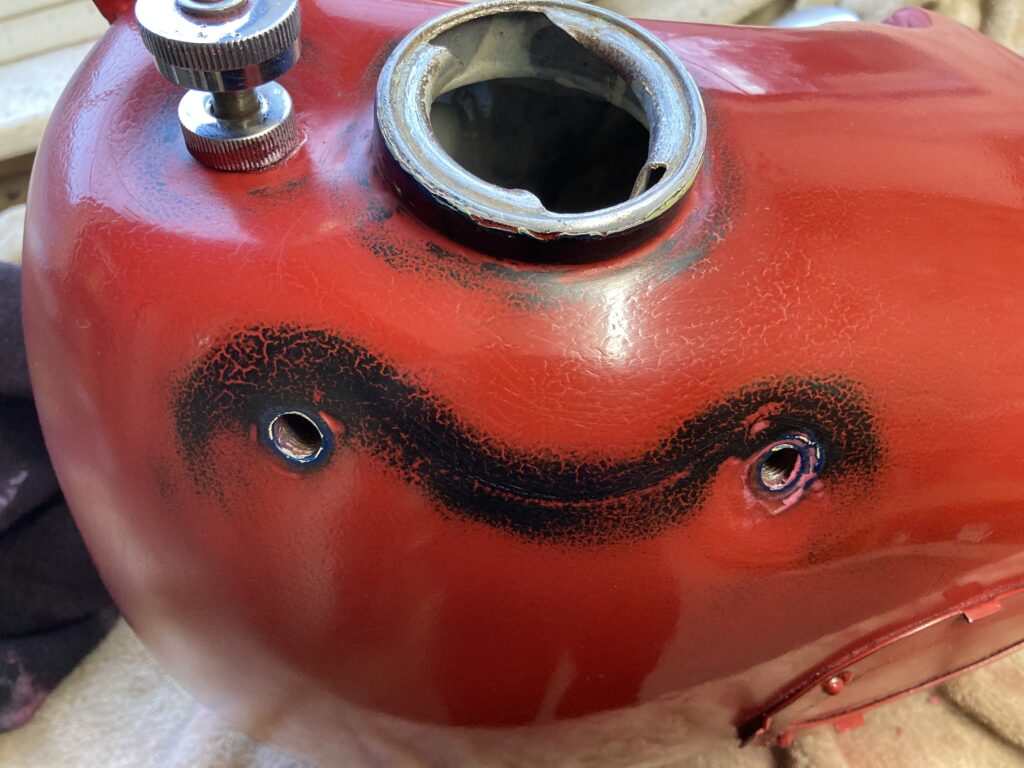
Then polish to an as new finish and add the accessories. When the bike is fully assembled then the paint can be dulled down to suit. And some oil and dirt can be applied as required.
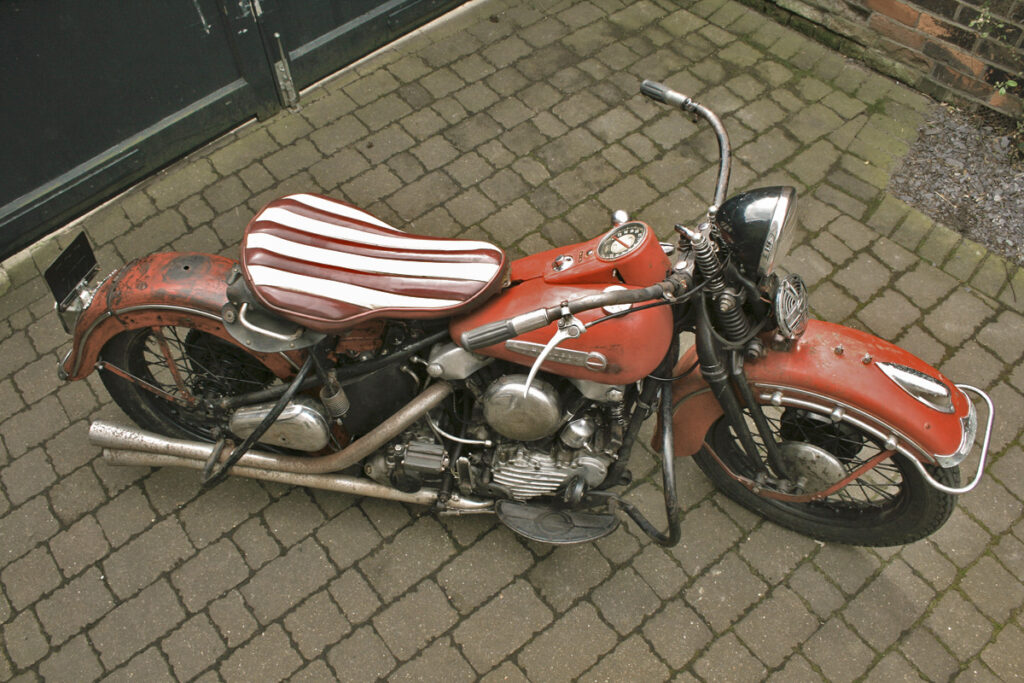
This is the OP finish on the 46 that we were using as a template.